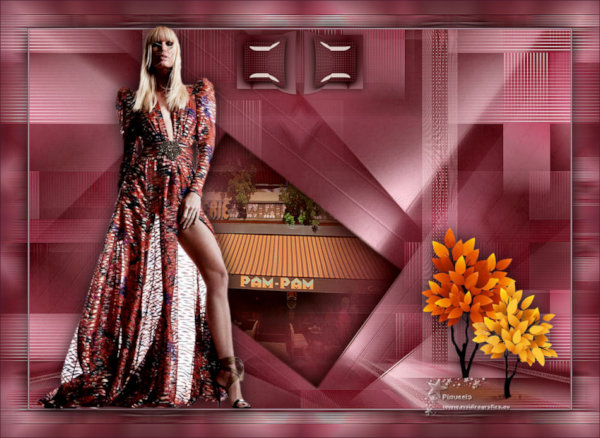
MATERIAL 
Tubes - SuizaBella e Maryse, agradeço e pessoal
*** Preset Glass dois clicks sobre o mesmo e se instalará
PLUGINS
dsb flux
Simple
Graphics Plus
VanDerLee - Unplugged X
Carolaine and Sensibility
AP[Lines] - Lines
Filter Factory Gallery "J"
Toadies
MuRa's Meister
MuR'as Seamless
Mehdi
Eye Candy 5 - Impact
___________________________________________________________________________________________
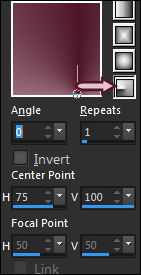
Preparar Gradiente - RADIAL - Angle 0 - Repeats 1 - cores a seu gosto
Nossas cores - Foreground - #4d1728 - Background - #e6c2d3-
___________________________________________________________________________________________
1.- Abrir - alphapampam - fazer uma cópia - fechar o original
* Vamos trabalhar na cópia - preencher com a gradiente
2.- Layers - Duplicate - Image Mirror Horizontal
* Blend Mode - Overlay - Layers - Merge Down
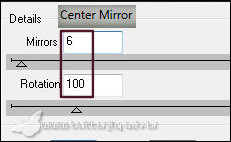
3.- Plugin - dsb flux - Center Mirror
4.- Plugin - Simple - Half Wrap
5.- Effects - Image Effects - Seamless Tiling - Corner - Bidirectional (45, 45, 100)

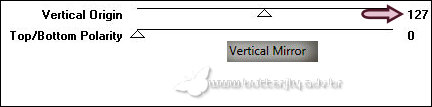
6.- Plugin - Graphics Plus - Vertical Mirror (127, 0)
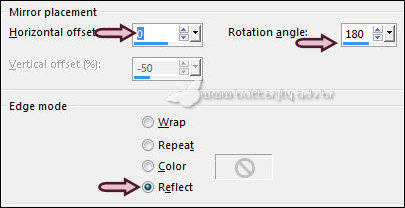
7.- Effects - Reflection Effects - Rotating Mirror (180)
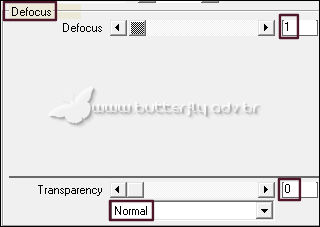
9.- Plugin - VanDerLee - Unplugged X - Defocus (1)
___________________________________________________________________________________________
10.- Selections - Load Selections From Alpha Channel - Selection #1
* Promote Selection to Layer
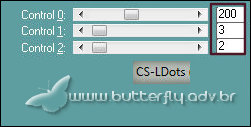
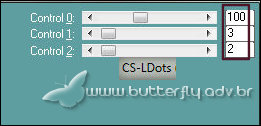
11.- Plugin - Carolaine and Sensibility - CS-LDots (200, 3, 2)
SELECT NONE
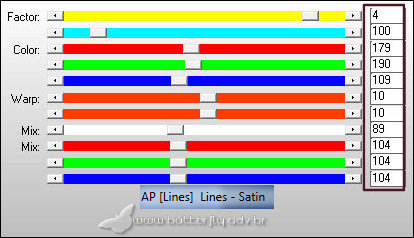
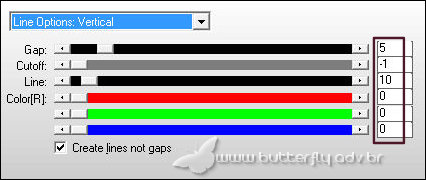
12.- Plugin - AP[Lines] - Lines - Satin - DEFAULT
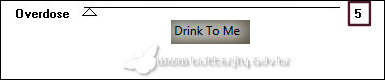
13.- Filter Factory Gallery "J" - Drink to Me (5)
14.- Layers - Duplicate - Image Mirror Horizontal - Layers - Merge Down
___________________________________________________________________________________________
ATIVAR A RASTER 1
15.- Selections - Load Selections From Alpha Channel - Selection #2
* Promote Selection to Layer
16.- Plugin - Carolaine and Sensibility - CS-LDots (200, 3, 2)
SELECT NONE
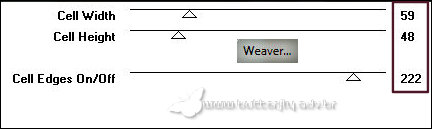
17.- Plugin - Toadies - Weave - DEFAULT
18.- Plugin - Simple - Half Wrap
* Blend Mode - Screen
___________________________________________________________________________________________
ATIVAR A RASTER 1
19.- Selections - Load Selections From Alpha Channel - Selection #3
* Promote Selection to Layer
20.- Adjust - Blur - Gaussian Blur - Radius 25,00
21.- Plugin - Carolaine and Sensibility - CS-LDots (200, 3, 2)
22.- Plugin - AP[Lines] Lines - SilverLining
* SELECT NONE - Baixar a opacidade para 70% - Blend Mode Screen
23.- Effects - Image Effects - Seamless Tiling - Corner - Vertical - Transition 100
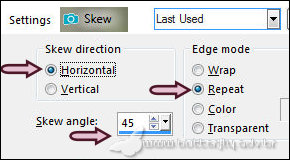
24.- Effects - Geometric Effects - Skew (H, 45, Repeat)
25.- Effects - Image Effects - Seamless Tiling - DEFAULT - Transition 100
26.- Plugin - Toadies - Weaver - DEFAULT
27.- Adjust - Sharpness - Sharpen More
___________________________________________________________________________________________
Ativar Layer Superior - Promoted Selection
28.- Edit - Copy Special - Copy Merged - Edit - Paste a New Layer
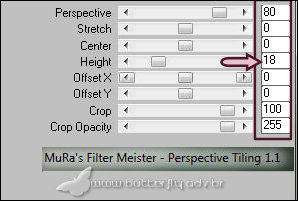
29.- Plugin - MuRa's Meister - Perspective Tiling (18)
30.- Selections - Load Selections From Alpha Channel - Selection #6
* DELETAR +/- 10 vezes - SELECT NONE
___________________________________________________________________________________________
31.- Layers - Add New Layer - preencher com a cor clara
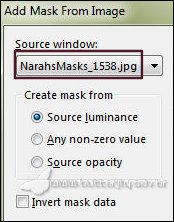
32.- Layers - New Mask Layer - from Image - NarahsMasks_1538
* Layers - Merge Group
33.- Plugin - MuR'as Seamless - Emboss at Alpha - DEFAULT
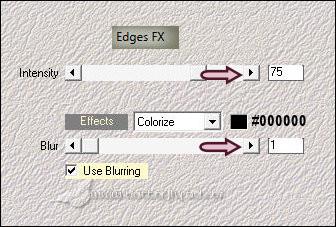
34.- Plugin - Mehdi - Edges FX (cor #000000)
* Blend Mode - Screen
___________________________________________________________________________________________
35.- Selections - Load Selections From Alpha Channel - Selection #4
* Layers - Add New Layer
36.- Edit - Copiar/Colar dentro da seleção o misted
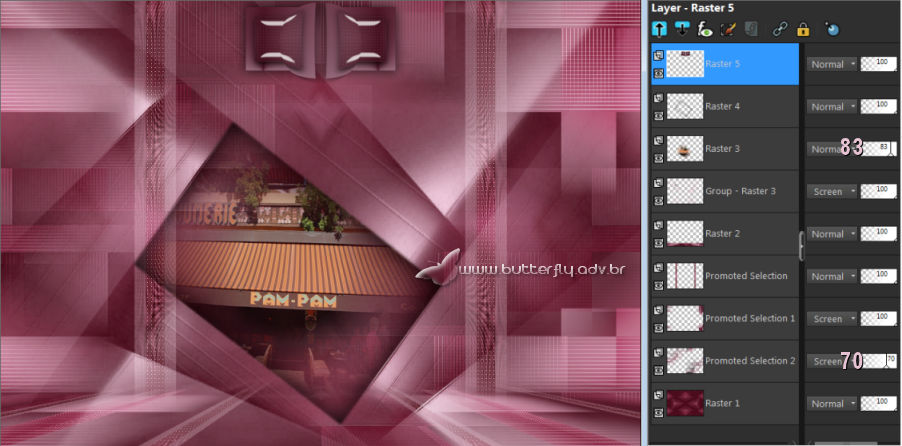
* Baixar a opacidade para 83%
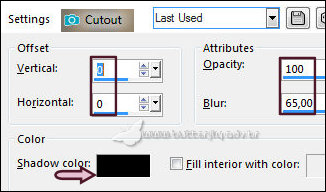
37.- Layers - Add New Layer - Effects - Cutout
___________________________________________________________________________________________
SELECT NONE
38.- Selections - Load Selections From Alpha Channel - Selection #5
* Layers - Add New Layer - preencher com a gradiente
39.- Effects - 3D Effects - Drop Shadow 0, 0, 60, 30, preto
* Selections - Modify - Contract 20
40.- Plugin - Carolaine and Sensibility - CS-LDots (100, 3, 2)
* Drop Shadow 0, 0, 60, 30, preto
41.- Eye Candy 5 - Impact - Glass - preset glass_majo
Manter a seleção
42.- Plugin - Graphics Plus - Vertical Mirror (127, 0)
SELECT NONE
* Image - Resize - 70% - All Layers - DESCLICADO
43.- Layers - Duplicate - Image Mirror Horizontal - Layers - Merge Down
* Objects - Align - TOP
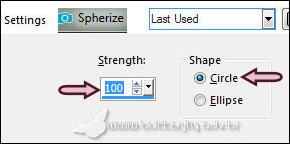
44.- Effects - Geometric Effects - Spherize
LAYERS -TAG
*** Tome a liberdade de mudar a Blend Mode e Opacidade como gostar
* Layers - Merge Visible
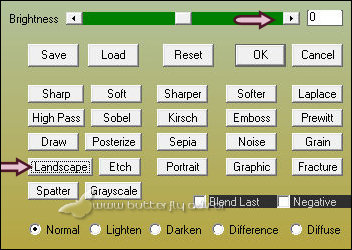
45.- Plugin AAA Filters - Custom - Landscape - Brightness (0)
BORDERS
___________________________________________________________________________________________
46.- Image - Add Borders - 1px - cor escura
* Image - Add Borders - 1px - cor clara
* Image - Add Borders - 1px - cor escura
47.- Selections - Select All - EDIT COPY
* Image - Add Borders - 50px - branco
48.- Selections - Invert - Colar dentro da seleção a imagem copiada (item47)
49.- Adjust - Blur - Gaussian Blur - Radius 25,00
50.- Plugin - Graphics Plus - Quick Tile I - DEFAULT
51.- Effects - Distoprtion Effects - Wind - Left 100
* Repetir - Right 100
52.- Adjust - Sharpness - Sharpen More
53.- Selection Invert - Drop Shadow 0, 0, 80, 40, preto
SELECT NONE
___________________________________________________________________________________________
54.- Edit - Copiar/Colar os tubes personagem (resize 55%) e decorativo
* Posicionar - Drop Shadow critério pessoal
* Image - Add Borders - 1px - cor escura
55.- Assinar o seu trabalho - Layers Merge - Merge All Flatten
56.- Image - Resize - Width 1000px - Salvar em .jpg
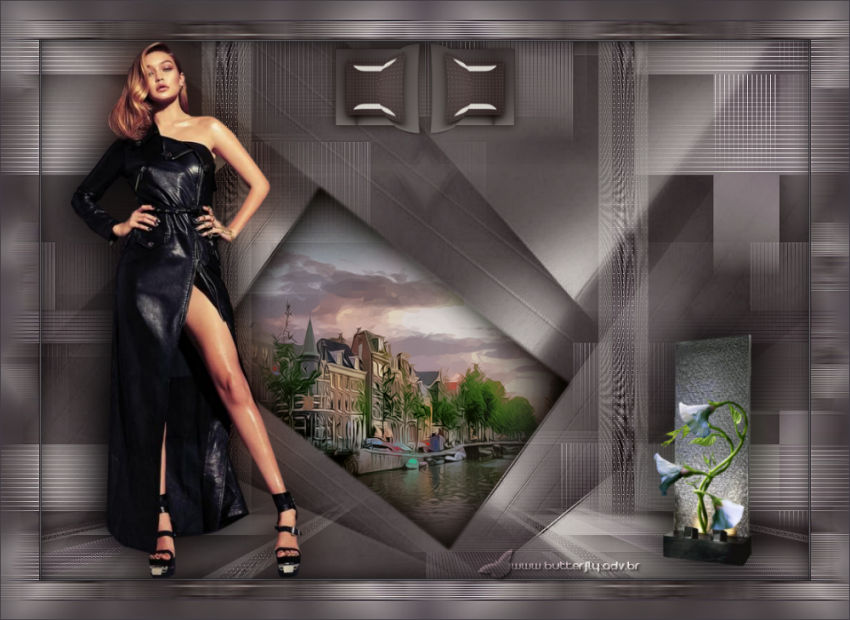
Espero que apreciem, obrigada.
___________________________________________________________________________________________
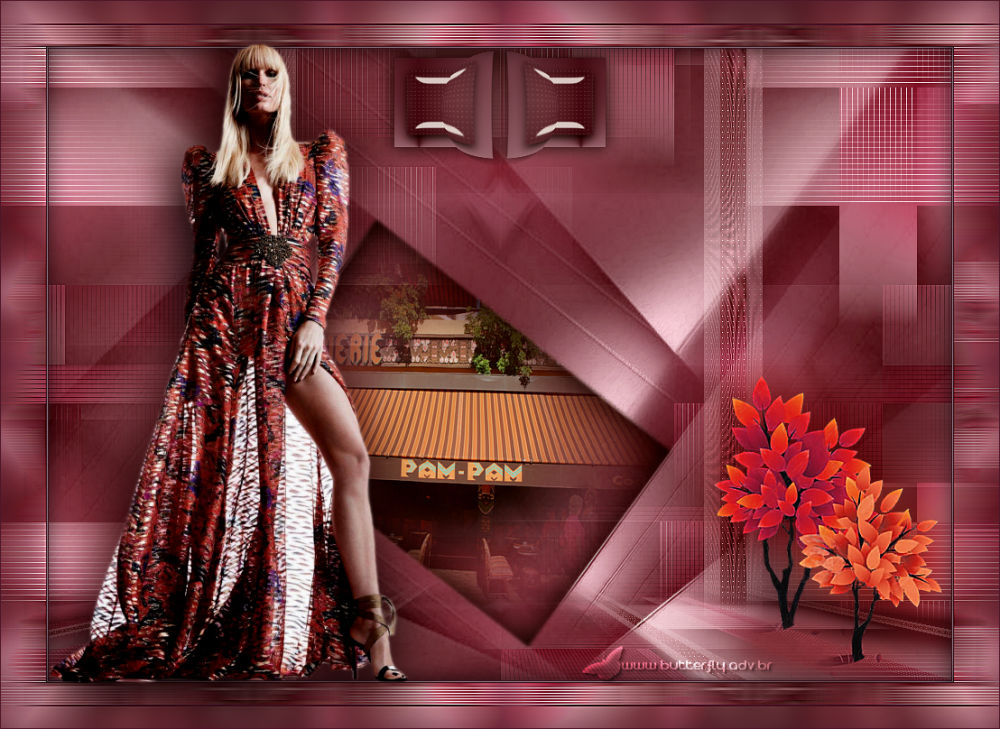
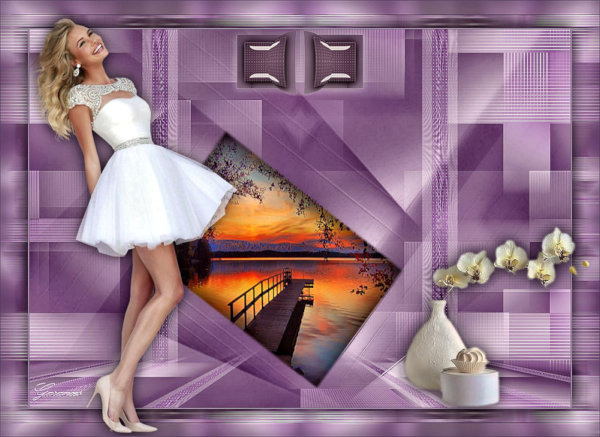
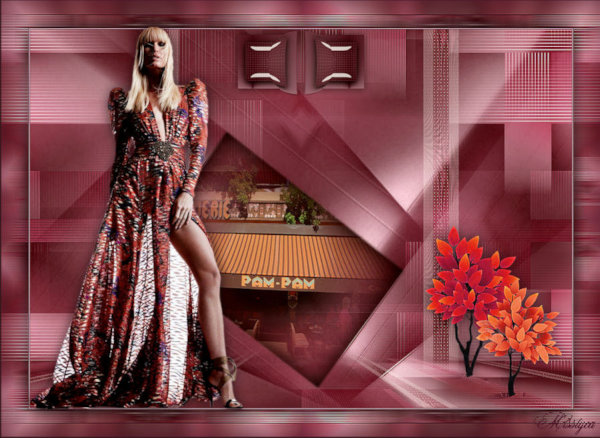
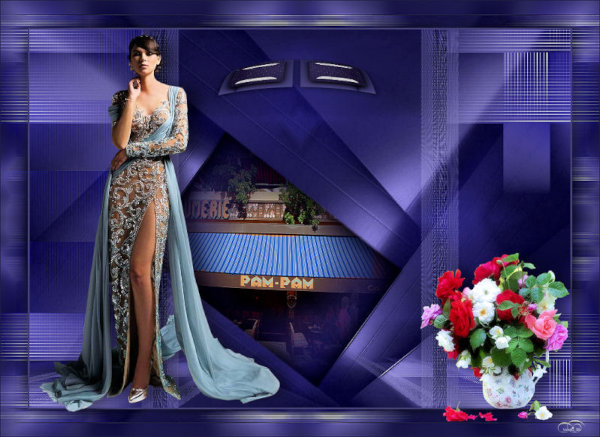
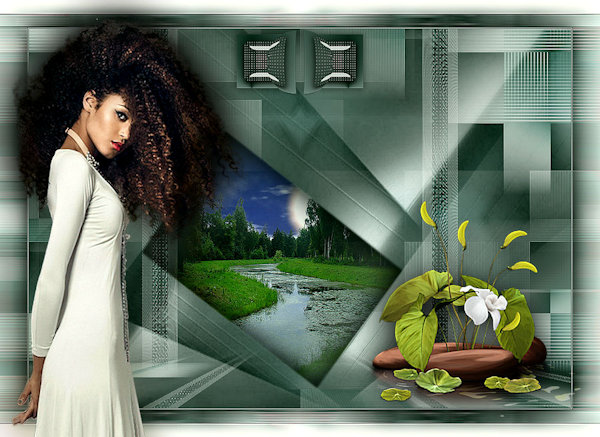
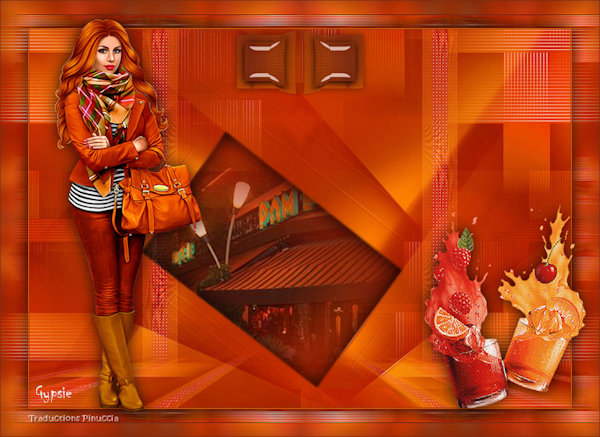
Outro Modelo

Este tutorial foi criado em 15 de junho de 2020 por Maria José Prado. É protegido por lei de Copyright e não poderá ser copiado, retirado de seu lugar, traduzido ou utilizado em listas de discussão sem o consentimento prévio e escrito de sua autora acima declinada.
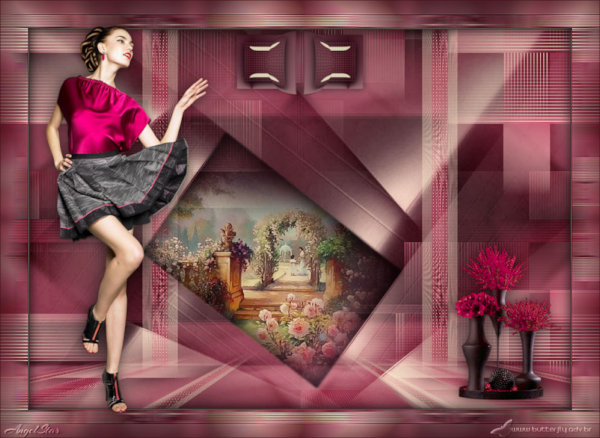
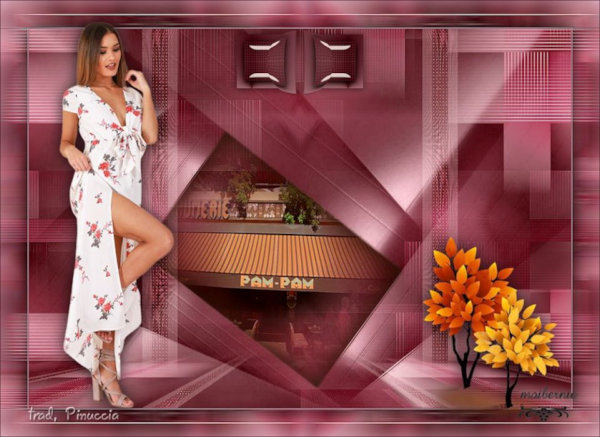
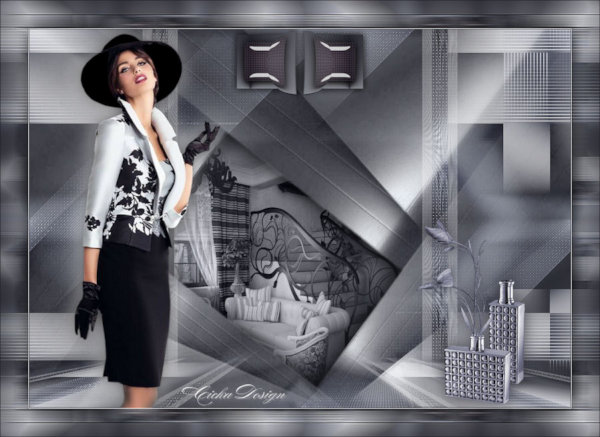
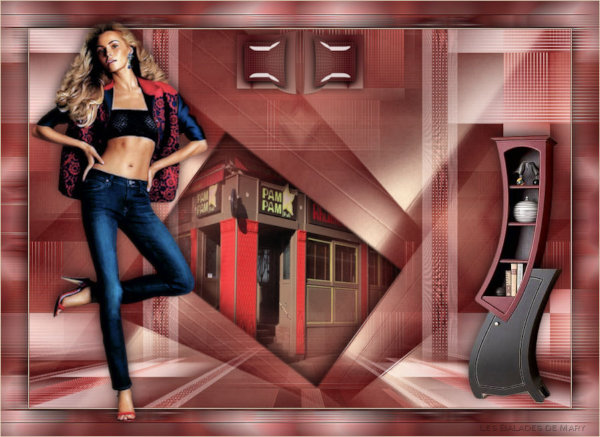
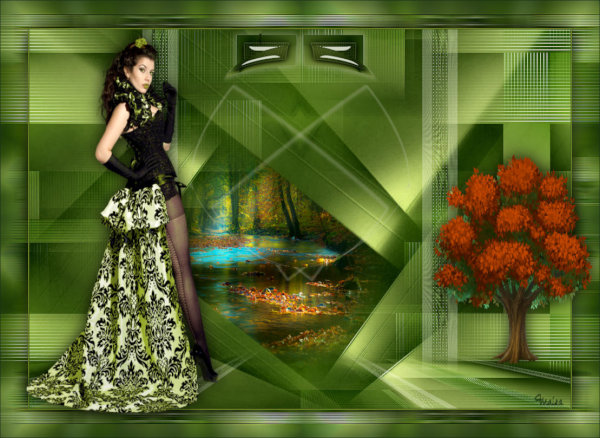
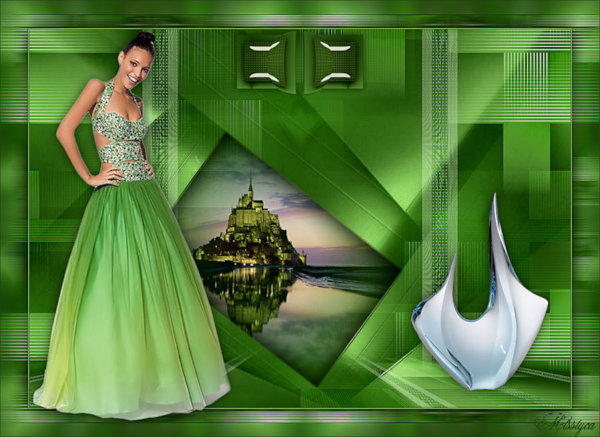
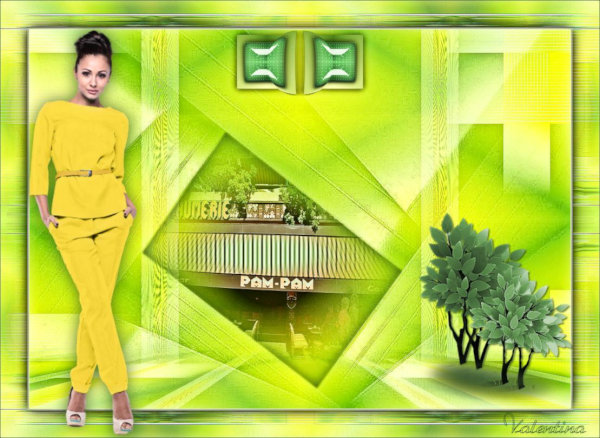
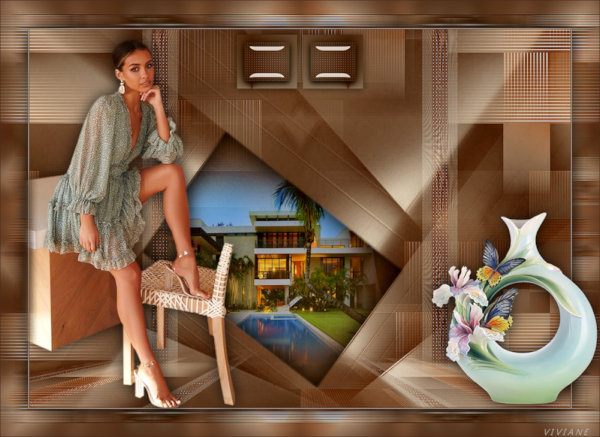
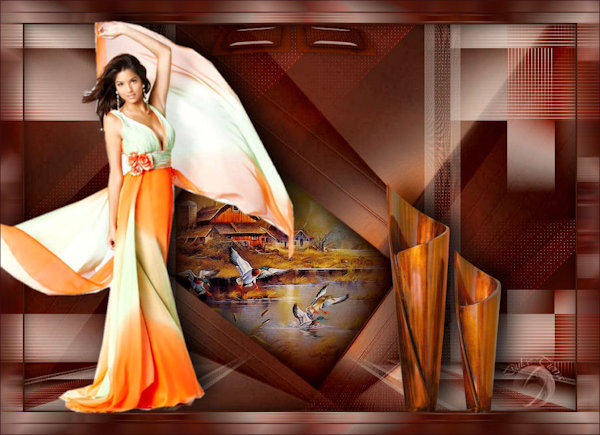
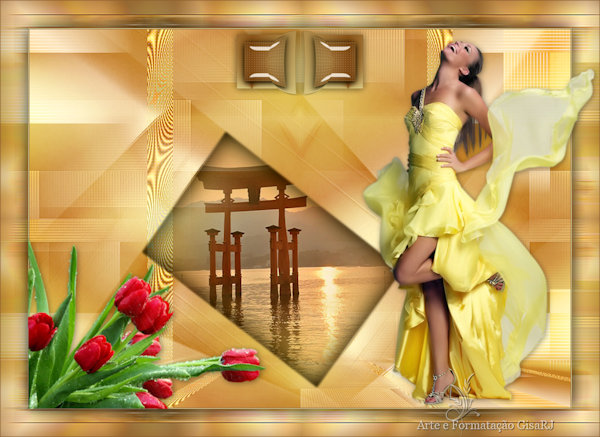
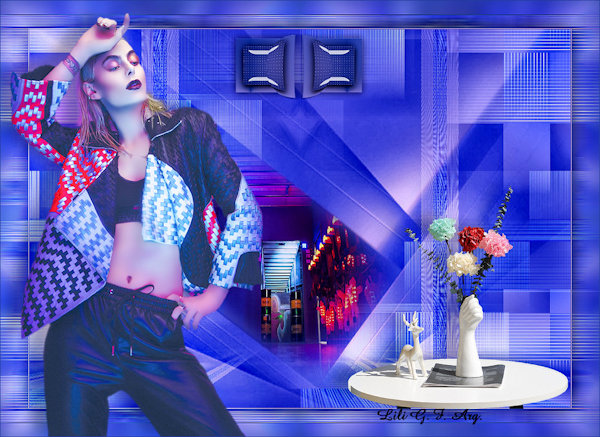
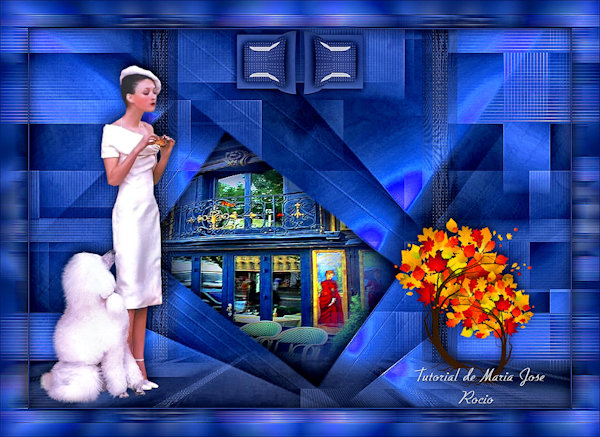
VARIANTES