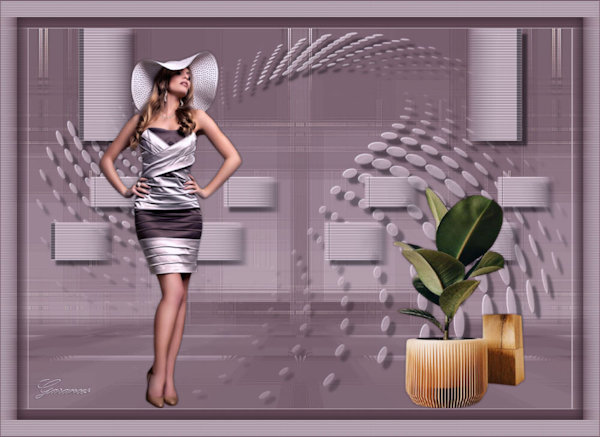
MATERIAL 
Mask Aditas, agradeço
Tubes - SuizaBella et LB Tubes, agradeço
*** Seleções - Copiar/Colar dentro da pasta Selections do PSP
PLUGINS
Déformation
Mehdi
Funhouse
AP[Lines] SilverLining
Carolaine and Sensibility
MuRa's Meister
MuRa's Seamless
_________________________________________________________________________________________
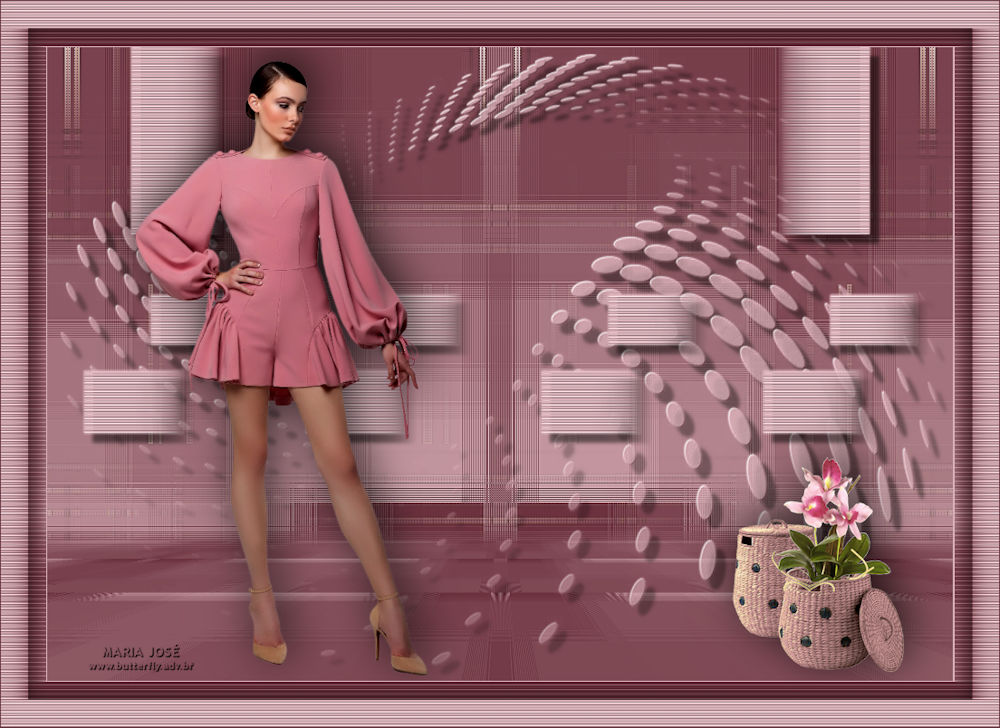
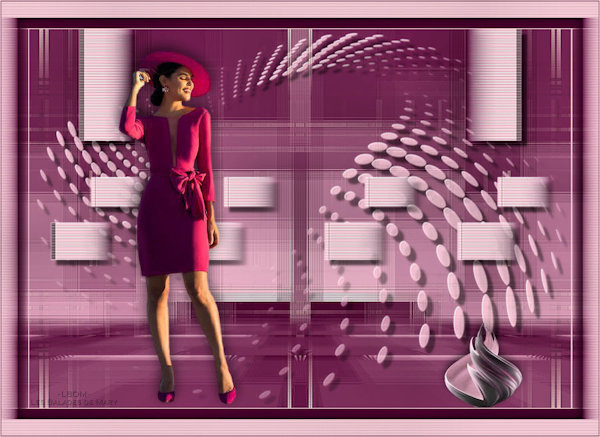
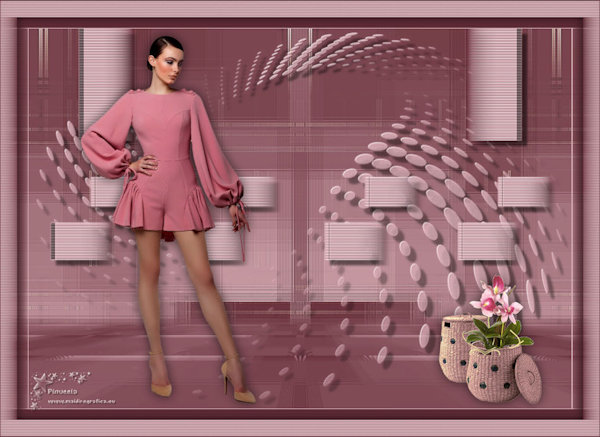
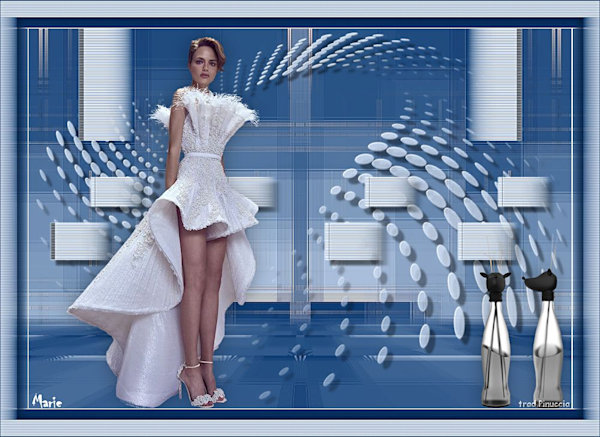
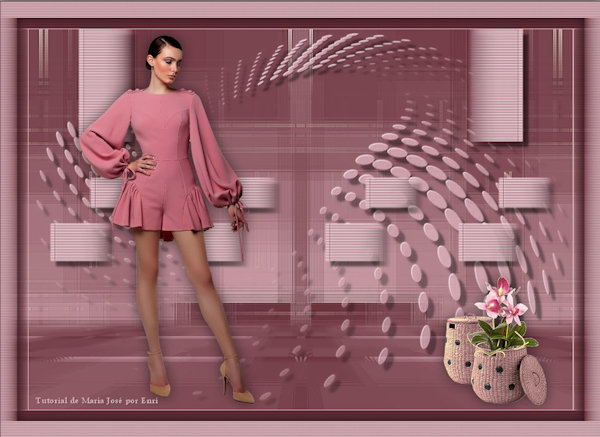
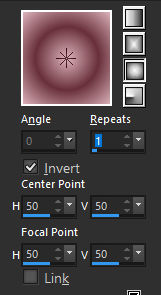
Preparar Gradiente - SUNBURST - Angle 0 - Repeats 1 - cores a seu gosto
Cores deste tutorial - - Foreground #68303a - Background #dcb2ba
_________________________________________________________________________________________
1.- Abrir Transparência - 1000x700px - preencher com a gradiente
2.- Plugin Déformation - Alias Blur

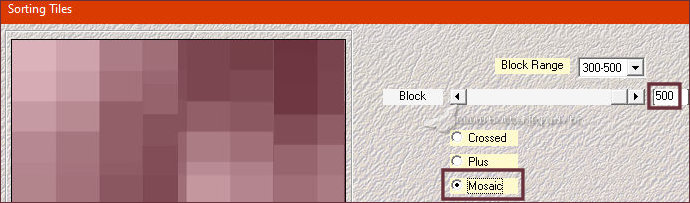
3.- Plugin Mehdi - Sorting Tiles - Mosaic
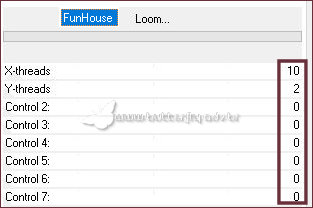
4.- Plugin - Funhouse - Loom DEFAULT - aplicar 2 vezes
5.- Effects - Reflection Effects - Rotating Mirror - DEFAULT
6.- Adjust - Sharpness - Sharpen More
_________________________________________________________________________________________
7.- Selections - Load Selection From Disk - magaly_mj
8.- Layers - Add New Layer - preencher com a cor clara
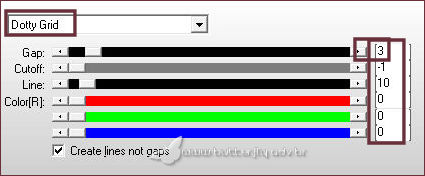
9.- Plugin - AP[Lines] SilverLining - Doty Grid (3)
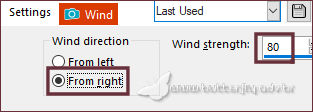
10.- Effects - Distortion Effects - Wind - From right (80)
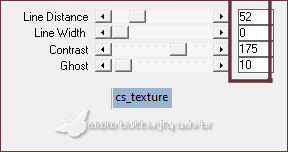
11.- Plugin - Carolaine and Sensibility - cs-texture - DEFAULT
SELECT NONE
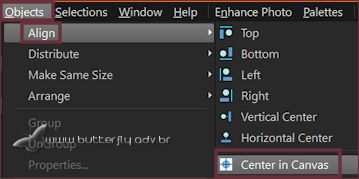
12.- Objects - Align - Center in Canvas
* Drop Shadow - DEFAULT (10, 10, 50, 5, preto)
_________________________________________________________________________________________
13.- Selections - Load Selection From Disk - magaly_1_mj
**** REPETIR OS ITENS 8 a 11
SELECT NONE
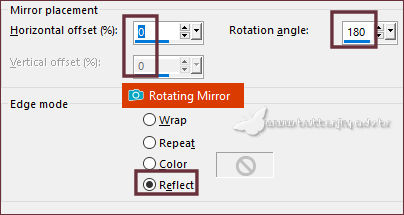
14.- Effects - Reflection Effects - Rotating Mirror - Rotation 180
* Repetir o Drop Shadow
_________________________________________________________________________________________
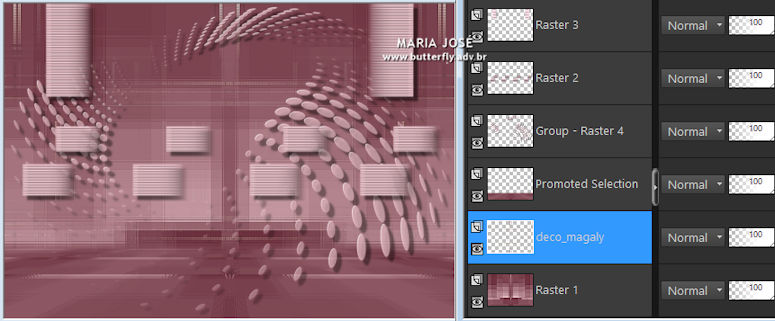
ATIVAR A RASTER 1
15.- Selections - Load Selection From Disk - magaly_2_mj
* Promote Selection to Layer
16.- Plugin - MuRa's Meister - Perspective Tiling - DEFAULT

SELECT NONE
17.- Selections - Load Selection From Disk - magaly_3_mj
* DELETAR +/- 6 VEZES - SELECT NONE
_________________________________________________________________________________________
18.- Layers - Add New Layer - Preencher com a cor clara - opacidade 80%
19.- Layers - New Mask Layer - From Image - aditascreations
* Layers - Merge Group
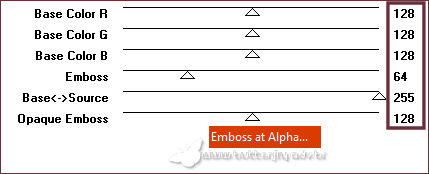
20.- Plugin - MuRa's Seamless - Emboss at Alpha - DEFAULT
* Drop Shadow como acima
_________________________________________________________________________________________
ATIVAR A RASTER 1
21.- Edit - Copiar/Colar como nova layer - deco_magaly_mj
TAG LAYERS
22.- Edit - Copiar/Colar o tube personagem (resize 75%) posicionar
Drop shadow critério pessoal
23.- Edit - Copiar/Colar o tube decorativo (resize 85%) posicionar
Drop shadow critério pessoal
_________________________________________________________________________________________
BORDERS
24.- Image - Add Borders - 1px - cor clara (#dbb2ba)
* Selections - Select All
25.- Image Add Borders 20 px - cor escura (#682e3a)
* Selections - Invert
26.- Plugin - AP[Lines] SilverLining - Doty Grid (3)
27.- Effects - Distortion Effects - Wind - From right (80)
28.- Effects - Reflection Effects - Rotating Mirror - Rotation 180
* Selections - Select All
29.- Image Add Borders 30 px - cor clara (#dbb2ba)
* Selections - Invert
*** REPETIR OS ITENS 26, 27 E 28
30.- Effects - 3D Effects - Drop Shadow 0, 0, 60, 30, preto
SELECT NONE
_________________________________________________________________________________________
* Image - Add Borders - 1px - cor escura
31.- Assinar o trabalho - Layers Merge - Merge All Flatten
32.- Image - Resize - Width 1000px - Salvar em .jpg
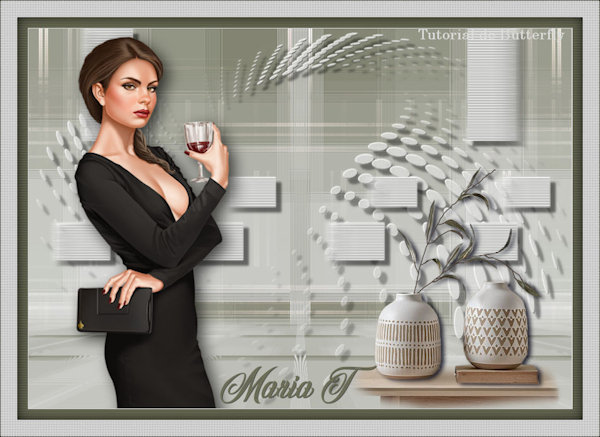
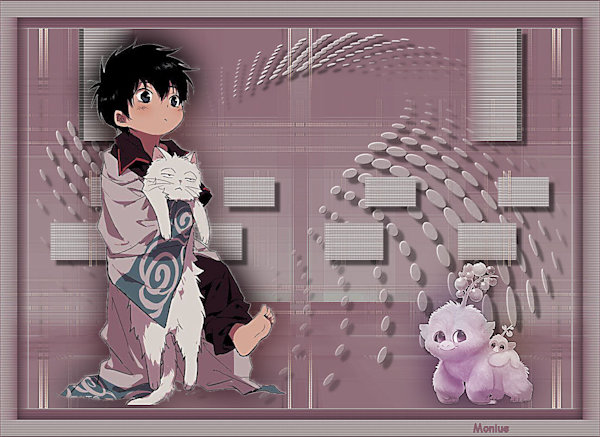
Espero que apreciem, obrigada.
_________________________________________________________________________________________
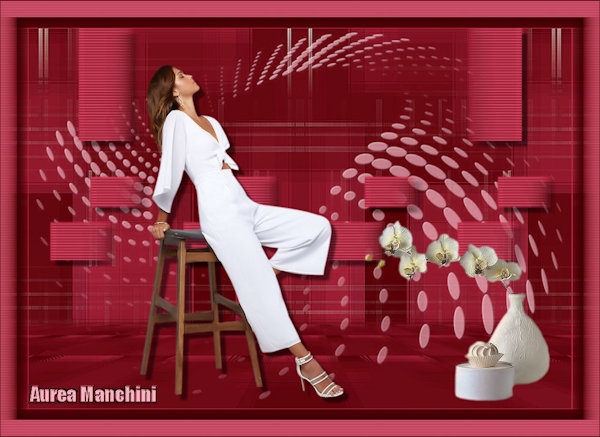
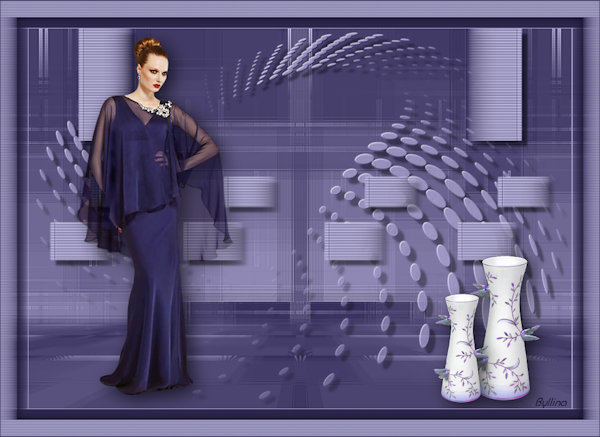
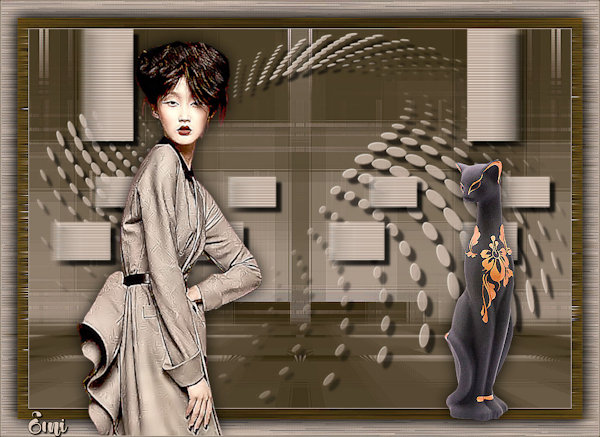
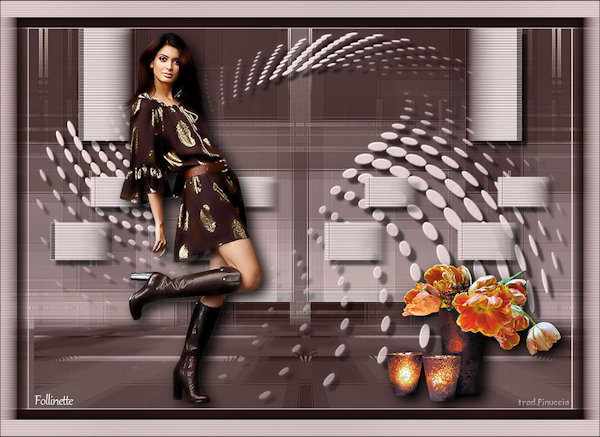
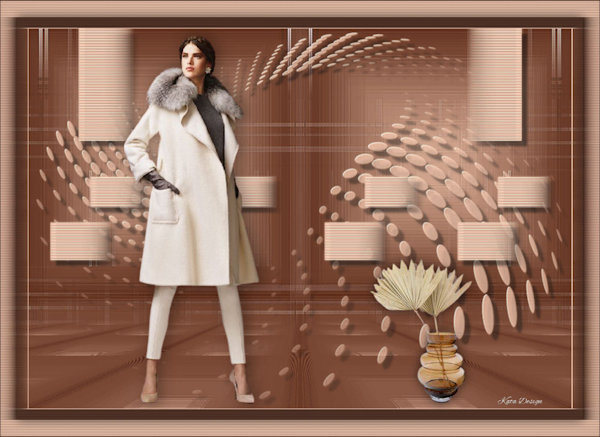
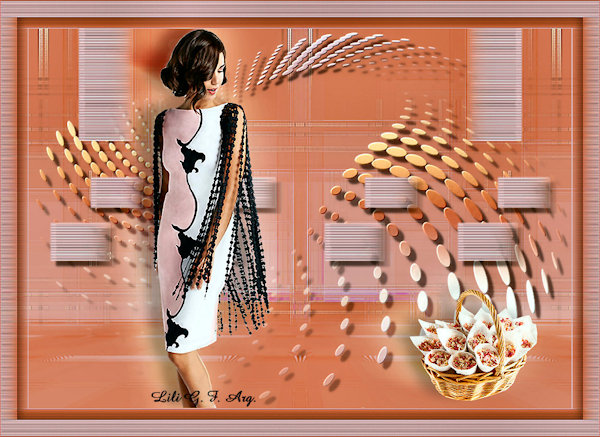
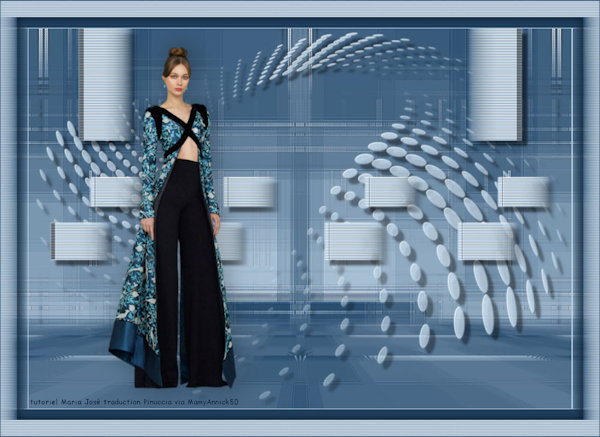
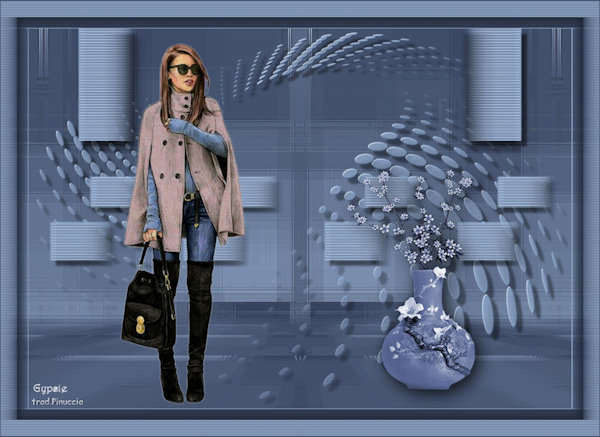
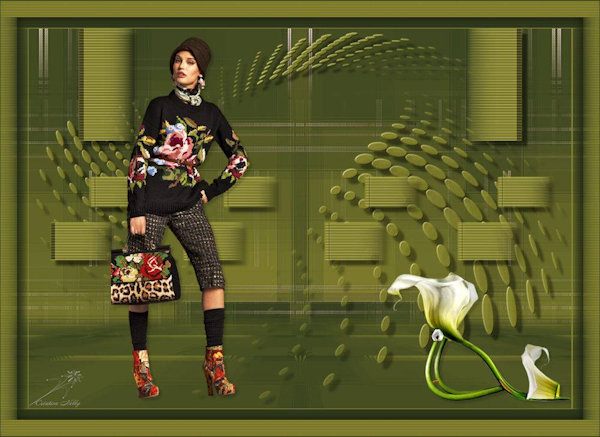
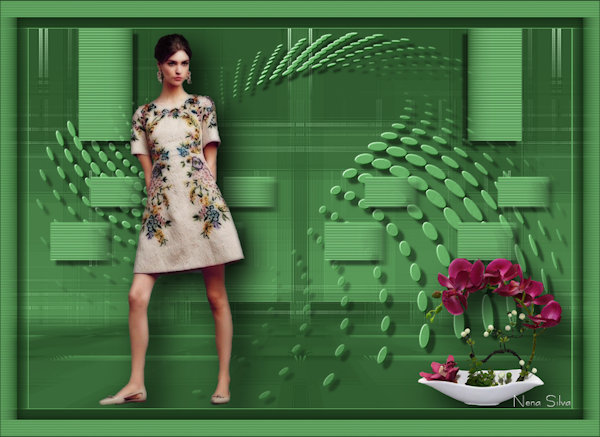
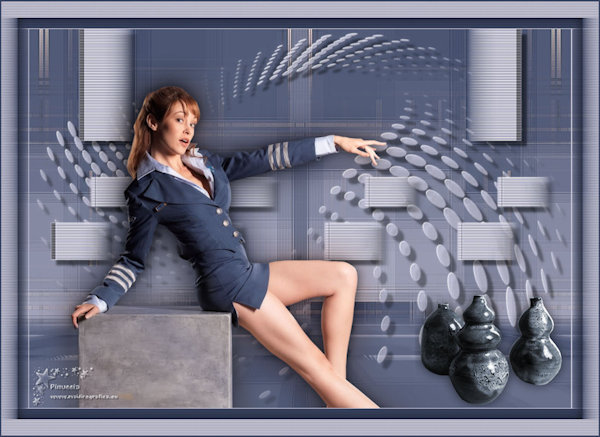
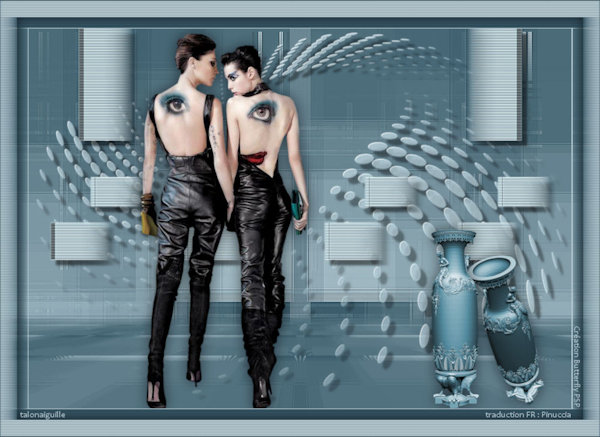
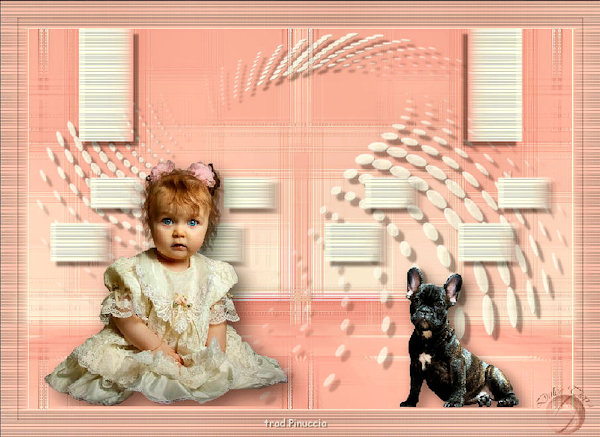
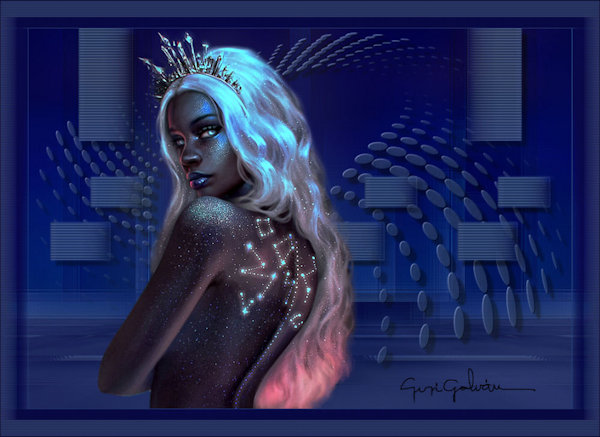
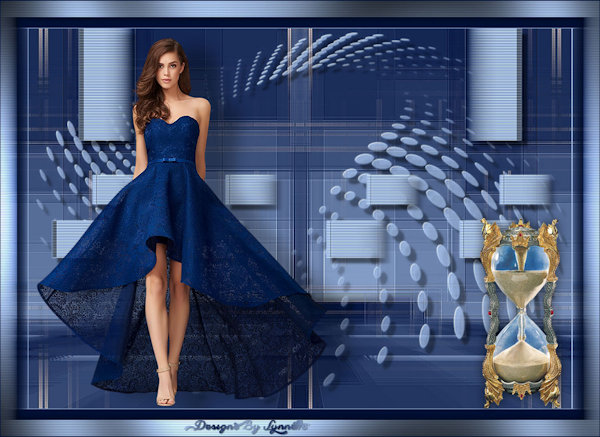
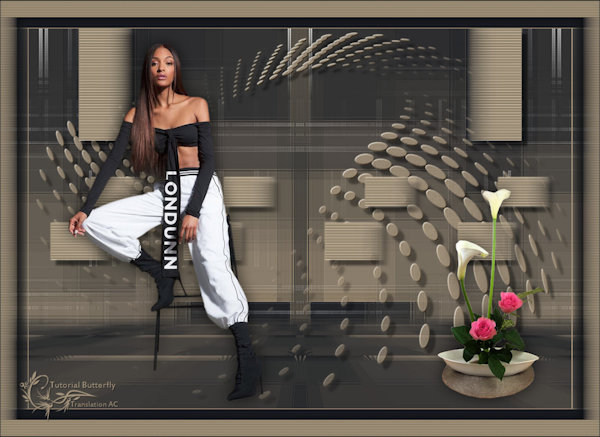
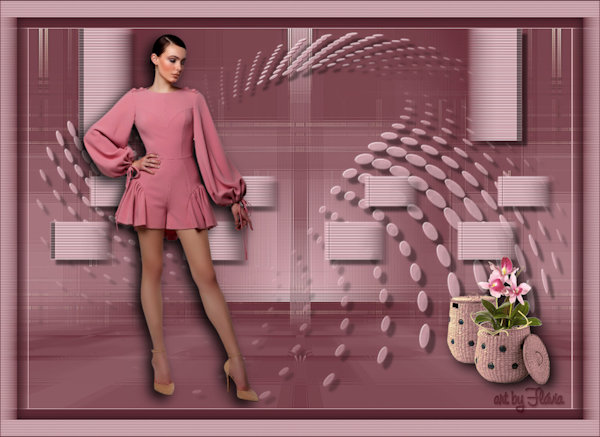
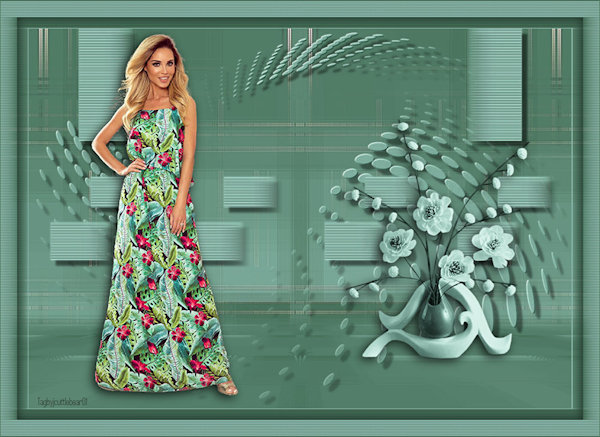
Outro Modelo


Este tutorial foi criado em 01 de dezembro de 2020 por Maria José Prado. É protegido por lei de Copyright e não poderá ser copiado, retirado de seu lugar,
traduzido ou utilizado em listas de discussão sem o consentimento prévio e escrito de sua autora acima declinada.
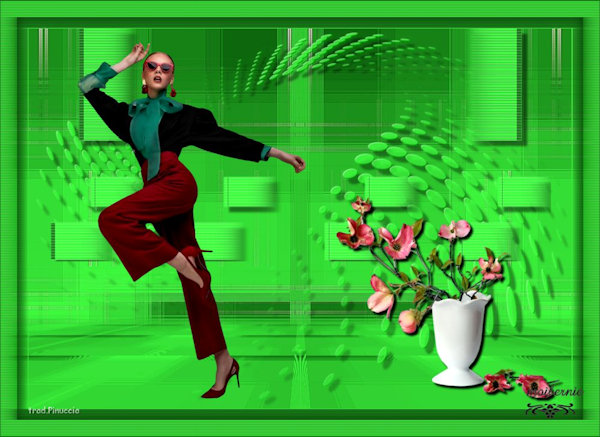
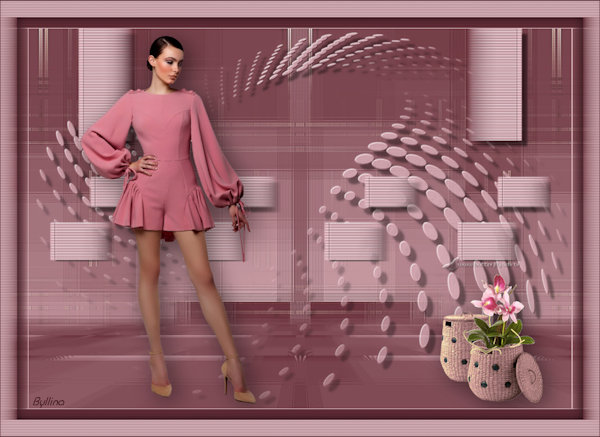
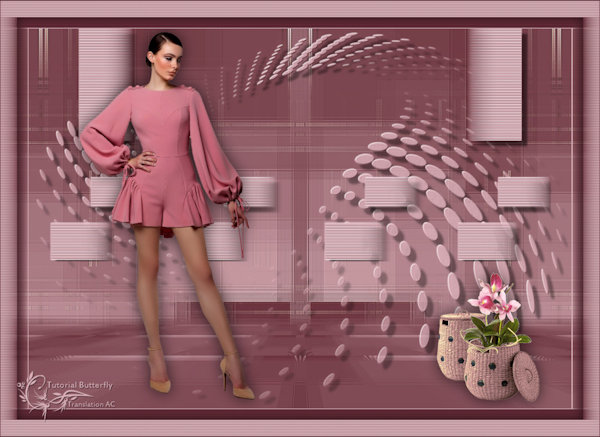
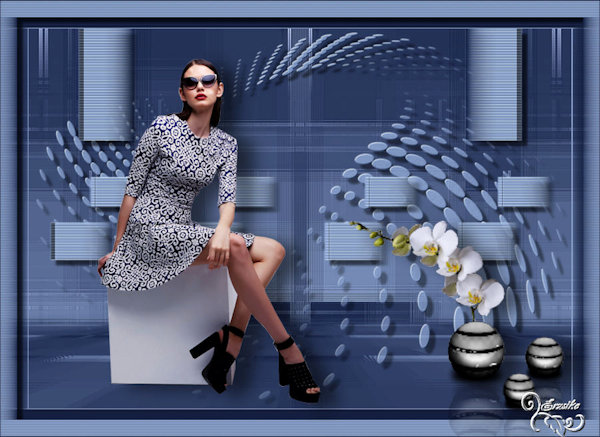
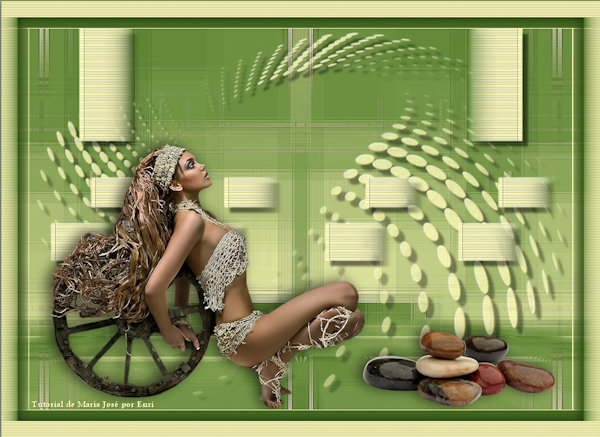
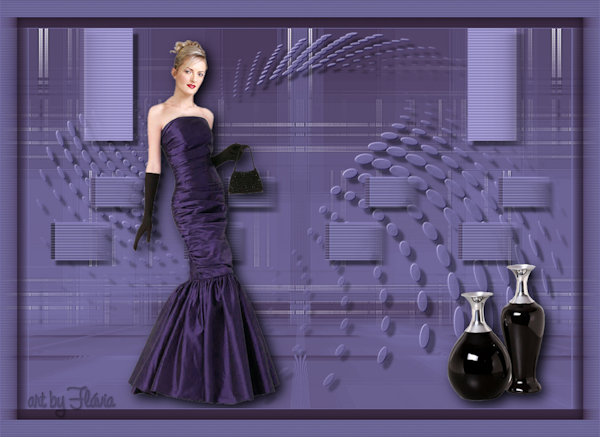
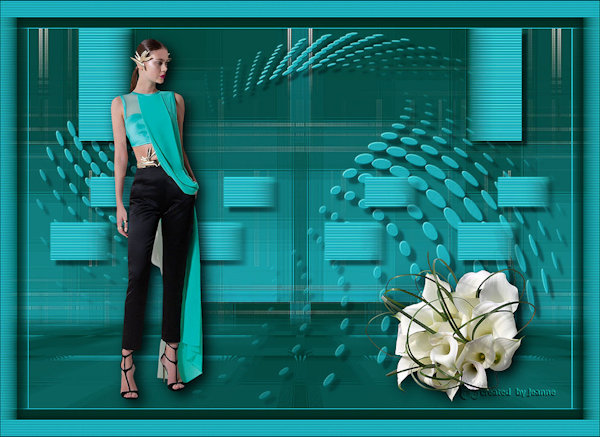
VARIANTES