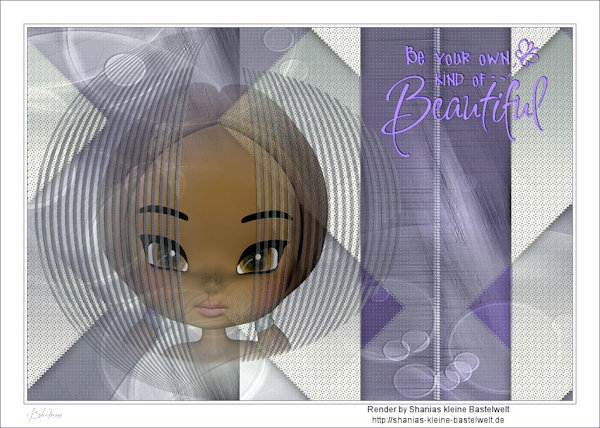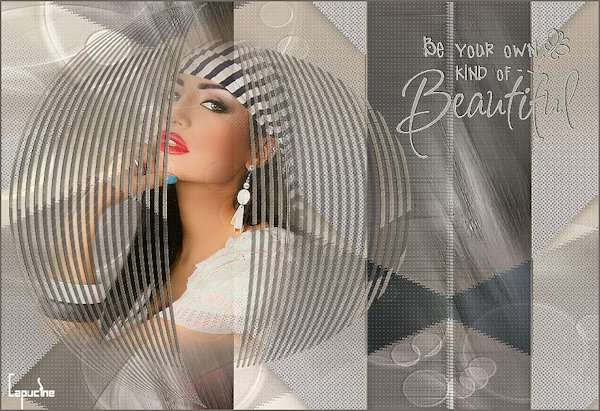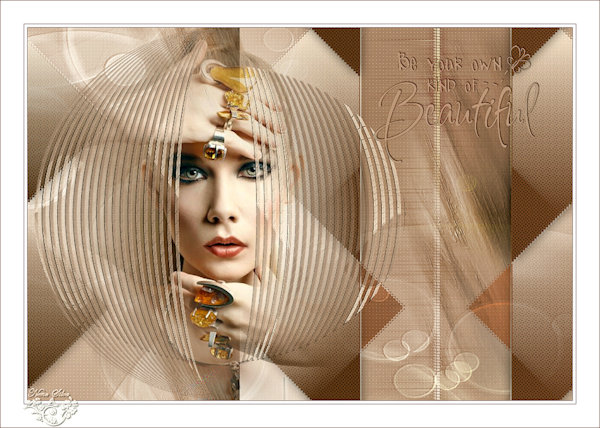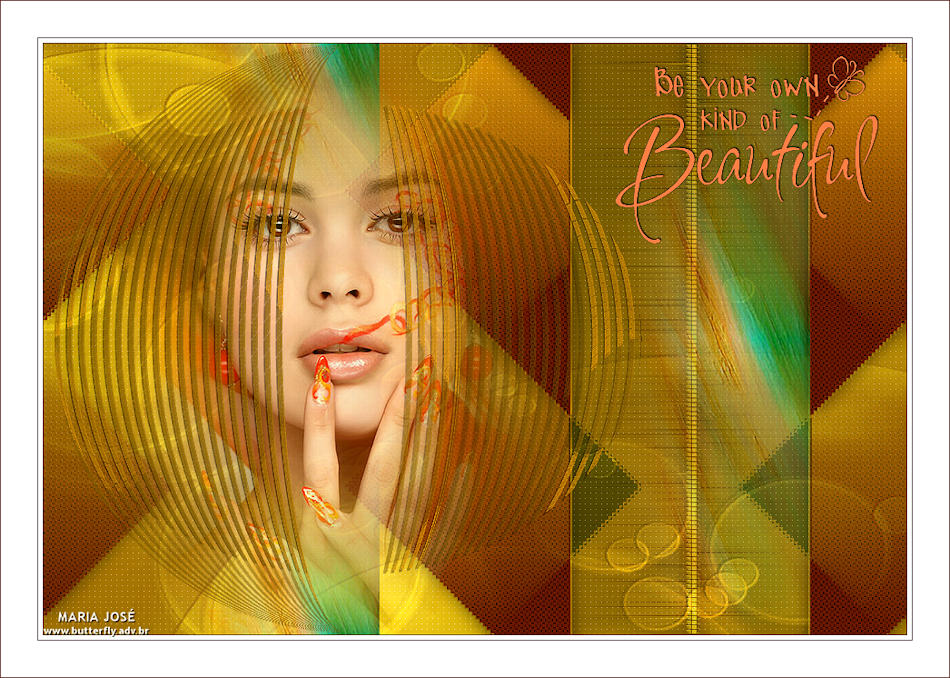
Outro modelo - Misted Yoka

Para este tutorial vamos precisar
Um tube
Uma mask
Tubes e texto Yoka e Athe, eu as agradeço
Mask MJ
MATERIAIS

PLUGINS
Simple
Filter Factory Gallery "M"
Filters Unlimited 2
Carolaine and Sensibility
AP[Line] SilverLining
Cores usadas neste tutorial - Foreground #47430d - Background #de9a1e e #682210
Escolher duas cores diferentes - Foreground (escura) - Background (clara)
Formar gradiente - LINEAR - ANGLE 45 - REPEATS 0

1.- Abrir alphachannel_kindof - fazer uma cópia e fechar o original - vamos trabalhar na cópia
Preencher com a gradiente
2.- Plugin - Simple - Half Warp
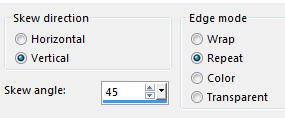
3.- Effects - Geometric Effects - Skew =45 - Repeat
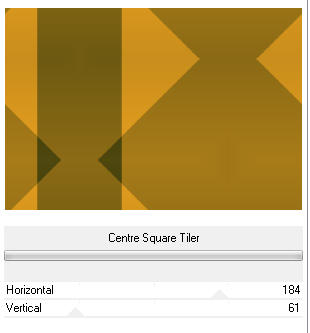
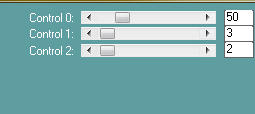
4.- Plugin - Filter Factory Gallery "M" - CCentre Square Tiler - DEFAULT
5.- Filters Unlimited 2 - Lens Effects - Refractor 1
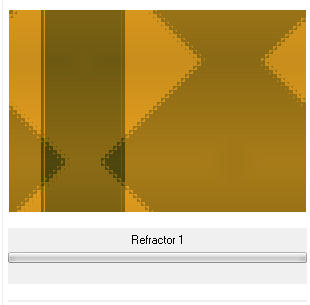
Image - Mirror Horizontal
6.- Selections - Load Selections from Alpha Channel - Selection #1
7.- Layers - Add New Layer - preencher com uma cor sólida diferente
(usamos #682210)
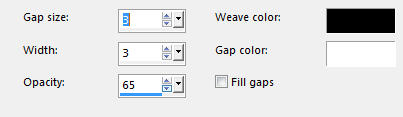
8.- Effects - Texture Effects - Weave (3, 3, 65, preto, fill desclicado)
Adjust - Sharpness - Sharpen - Deselecionar
9.- Effects - 3DEffects - Drop Shadow - 0, 0, 60, 30, preto
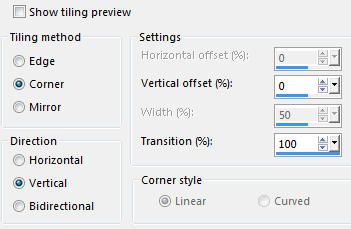
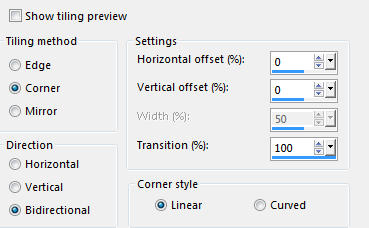
Effects - Image Effects - Seamless Tiling - Corner Vertical - Transition 100
10.- Layers - Add New Layer - preencher com branco
11.- Layers - New Mask Layer - mariajose_2

Layers - Merge Group
12.- Effects - User Definid Filter - Emboss3
Blend Mode Overlay - Layer - Arrange - Move Down
13.- Ativar a Raster 1 - Plugin Carolaine and Sensibility - CS_LDots - Default
Layers - Duplicate - Layers - Arrange - Bring to Top
Image Resize 80% - All Layers - DESCLICADO
14.- Selections - Select All - Selection Float - Selection Defloat
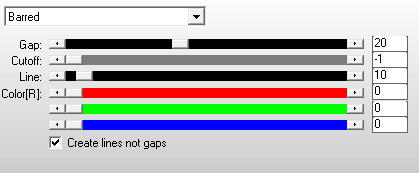
15.- Plugin AP[Line] SilverLining - Barred - 20 - Manter a Seleção
16.- Plugin Transparency - Eliminate Black - DESELECIONAR
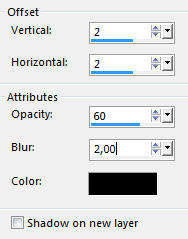
17.- Effects - 3DEffects - Drop Shadow - 2, 2, 60, 2, preto
18.- Plugin - Simple - Left Right Wrap
19.- Selections - Load Selection from Alpha Channel - Selection #2
Promote selection to Layer - Deselecionar
20.- Effects - Image Effects - Seamless Tiling - Corner Vertical - Transition 100
Layers - Merge Down
21.- Effects - Geometric Effects - Circle - Transparent
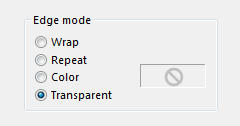
Image - Mirror Horizontal
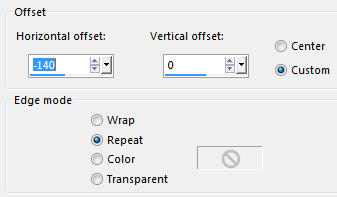
22.- Effects - Image Effects - Offset =H (-140) - V =0
Baixar a opacidade para 80%
23.- Selections - Load Selection from Alpha Channel - Selection #3
Layers - Add New Layer
24.- Edit - Copiar/Colar dentro da seleção - deco_9
Blend Mode - Overlay - Manter a Seleção
Layers - Arrange - Move Down 2 vezes
25.- Layers - Add New Layer
Edit - Copiar/Colar dentro da seleção - deco_1 - DESELECIONAR
26.- Effects - Image Effects - Seamless Tiling - Corner Vertical - Transition 100
27.- Effects - Image Effects - Seamless Tiling - Corner Bidirectional - Transition 100
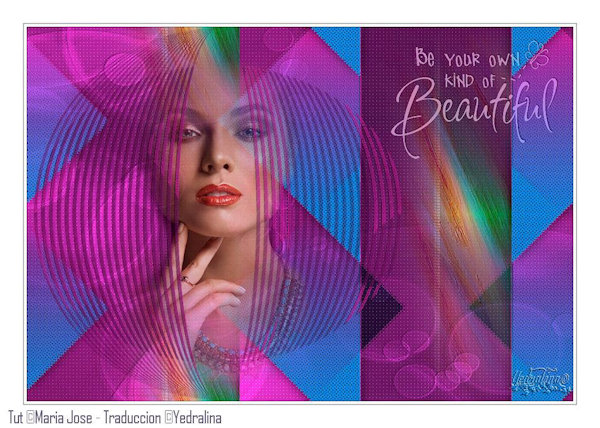
28.- Edit - Copiar/Colar o tube ou misted principal
Layers - Arrange - Move Up (ver modelo)
Baixar a opacidade para 85% (se necessário)
29.- Edit - Copiar/Colar como nova layer text_yoka
Layers - Arrange - Bring to Top (ver modelo)
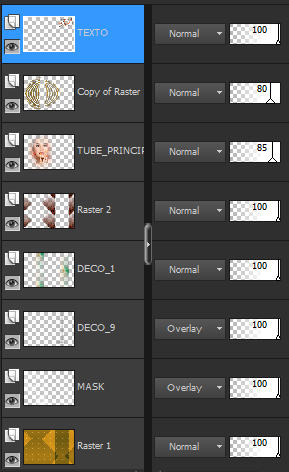
LAYERS
30.- Image - Add Borders - 1px - cor escura
Image - Add Borders - 5px - com branco
Image - Add Borders - 1px - cor escura
Image - Add Borders - 40px - com branco
31.- Assinar o trabalho - Layers - Merge All Flatten
32.- Plugin - AAA Filters - Custom - Landscape
Image - Add Borders - 1px - cor escura
33.- Image - Resize - 950px Width - Salvar em .jpg
Espero que apreciem, obrigada.
Este tutorial foi criado em 26 de janeiro de 2017 por Maria José Prado. É protegido por lei de Copyright e não poderá ser copiado, retirado de seu lugar, traduzido ou utilizado em listas de discussão sem o consentimento prévio e escrito de sua autora acima declinada.
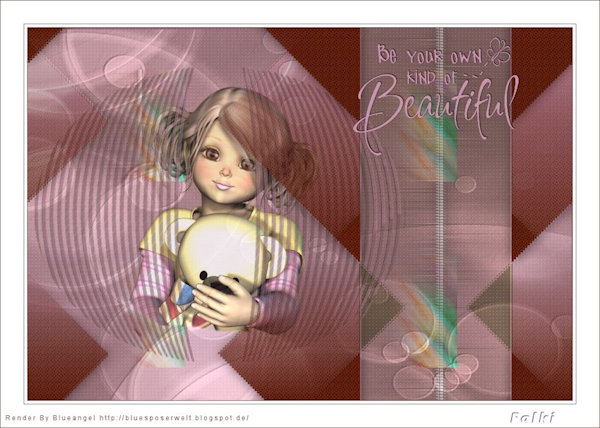
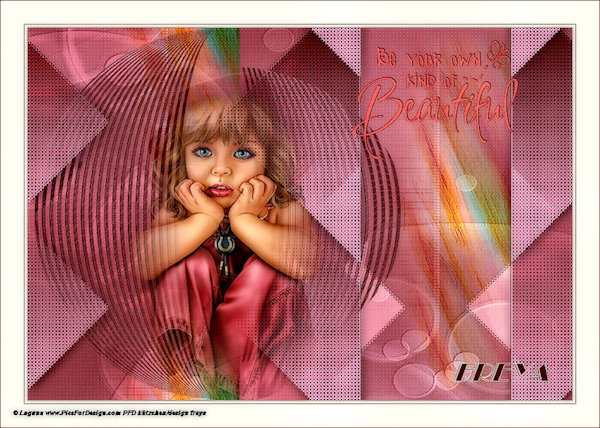
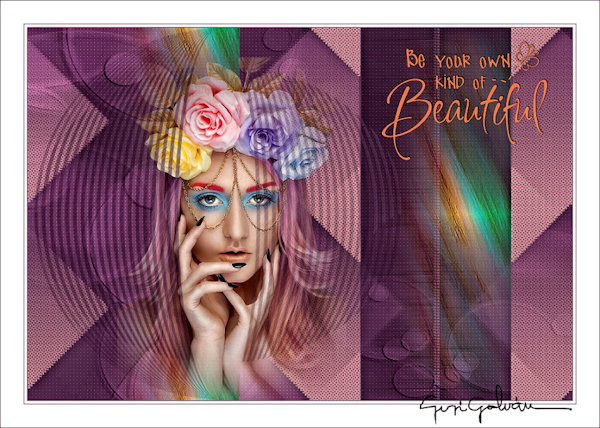
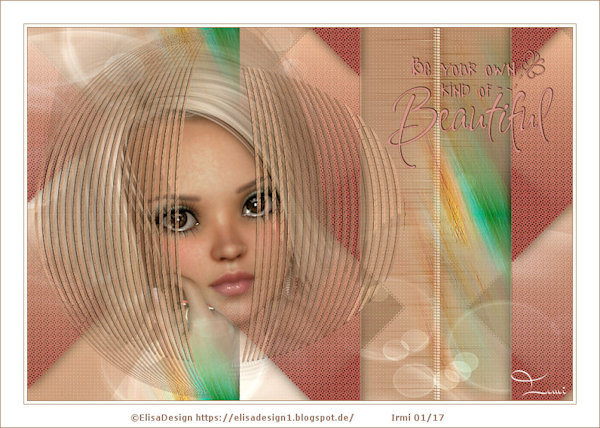
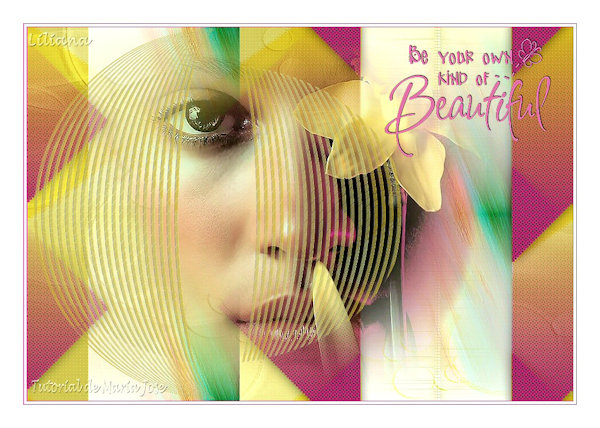
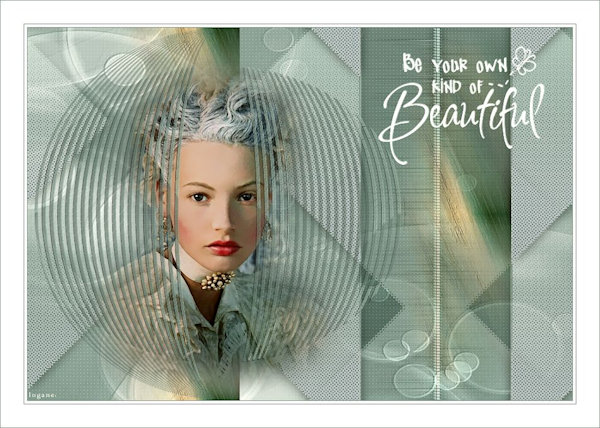
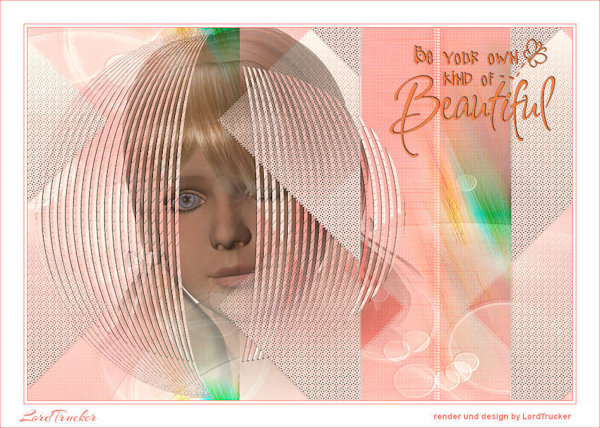
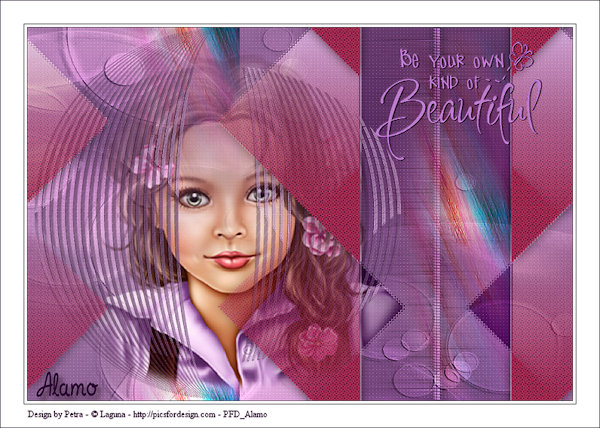
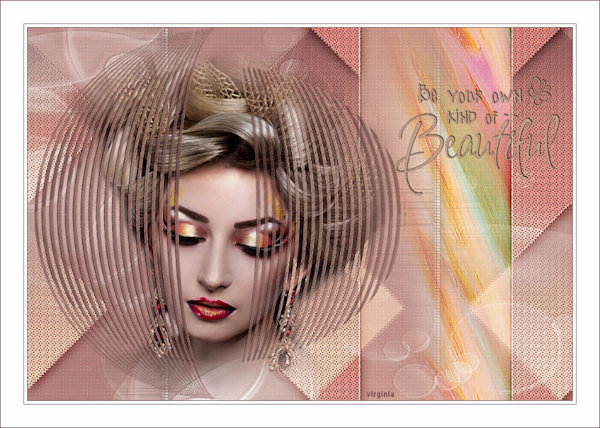
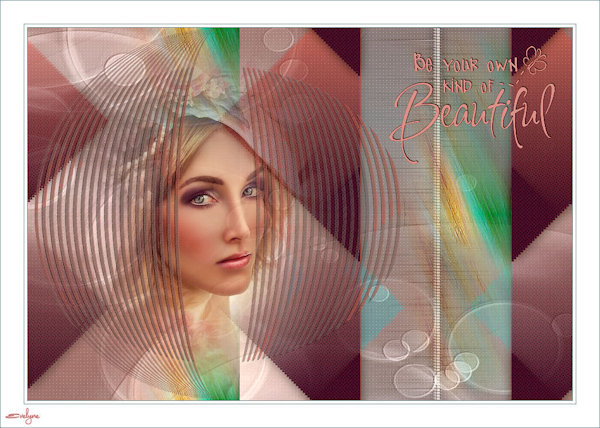
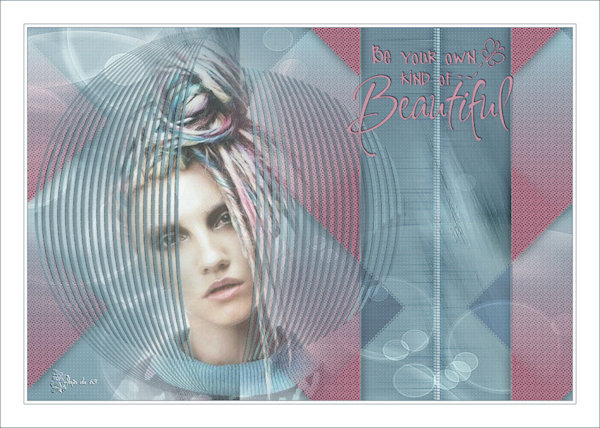
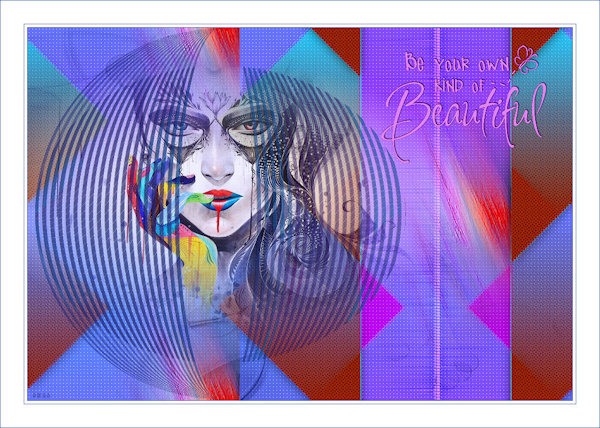
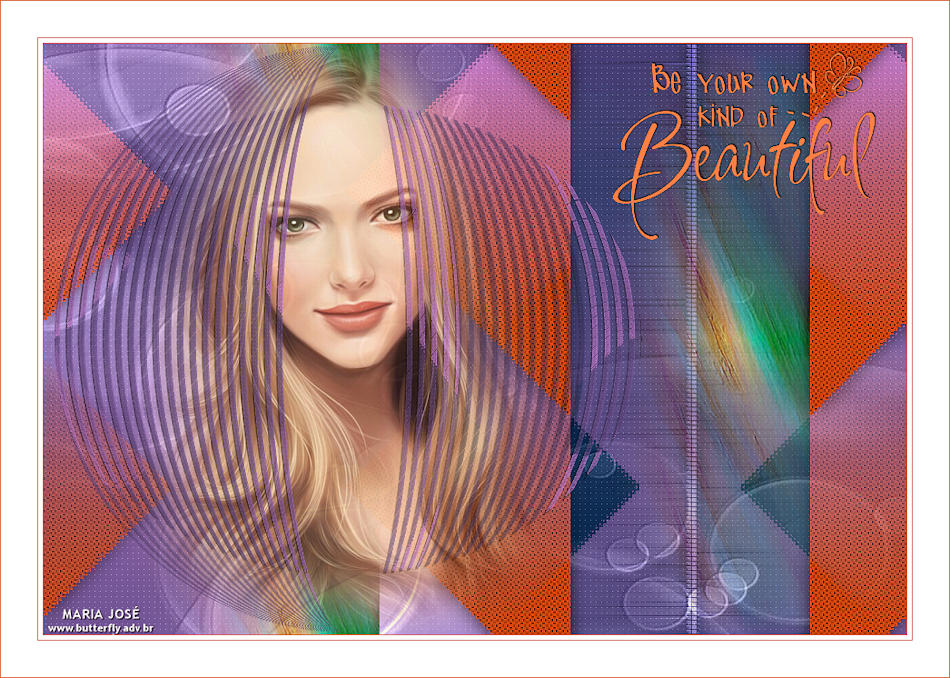
VARIANTES
|