Material
Um tube feminino
Um tube decorativo
demais click abaixo

|
Plugins
Toadies
AAAFrames - Foto Frame
DSB Flux - Linear Transmission
Carolaine & Sensibility
RCS Filter Pak 1.0
Simple
Filters Unlimited2
Eye Candy 5, Texture
MurA's Meister - Perspective Tiling
VM Natural
Nik Color Effect Pro 3(OPCIONAL)
|
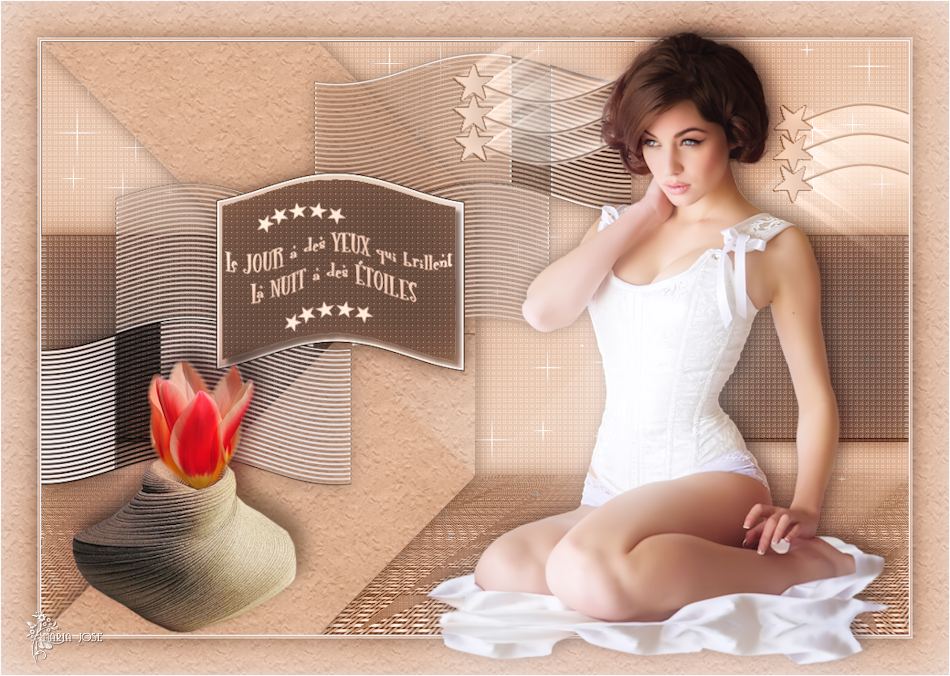
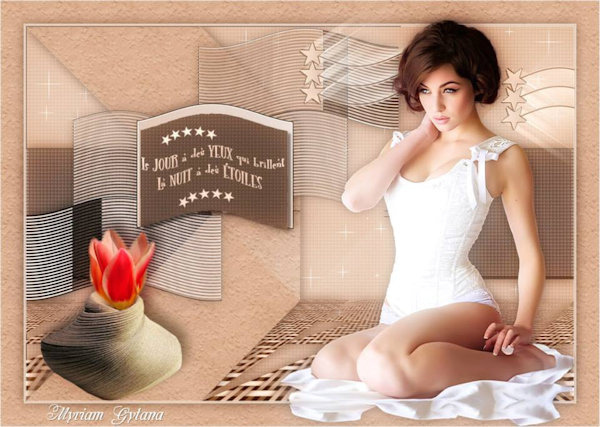
Tube Feminino by Roby2765 - Vaso by Verlaine, eu agradeço
****
1.- Preparar gradiente, Linear, A 0, R 0, cores do tube
Background #d0a68f - Foreground #f6f7fe
2.- Abrir alphachannel_etoile, faça uma cópia, vamos trabalhar nela
Preencher com a gradiente
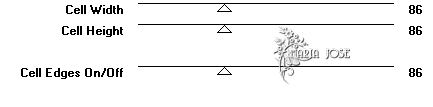
3.- Plugin Toadies Weaver 86, 86, 86
4.- Selections, Load Selection from alphachannel, selection #1
Promote Selection to Layer
AAAFrames, Foto Frame

Deselecionar tudo
5.- Raster 1 - Selections, Load Selection from alphachannel, selection #2
Promote Selection to Layer
AAAFrames, Foto Frame, como acima
Deselecionar tudo
Layers, Duplicate, apenas esta Layer,CENTRAL
Layers, Arrange, Bring to Top
6.- Raster 1 - Selections, Load Selection from alphachannel, selection #3
Promote Selection to Layer
AAAFrames, Foto Frame, mesma configuração
Deselecionar tudo
7.- Tirar a visibilidade da Raster 1 e de cima (copy)
Layers, Merge Visible
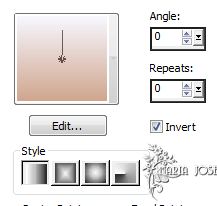
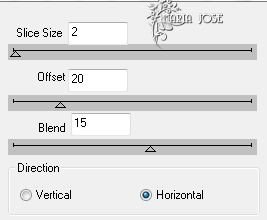
8.- Na layer Merged, Plugin DSB Flux, Linear Transmission, 2, 20, 15, Horizontal
Image, Resize 80%, all layers desclicado
Effects, Distortion Effects, Wave, 0, 1, 3, 40
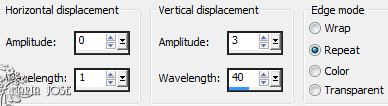
Image Mirror, Image Flip
9.- Ativar a layer de cima (copy) e Wave 0, 1, 3, 40
Layers, Merge down
Image resize 85%, all layers desclicado
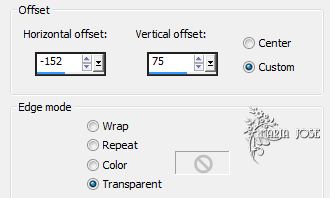
Effects, Image Effects, Offset H (-152), V 75
10.- Selections, Load Selection from alphachannel, selection #7
Layers, Add New Layer, preencher com a cor sólida escura
Plugin, Carolaine & Sensibility, CS_LDots, default
Plugin RCS Filter Pak 1 Coppertooling Simulator, Default

Drop Shadow, 5, 5, 50, 5, preto
Deselecionar tudo, Merge Down
Drop Shadow, 0, 0, 60, 30, preto
9.- Tirar a visibilidade desta layer, ativar a Raster 1
Plugin Simple, Pizza Slice Mirror 2 VEZES
10.- Rater 1 - Load Selection from alphachannel, selection #4
Promote Selection to Layer
Filters Unlimited2, Paper Textures, Wallpaper Fine, 88, 88
Drop Shadow, 0, 0, 60, 30, preto
Deselecionar tudo
11.- Rater 1 - Load Selection from alphachannel, selection #5
Promote Selection to Layer
Plugin, Carolaine & Sensibility, CS_LDots
Plugin RCS Filter Pak 1.0 Coppertooling Simulator, Default
Deselecionar tudo, Layers, Duplicate, Image Mirror
Layers, merge down, Mudar a Blend para Luminance(L)
Drop Shadow, 0, 0, 60, 30, preto
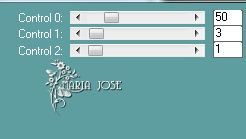
12.- Na Raster 1, Plugin Carolaine & Sensibility, CS_LDots, 50, 3, 1
Load Selection from alphachannel, selection #6
Promote Selection to Layer
Eye Candy 5, Texture, Weave, preset etoile_mj
Mudar a blend para Luminance (L) ou outra de acordo com suas cores
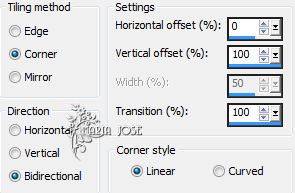
MurA's Meister, Perspective Tiling
Deselecionar tudo
Effects, Seamless Tiling
Drop Shadow 0, 0, 60, 30, preto
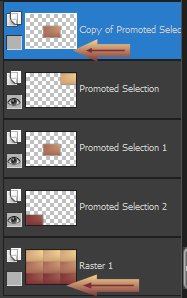
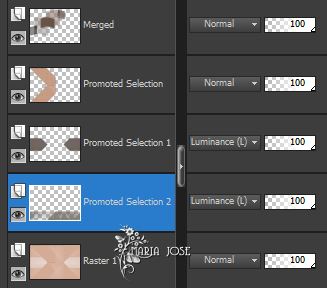
13.- Tornar visivel a layer Merged
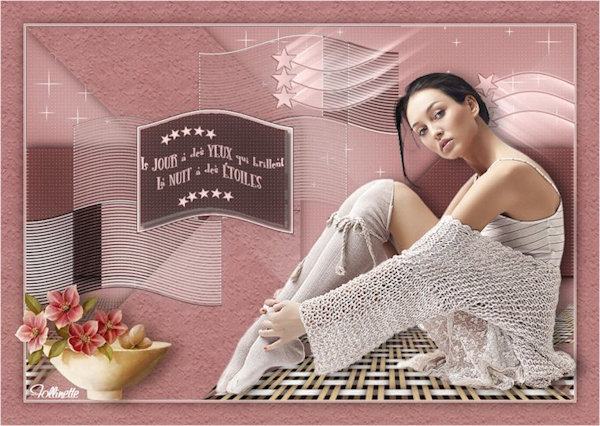
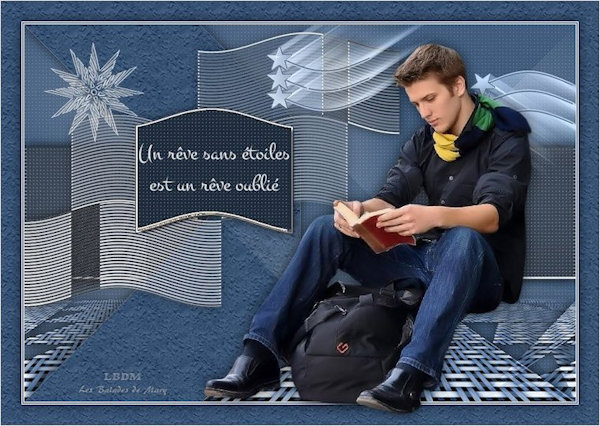
As Layers Deverão estar assim
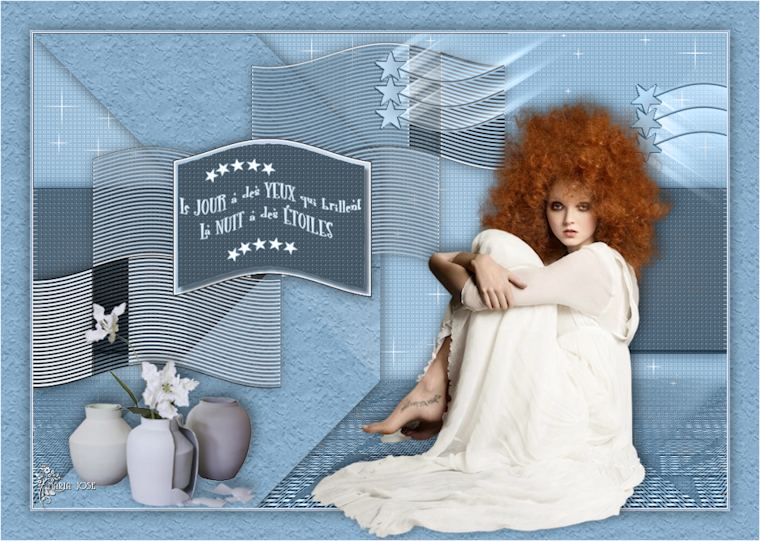
14.- Edit, copiar e colar o texto_etoile_1_mj, como no modelo
15.- Edit, copiar e colar o tube etoile_mj, ajustar como no modelo
16.- Na RASTER-1, Plugin VM Natural, Sparkle (2 VEZES)

17.- Image, add borders 1px cor clara
18.- Image, add borders 2px cor escura
19.- Image, add borders 1px cor clara
20.- Image, add borders 40px cor escura
21.- Com a Magic Wand, selecionar as bordas
22.- Filters Unlimited2, Paper Textures, Wallpaper Fine, 88, 88
23.- Selections, Select Invert, drop shadow, 0, 0, 60, 30, preto
Deselecionar tudo
24.- Edit, copiar e colar os tubes como no modelo
25.- Drop shadow, gosto pessoal
26.- Image, add border, 1px, cor clara
27.- Image, Resize 950px, Width, assinar e salvar em .jpg
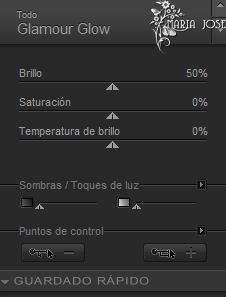
28.- Plugin Nik Color Effect Pro 3, Glamour Glow (opcional)
Este tutorial foi criado em 29 de abril de 2013 por Maria José Prado. É protegido por lei de Copyright e não poderá ser copiado,
retirado de seu lugar, traduzido ou utilizado em listas de discussão sem o consentimento prévio e escrito de sua autora acima declinada.
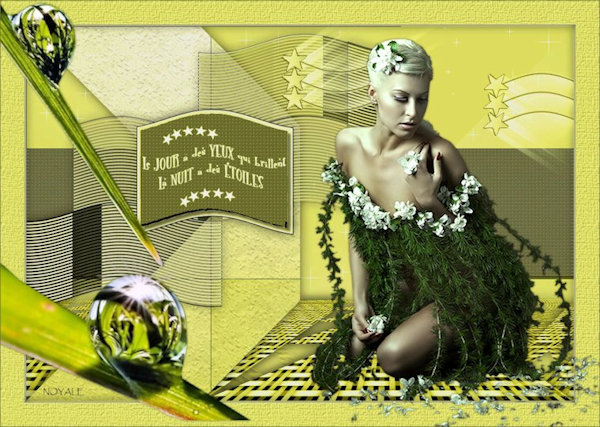
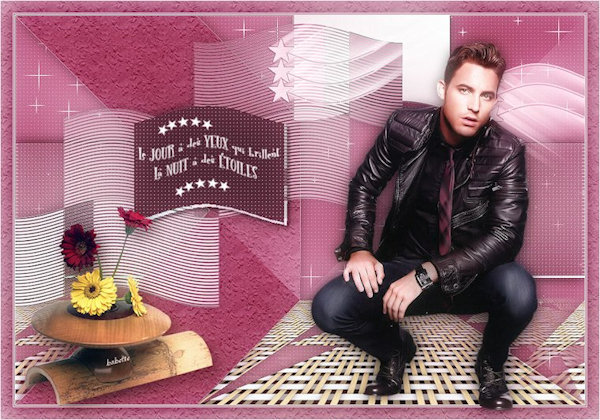
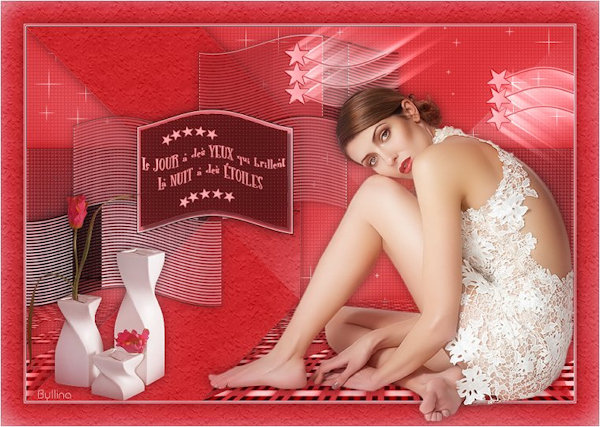
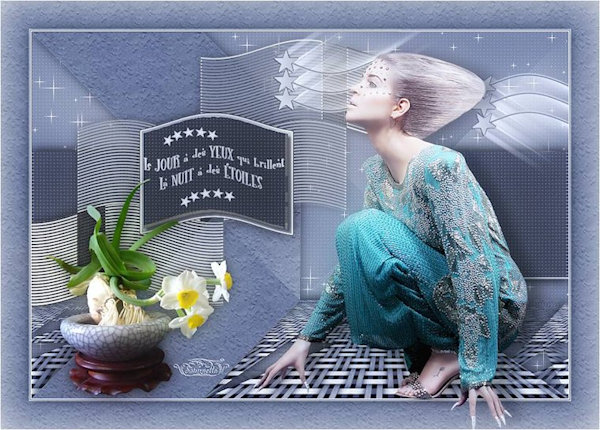
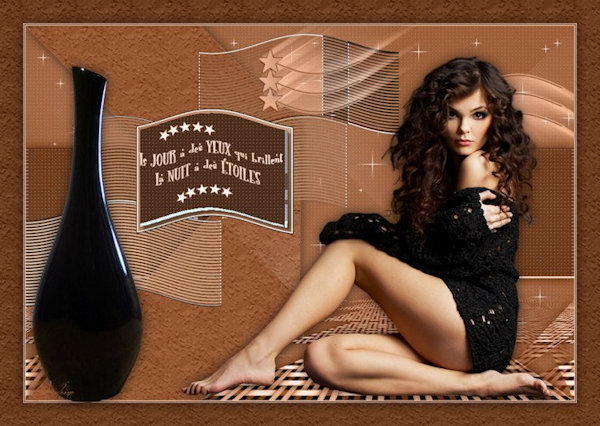
Outro exemplo
Obrigada Nicole e Annelies, pelos tubes.
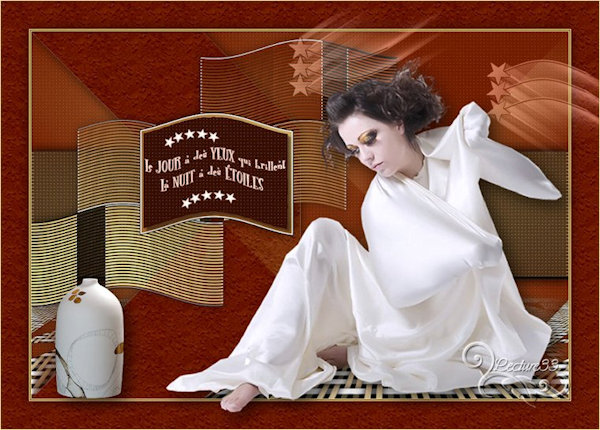
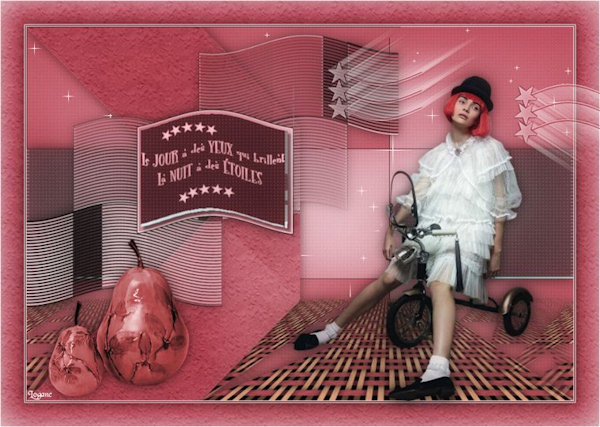
VARIANTES
|