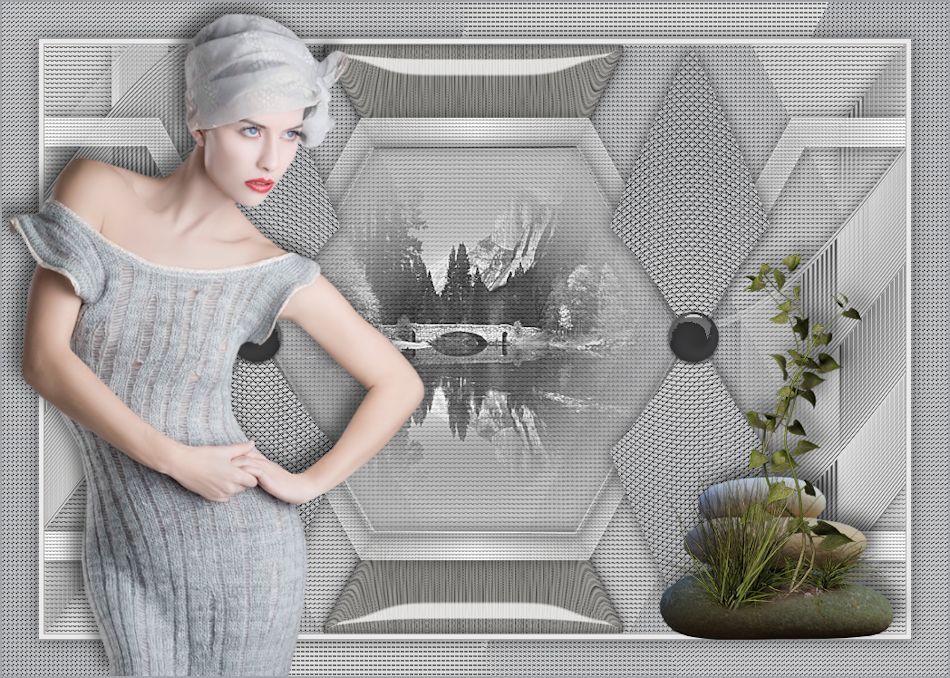
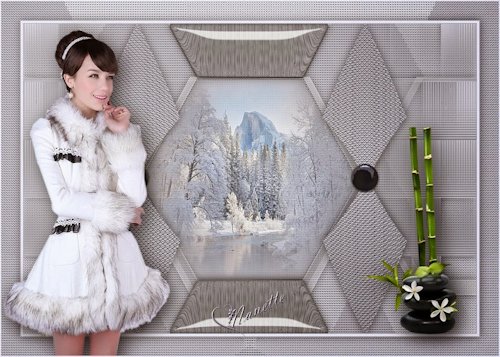
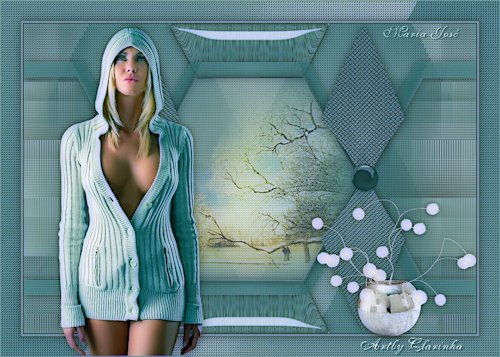
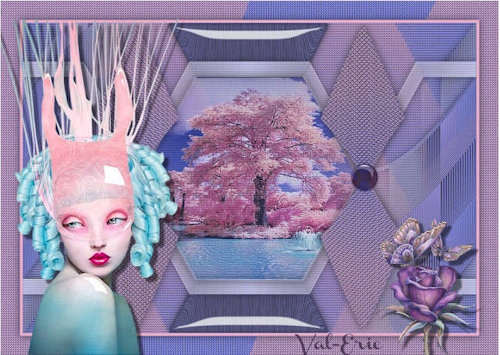
MATERIAL
Um tube
Um misted
Um deco
demais, click abaixo

|
PLUGINS
Filter Factory Gallery "Q"
AP [Lines] SilverLining
Filter Factory Gallery "N"
Toadies
Eye Candy 5, Impact, Glass
|
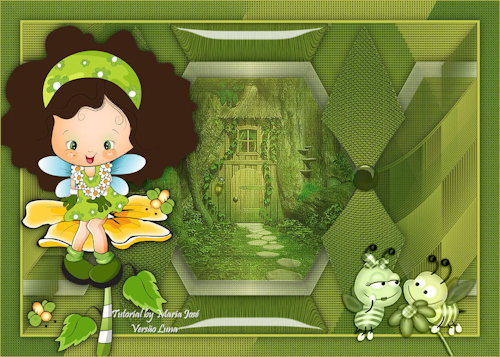
Obrigada Guismo e Nara Pamplona pelos tubes e misted, decos pessoal.
*****
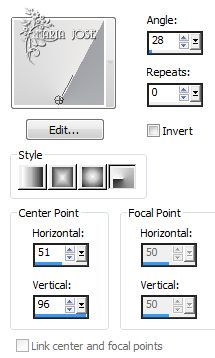
1.- Preparar gradiente Radial, A 28 - R 0, Center Point 51, 96
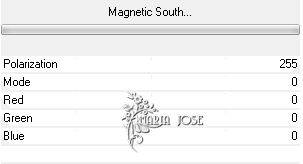
2.- Plugin Filter Factory Gallery "Q" Magnetic South 255, 0, 0, 0, 0
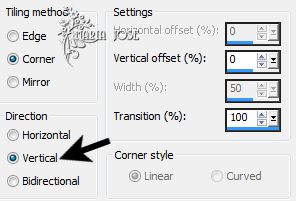
3.- Effects, Image Effects, Seamless Tiling, Corner, Vertical 0, 0, 50, 100
4.- Layers, Duplicate, Image Mirror, Opacidade 50, Merge Visible
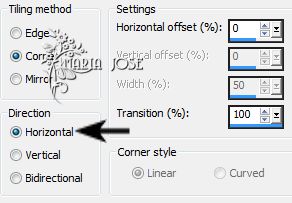
5.- Effects, Image Effects, Seamless Tiling, Corner, Horizontal 0, 0, 50, 100
6.- Selections, Load Selection From Alpha Channel selection #1
7.- Selections, Promote Selection to Layer, Deselecionar tudo
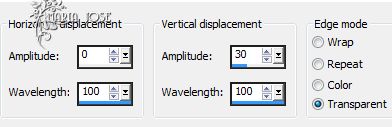
8.- Effects, Distortion Effects, Wave, 0, 100, 30, 100, Transparent
9.- Layers, Duplicate, Image Flip, Merge Down
10.- Layers Duplicate, Image Mirror, Layers, Merge Down
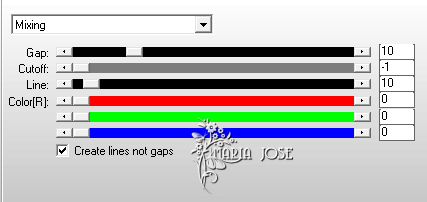
11.- Plugin AP [Lines] SilverLining, Mixing
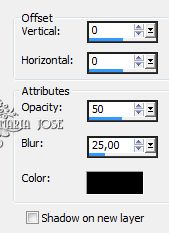
12.- Effects, 3DEffects, Drop Shadow 0, 0, 50, 25, preto
13.- Ativar a Layer Merged (de baixo)
14.- Selections, Load Selection From Alpha Channel selection #2
15.- Selections, Promote Selection to Layer, Deselecionar tudo
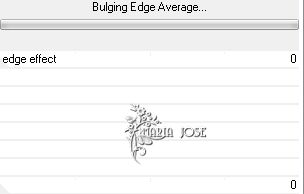
16.- Plugin Filter Factory Gallery "N" - Builging Edge Average, 0, 0
17.- Layers, Duplicate, Image Flip, Merge Down
18.- Selections, Load Selection From Alpha Channel selection #3, DELETAR
19.- Deselecionar tudo, Adjust, Sharpness, Sharpen More
20.- Image Resize 75% (all layers descliado)
21.- Effects, Image Effects, Seamless Tiling, como no item 5
22.- Effects, 3DEffects, Drop Shadow como acima
23.- Ativar novamente a layer Merged
24.- Selections, Load Selection From Alpha Channel selection #6
25.- Selections, Promote Selection to Layer, Deselecionar tudo
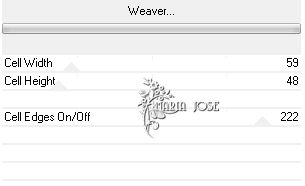
26.- Plugin Toadies, Weaver, DEFAULT
27.- Layers, Duplicate, Image Mirror, Image Flip, Merge Down
28.- Repetir Distortion Effects Wave, mesma configuração
29.- Effects, Drop Shadow como acima
30.- Ativar a Layer Merged
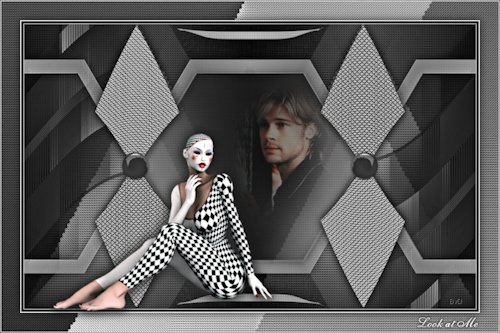
31.- Selections, Load Selection From Alpha Channel selection #4
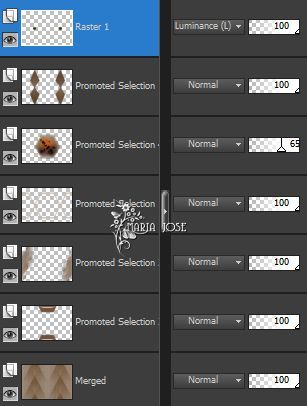
32.- Selections, Promote Selection to Layer, MANTER A SELEÇÃO
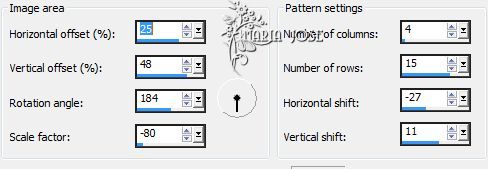
33.- Effects, Reflection Effects, Pattern
34.- Eye Candy 5, Impact, Glass, preset majo_141113 (aba basic mudar a cor)
35.- Deselecionar tudo, Layer Duplicate
36.- Image Flip, Merge Down, Drop Shadow mesma configuração
37.- Novamente na Layer Merged
37.- Selections, Load Selection From Alpha Channel selection #5
38.- Selections, Promote Selection to Layer, Layers, Arrange Move Up 3 vezes
39.- Adjust, Blur, Gaussian Blur, Radius 30
40.- Layers, Add New Layer, copiar e colar o misted dentro da seleção
41.- Layers, Merge Down, Drop Shadow
42.- Selections, Modify, Expand 3px, Repetir o Drop Shadow
43.- Adjust, Sharpness, Sharpen More, Baixar a opacidade entre 60 e 70%
44.- Deselecionar tudo
45.- Copiar e colar o tube lookatme_mj, Blend Luminance (L) ou outra
46.- As layers deverão estar assim
47.- Layers, merge visible
48.- Image, Add Borders, 1px escura
49.- Image, Add Borders, 5px clara
50.- Image, Add Borders, 1px escura
51.- Image, Add Borders, 40px clara
52.- Magic Wand, selecionar as bordas, preencher com a gradiente
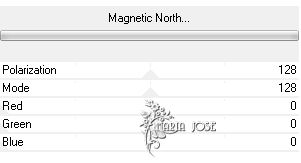
53.- Plugin Filter FActory Gallery "Q" Magnetic North, DEFAULT
54.- Selections, Promote to Layer, Deselecionar tudo
54.- Image Mirror, Image Flip, baixar a opacidade para 50%
55.- Layers, Merge Visible, Selections, Select all, Modify, contract 40
56.- Repetir o Drop Shadow, Deselecionar tudo
57.- Ativar os tubes, copiar e colar como no modelo - Drop Shadow pessoal
58.- Image, Add Borders 1px, cor clara
59.- Image, Resize 950px Width, assinar e salvar em .jpg
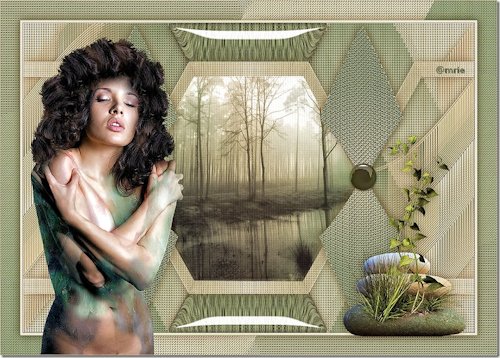
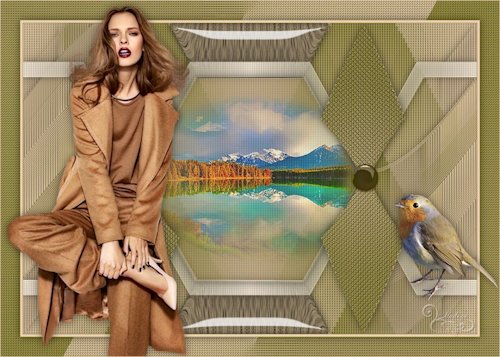
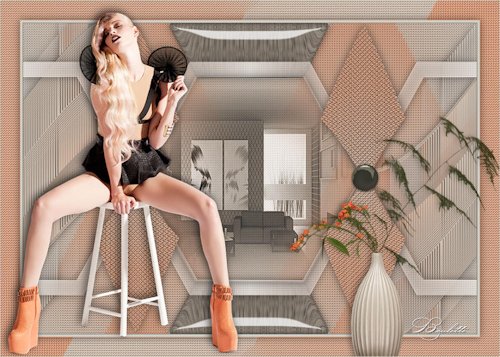
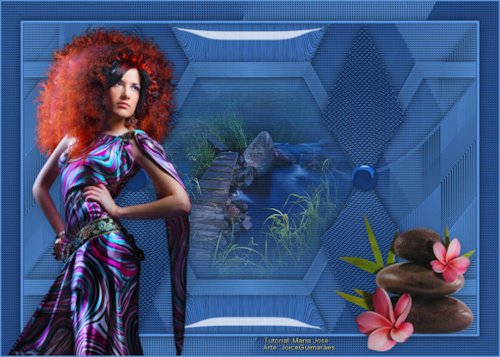
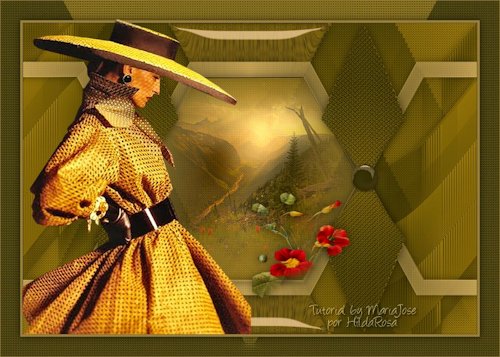
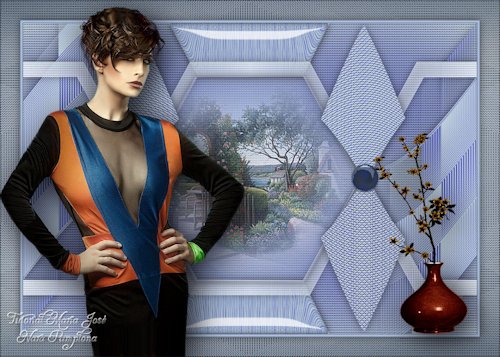
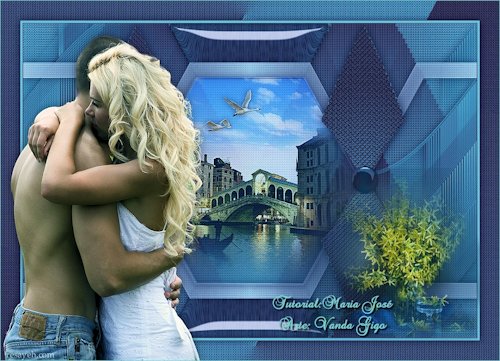
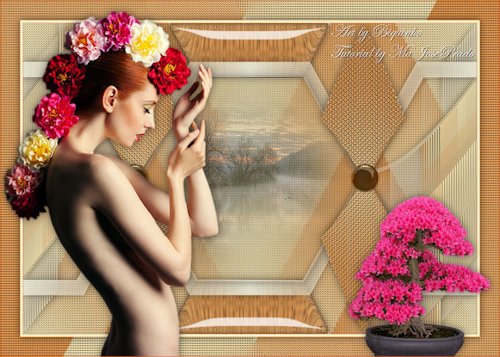
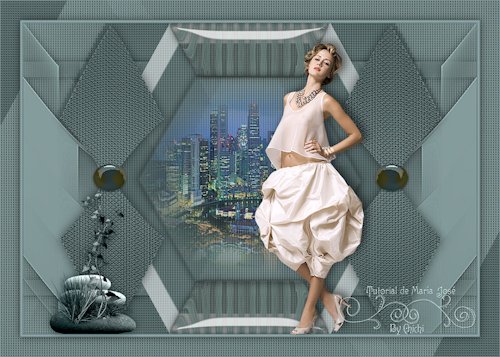
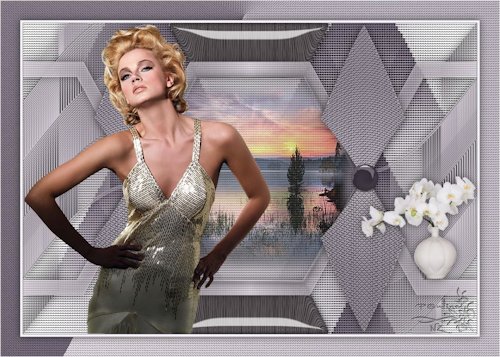
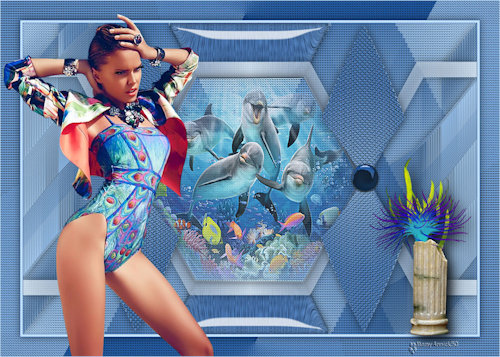
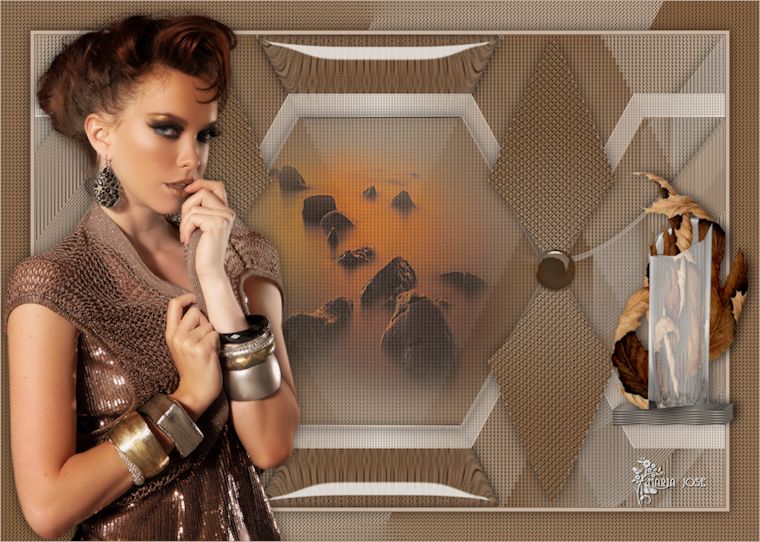
Outro Exemplo
Este tutorial foi criado em 19 de novembro de 2013 por Maria José Prado. É protegido por lei de Copyright e não poderá ser copiado,
retirado de seu lugar, traduzido ou utilizado em listas de discussão sem o consentimento prévio e escrito de sua autora acima declinada.
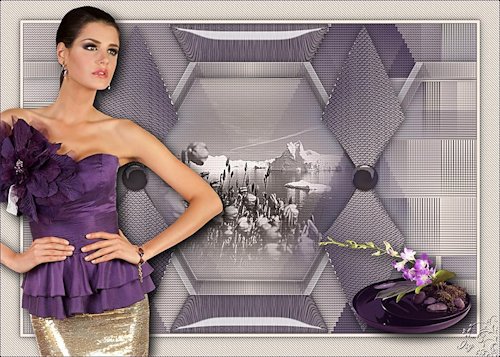
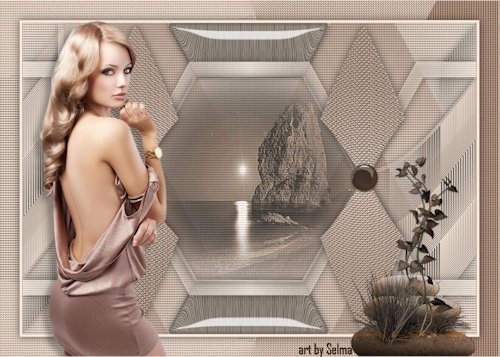
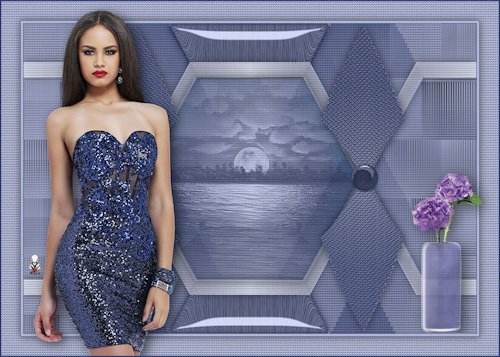
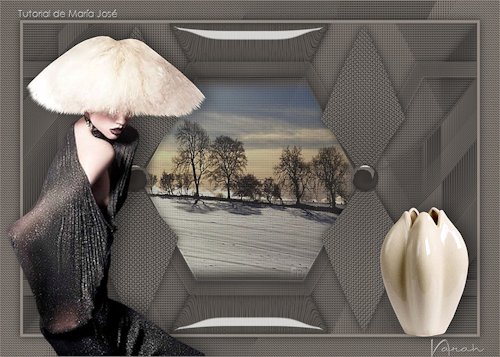
VARIANTES
|