MATERIAL 

Tube Tocha, agradeço e pessoal
Misted - pessoal
** cadre_haya_renee - File - Export - Picture Frame
** Seleções - Copiar/Colar dentro da pasta Selections do PSP
PLUGINS
Mehdi
Filters Unlimited2 - Background Designers IV
* Background Designers sf10 I
* Background - Kaleidoscope 5
Carolaine and Sensibility
Flaming Pear - Flexify 2
MuRa's Meister
MuRa's Seamless
AAA Filters - Custom
________________________________________________________________________________________________________
Cores deste tutorial - Foreground #ff7c6f- Background #392b44 -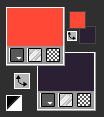
________________________________________________________________________________________________________
1.- Abrir transparência - 1000x700px
2.- Plugin - Mehdi - Wavy Lab 1.1
* Cores - 1 #392b44 - 2 #ff7c6f - 3 #ef5309 - 4 #943435 - 
.jpg)
3.- Filters Unlimited2 - Background Designers IV - sf10 Slice N Dice
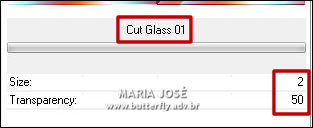
4.- Filters Unlimited2 - Background Designers sf10 I - Cut Glass 01 (2, 50)
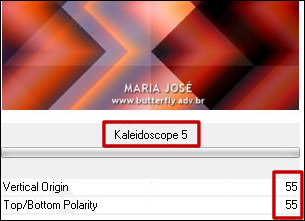
5.- Filters Unlimited2 - Background - Kaleidoscpe 5 - 55, 55
6.- Plugin - Carolaine and Sensibility - CS-Linear-H - 10, 10, 0

________________________________________________________________________________________________________
7.- Selections - Load Selection from Disk - haya_mj
* Promote selection to layer - SELECT NONE
8.- Effects - Texture Effects - Weave

9.- Adjust - Sharpness - Sharpen More - Drop Shadow 0, 0, 60, 30, preto
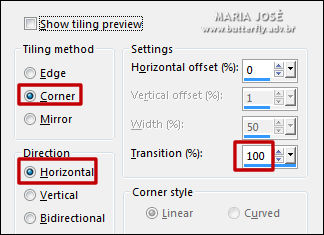
10.- Effects - Image Effects - Seamless Tiling - Corner - Horizontal - Transition 100
11.- Layers - Duplicate - Image Mirror Horizontal - Image Flip Vertical
* Layers - Merge Down
________________________________________________________________________________________________________
12.- Effects - Geometric Effects - Circle - Transparent

* Image - Resize 90% - All Layers - DESCLICADO
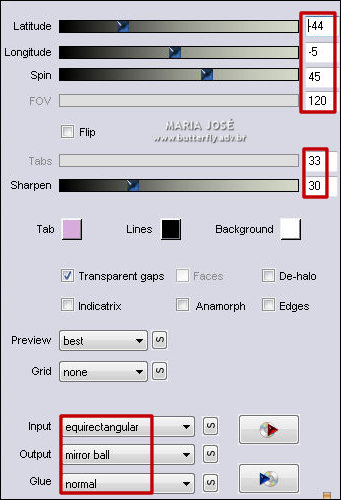
13.- Plugin - Flaming Pear - Flexify 2 - preset como material
14.- Plugin - MuRa's Meister - Copies
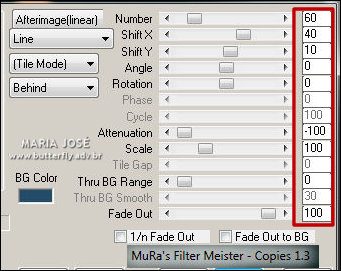
* Image - Mirror Horizontal
________________________________________________________________________________________________________
15.- Selections - Load Selection from Disk - haya_1_mj
* Layers - Add New Layer - Move Down
16.- Edit - Copiar/Colar dentro da seleção o misted
* SELECT NONE
________________________________________________________________________________________________________
17.- Layers - Add New Layer - Arrange - Bring to Top
* Preencher com a cor #ff8b7f
18.- Layers - New Mask Layer - from Image - maskgeo_mj
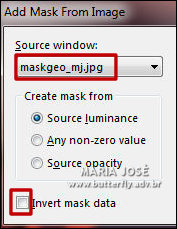
* Layers - Merge Group
19.- Plugin - MuRa's Seamless - Emboss at Alpha - DEFAULT
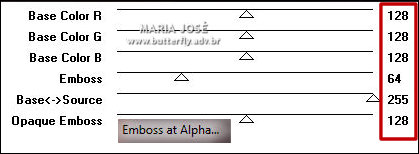
20.- Effects - 3D Effects Drop Shadow 5, 5, 50, 5, preto
________________________________________________________________________________________________________
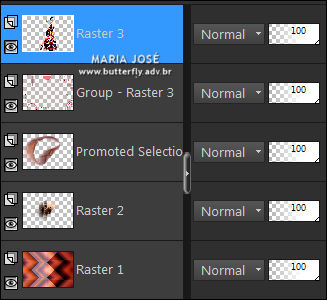
21.- Edit - Copiar/Colar como nova layer tube personagem (resize 58%)
* Posicionar - Drop Shadow critério Pessoal
LAYERS - Organizar - Layers - Merge Visible
________________________________________________________________________________________________________
BORDERS
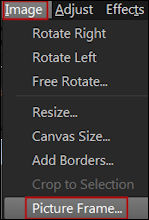
22.- Image - Picture Frame - cadre_haya_renee (colorir a seu gosto)
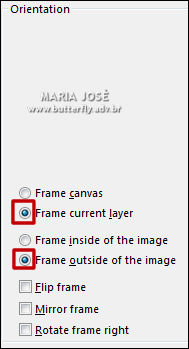
* Drop Shadow 0 0, 60, 60 preto
23.- Assinar o seu trabalho - Layers - Merge - Merge All Flatten
24.- Image - Add Borders - 1px - preto
FACULTATIVO - Plugin - AAA Filters - Custom - Landscape - Brightness = 0

25.- Image - Resize - Width 1000px - Salvar em .jpg
Espero que apreciem, obrigada.
________________________________________________________________________________________________________
Outro modelo
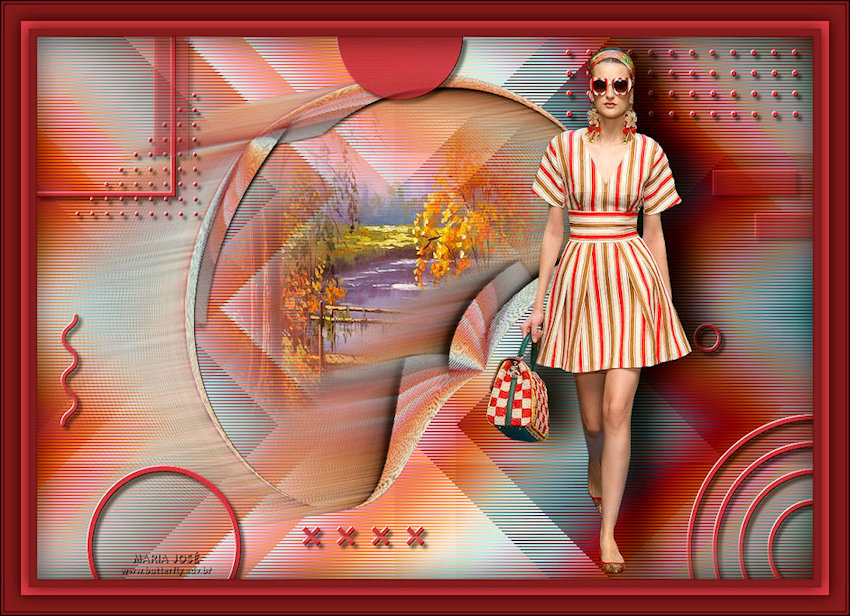


Este tutorial foi criado em 20 de março de 2020 por Maria José Prado. É protegido por lei de Copyright e não poderá ser copiado, retirado de seu lugar, traduzido ou utilizado em listas de discussão sem o consentimento prévio e escrito de sua autora acima declinada.
VARIANTES
