MATERIAL 
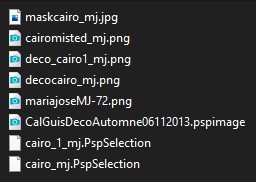
Tube decorativo Guismo e Nena Silva, agradeço
Tubes e misted, MJ
*** Seleções - Copiar/Colar dentro da pasta Selections do PSP
PLUGINS
MuRa's Seamless
Balder Olrik (AQUI)
MuRa's Meister
Carolaine and Sensibility
AP 01 [Innovations]
Graphics Plus
______________________________________________________________________________________
Formar Gradiente - LINEAR - Angle 0 - Repeats 1 - cores a seu gosto
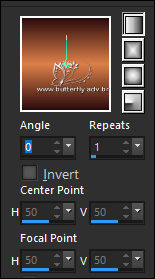
Nossas Cores - Foreground- - #2c0c0d - Background-
 - #dd7f49
______________________________________________________________________________________
1.- Abrir transparência - 1000x700px - preencher com a cor escura
2.- Layers - New Mask Layer - From Image - maskcairo_mj

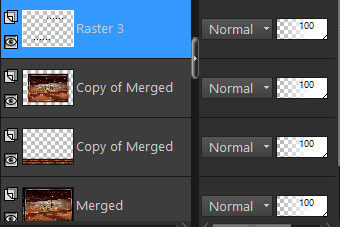
* Layers - Merge Group
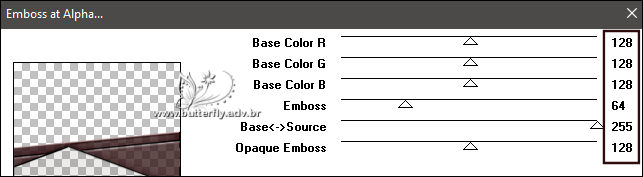
3.- Plugin - MuRa's Seamless - Emboss at Alpha - DEFAULT
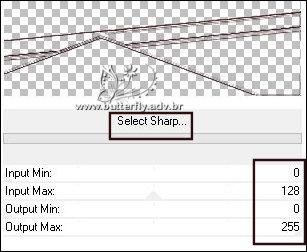
4.- Plugin - Balder Olrik - Select Sharp... - DEFAULT (0, 128, 0, 255)
5.- Plugin - MuRa's Meister - Copies

6.- Layers - Duplicate - Image Mirror Horizontal - Image Flip Vertical
* Layers - Merge Down
7.- Selections - Load Selection From Disk - cairo_mj
DELETAR - SELECT NONE
______________________________________________________________________________________
8.- Edit - Copiar/Colar como nova layer - deco_cairo1_mj
* Layers - Merge Down - Blend Mode - Hard Light
9.- Selections - Load Selection From Disk - cairo_1_mj
10.- Layers - Add New Layer - Copiar/Colar o misted dentro da seleção
* Drop Shadow 0, 0, 80, 40, preto
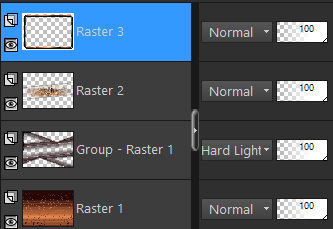
SELECT NONE - Ativar a Group - Raster 1 - Repetir o Drop Shadow
______________________________________________________________________________________
11.- Layers - Add New Layer - Preencher com a gradiente
12.- Adjust - Add Noise - Uniform - 10 - Mono clicado
13.- Adjust - Sharpness - Sharpen
14.- Plugin - Carolaine and Sensibility - CS-Linear-H (255, 255, 5)

* Layers - Arrange - Send to Bottom
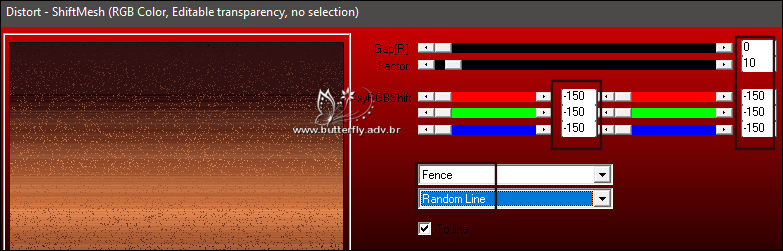
15.- Plugin AP 01 [Innovations] Distort - ShiftMesh
______________________________________________________________________________________
16.- Layers - Add New Layer - Layers - Arrange - Bring to Top
17.- Selections - Select All - Selections - Modify - Contract 40
18.- Effects - 3D Effects - Drop Shadow - como abaixo:
* 0, 20, 100, 0 - cor #2c0c0d
* 0, (-20), 100, 0 - cor #2c0c0d
* 20, 0, 100, 0 - cor #2c0c0d
* (-20), 0, 100, 0, cor #2c0c0d
SELECT NONE
______________________________________________________________________________________
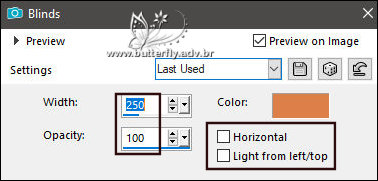
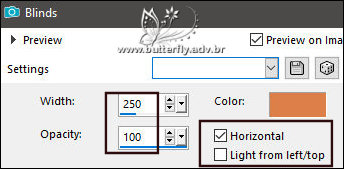
19.- Effects - Texture Effects - Blinds
20.- Effects - Reflection Effects - Rotating Mirror - DEFAULT
21.- Effects - 3D Effects - Drop Shadow 1, 1, 100, 1, preto
* Repetir em valores negativos (-1), (-1)
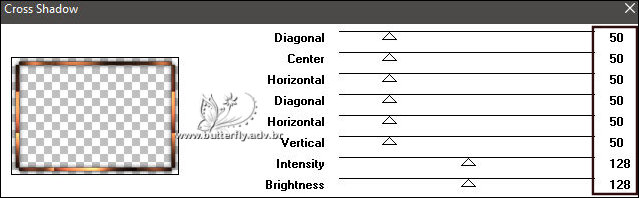
22.- Plugin - Graphics Plus - Cross Shadow - DEFAULT
23.- Effects - 3D Effects - Drop Shadow 0, 0, 80, 40, preto
______________________________________________________________________________________
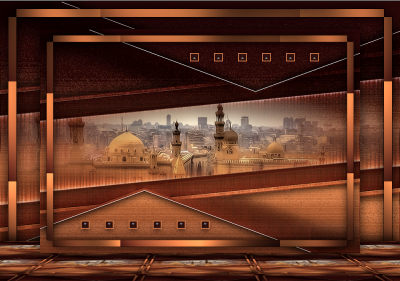
LAYERS - IMAGEM - Blend Mode como gostar

24.- Layers - Merge - Merge Visible
25.- Layers - Duplicate - Image Resize - 80% - All Layers DESCLICADO
26.- Effects - 3D Effects - Drop Shadow 0, 0, 80, 40, preto
27.- Ativar a Layer - Merged - Layers Duplicate
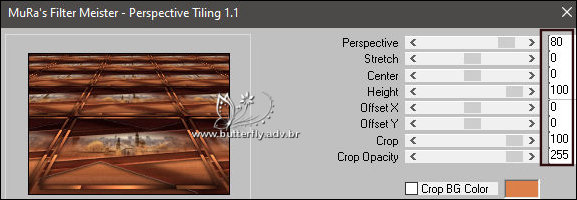
28.- Plugin - MuRa's Meister - Perspective Tiling - DEFAULT
29.- Ferramenta Pick- - Position X 0 - Position Y 600,00-
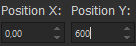
* Tecle M para desativar a ferramenta
30.- Effects - 3D Effects - Drop Shadow (-10), 0, 80, 40, preto
______________________________________________________________________________________
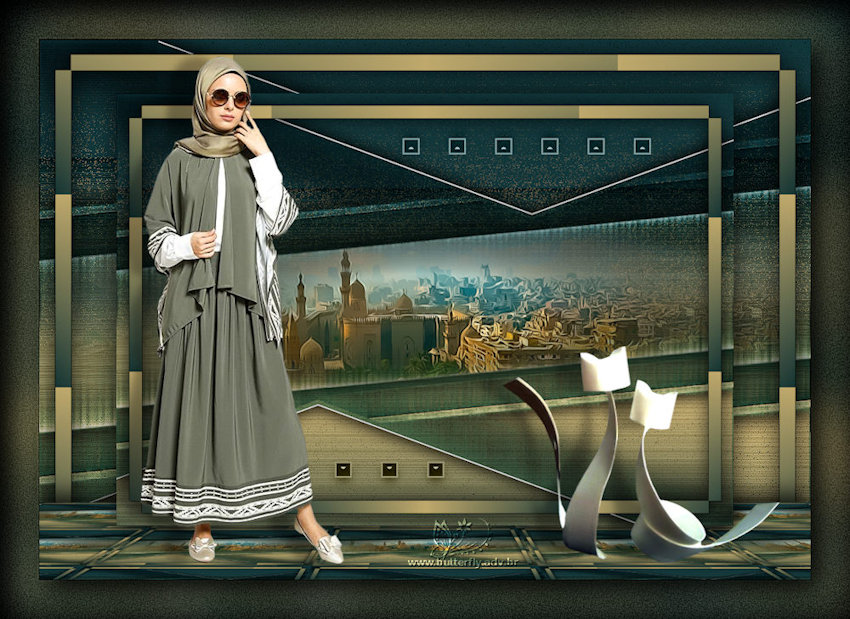
31.- Edit - Copiar/Colar - tube decocairo_mj
LAYERS - IMAGEM
32.- Edit - Copiar/Colar o tube personagem - posicionar (resize 90%)
33.- Edit - Copiar/Colar o tube decorativo - posicionar (resize 50%)
* Drop Shadow para ambos, critério pessoal
______________________________________________________________________________________
BORDERS
34.- Image - Add Borders - 1px - preto
35.- Selections - Select All - EDIT COPY
36.- Image - Add Borders - 50px - branco
37.- Selections - Invert - Colar dentro da seleção a imagem copiada (item35)
38.- Adjust - Blur - Gaussian Blur - Radius 30,00
39.- Adjust - Add Noise - Uniform - 10 - Mono clicado
40.- Adjust - Sharpness - Sharpen More
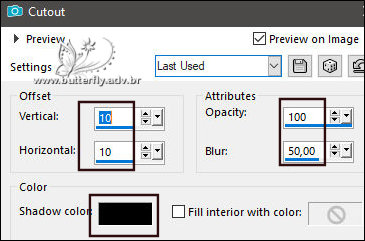
41.- Effects - 3D Effects - Cutout
SELECT NONE
______________________________________________________________________________________
42.- Assinar o trabalho - Layers Merge - Merge All Flatten
43.- Image - Resize - Width 1000px - Salvar em .jpg
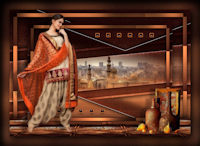
Espero que apreciem, obrigada.
______________________________________________________________________________________
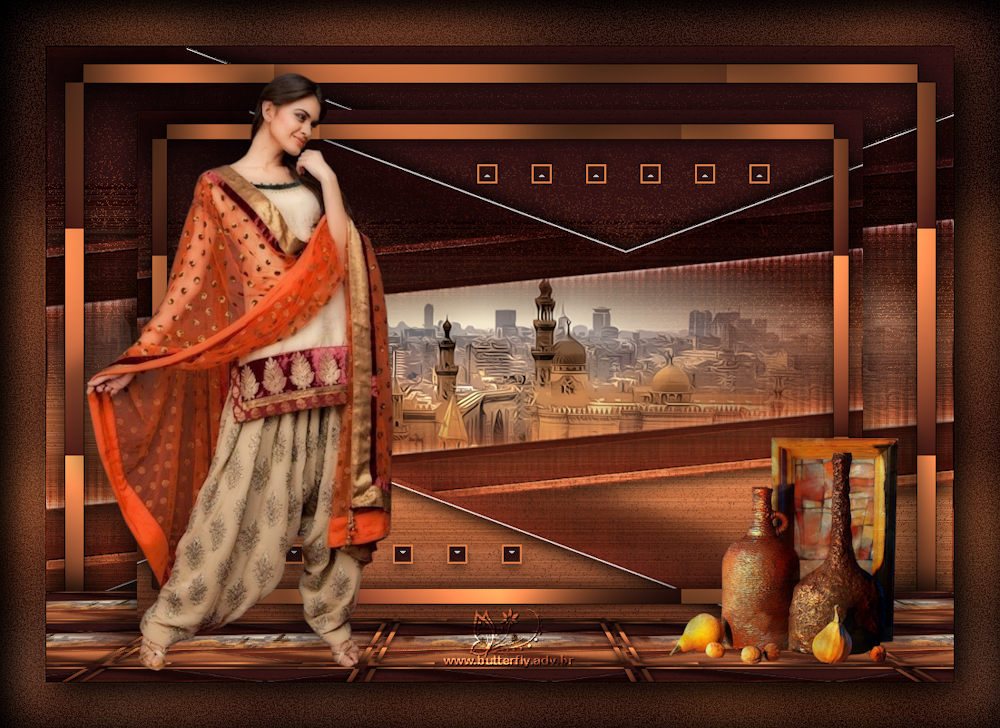
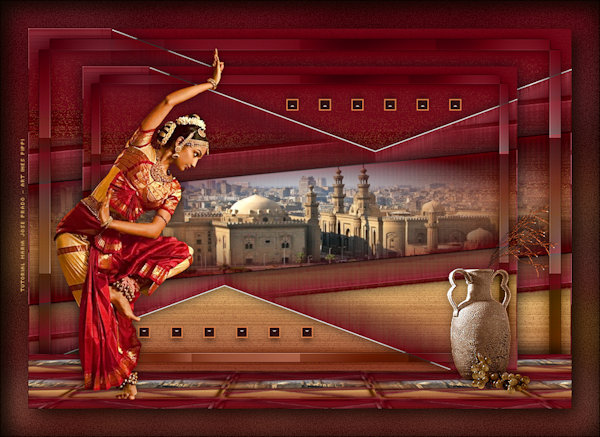
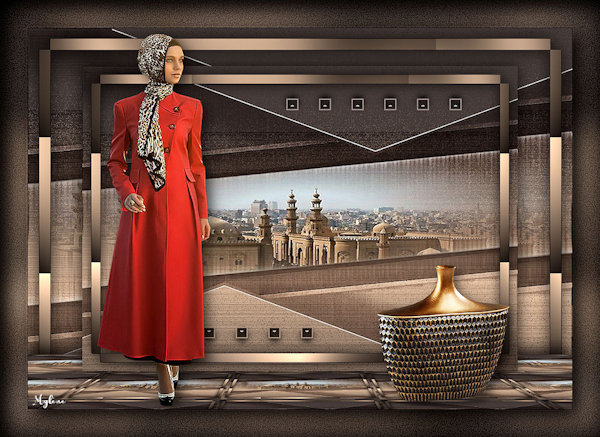
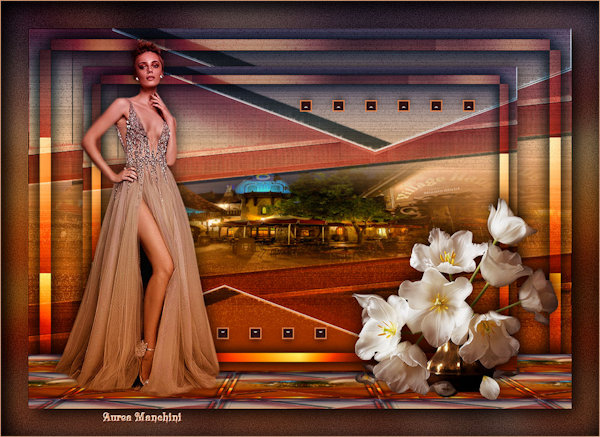
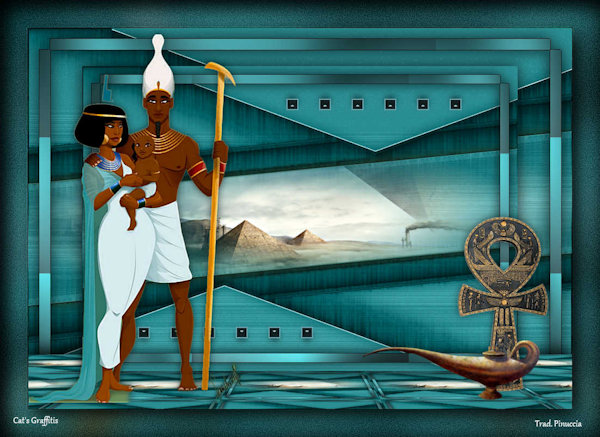
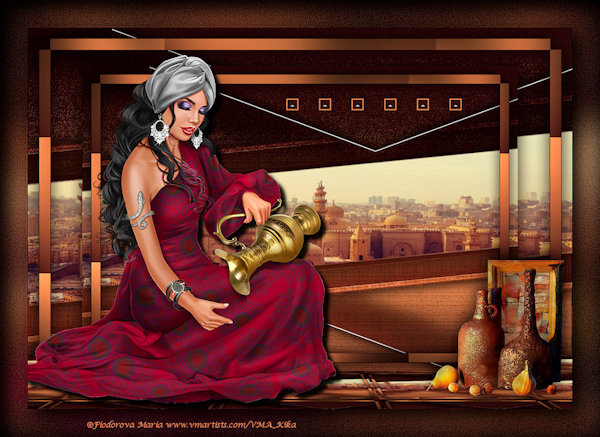
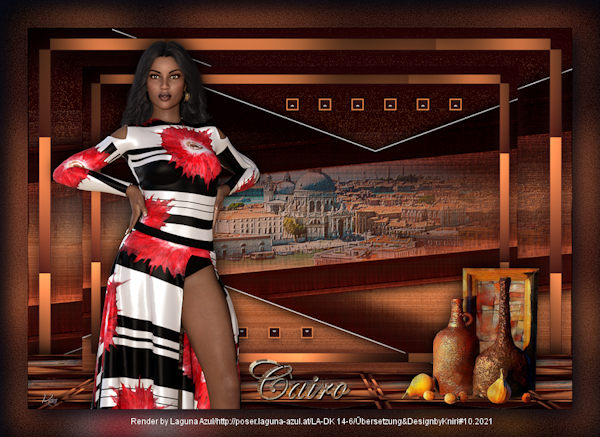
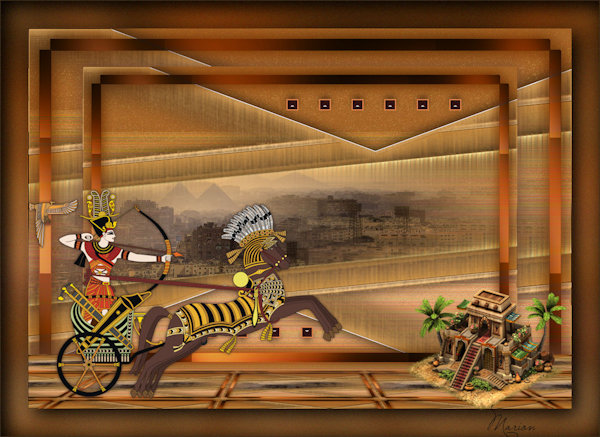
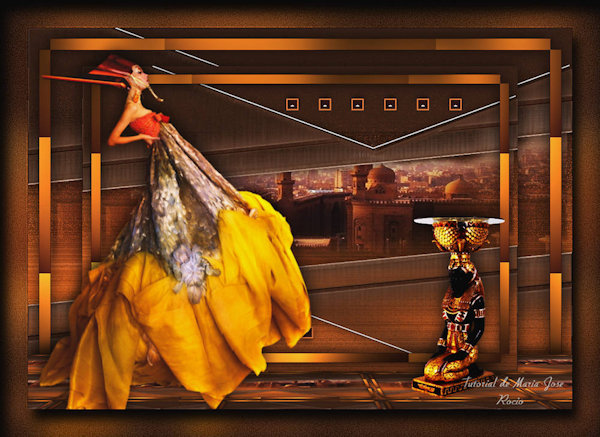
Outro Modelo

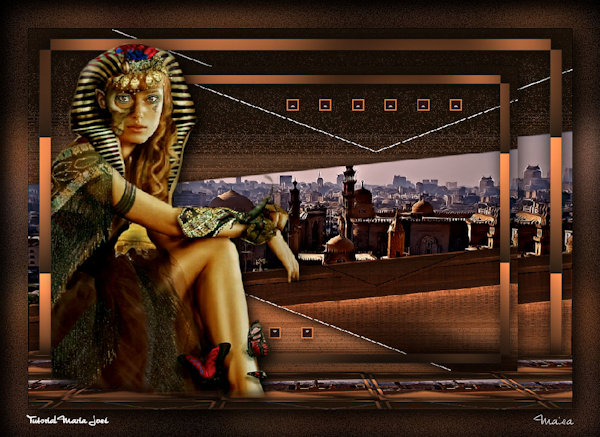
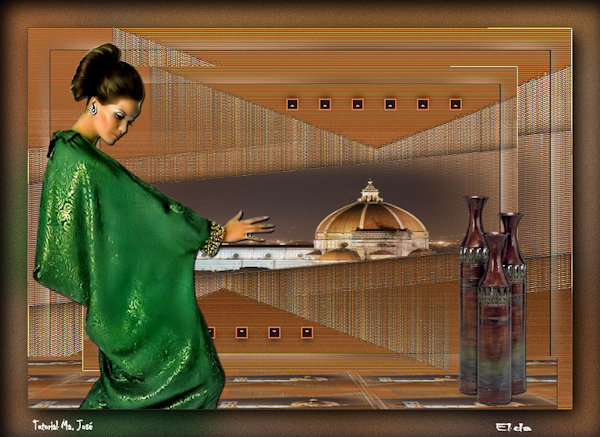
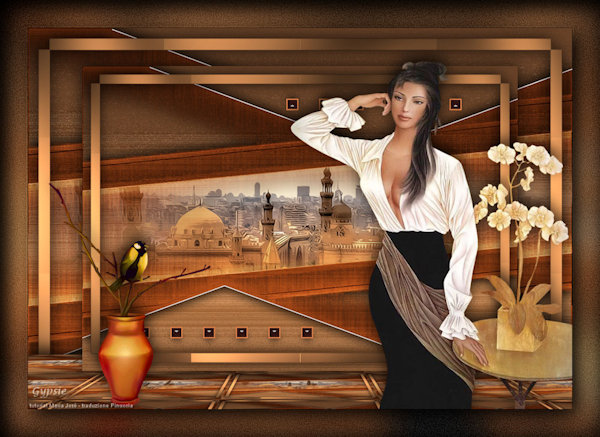
Este tutorial foi criado em 26 de setembro de 2021 por Maria José Prado. É protegido por lei de Copyright e não poderá ser copiado, retirado de seu lugar, traduzido ou utilizado em listas de discussão sem o consentimento prévio e escrito de sua autora acima declinada.
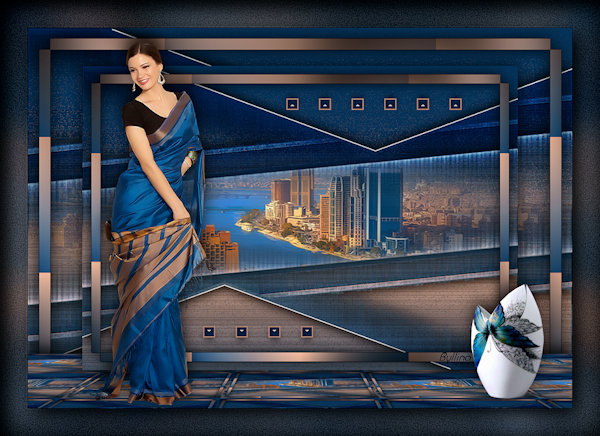
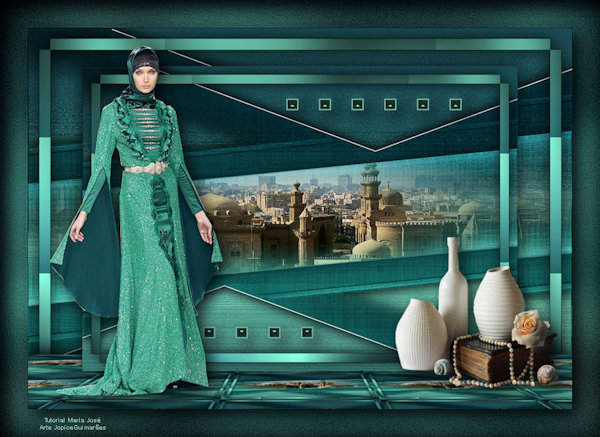
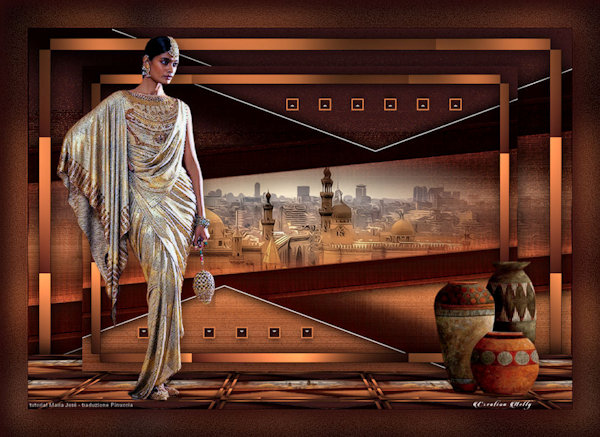
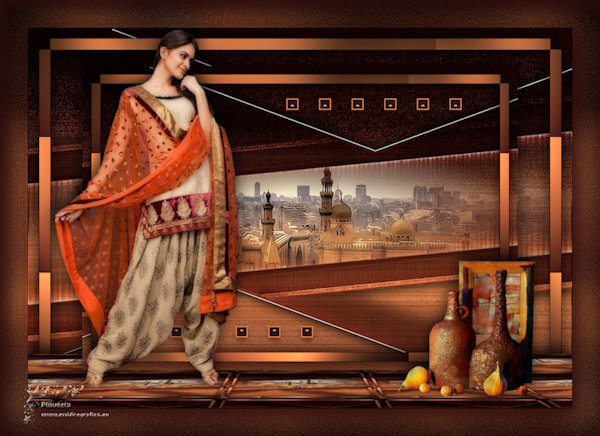
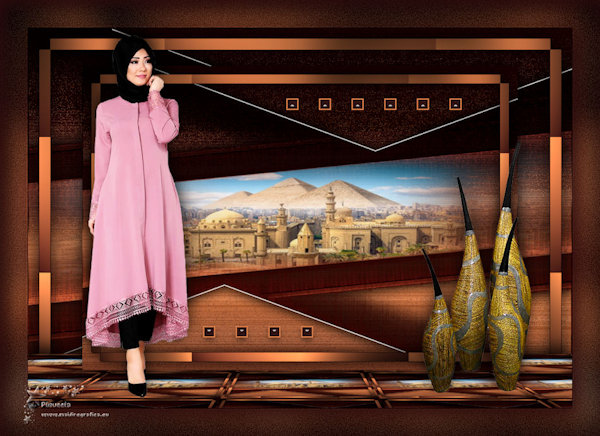
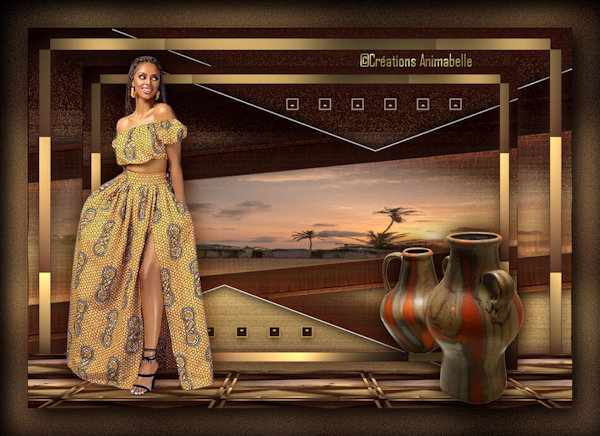
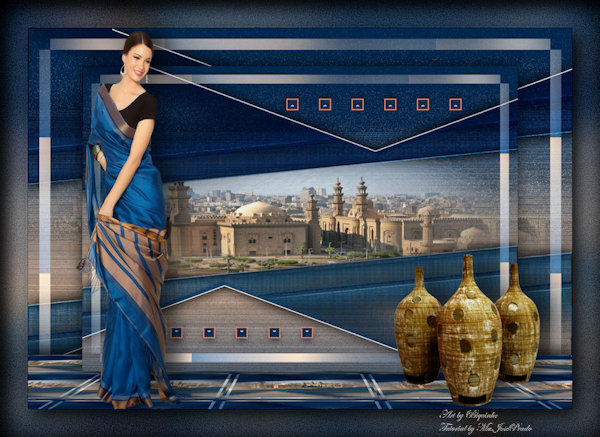
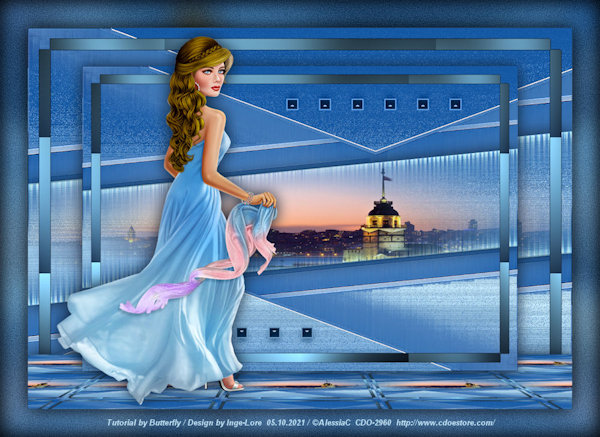
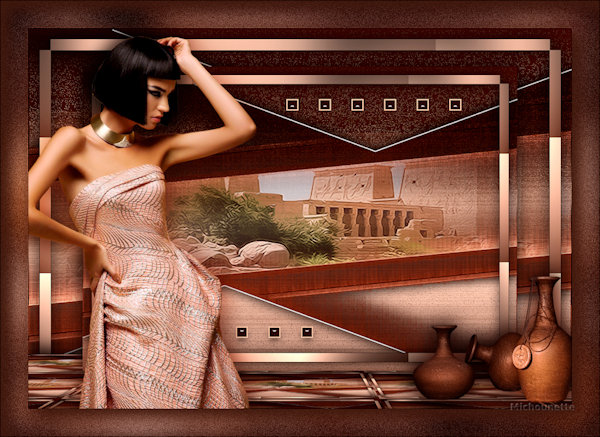
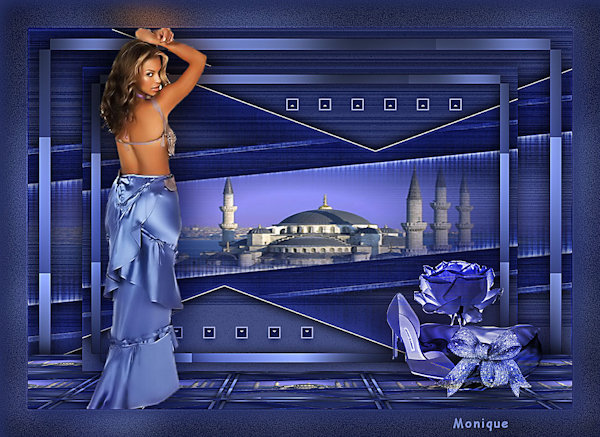
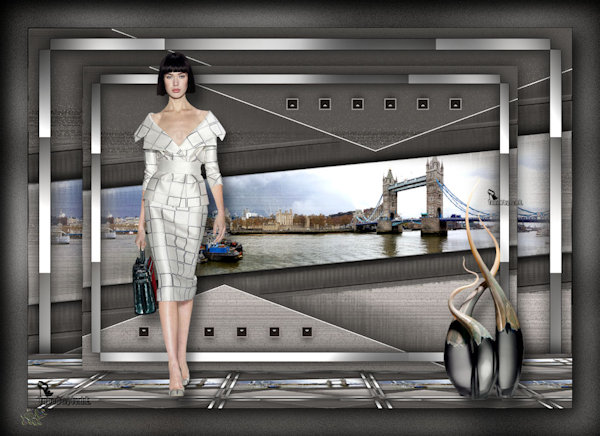
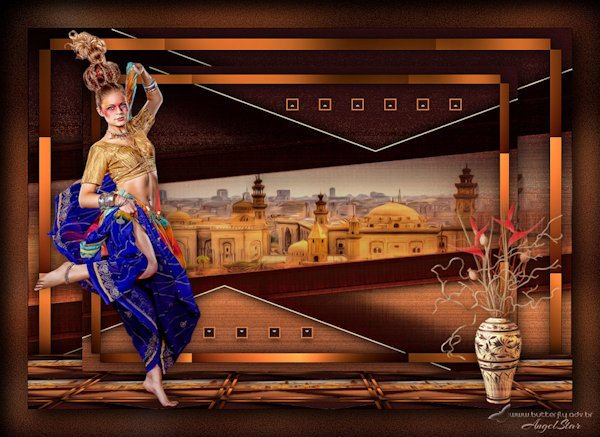
VARIANTES