MATERIAL 
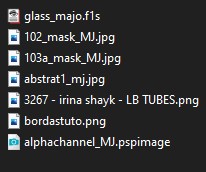
Tubes personagens - LB Tubes, agradeço e, próprio
*** Preset Glass - dois cliks sobre o mesmo ele se instalará
PLUGINS
Fantastic Machines
MuRa's Seamless
Mehdi
AP 01[Innovations]
Filters Unlimited 2 - &<Bkg Kaleidoscope>
Eye Candy 5 - Impact
AP[Lines] Lines - SilverLining
*Kiwi*
MuRa's Meister
____________________________________________________________________________________________
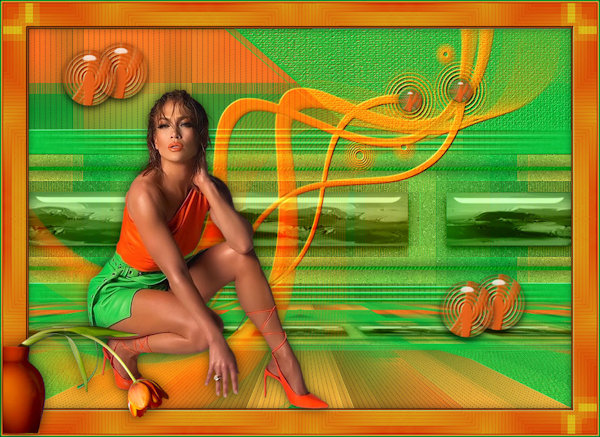
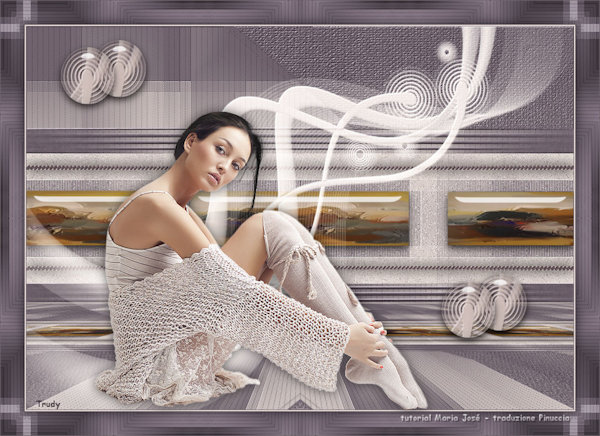
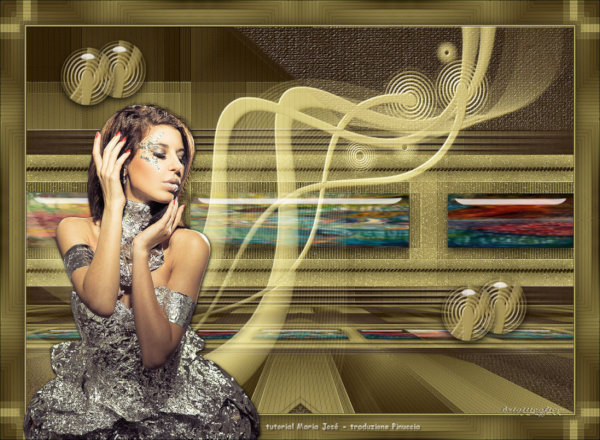
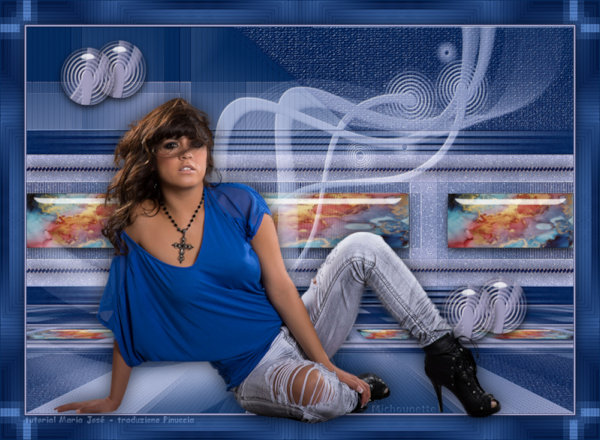
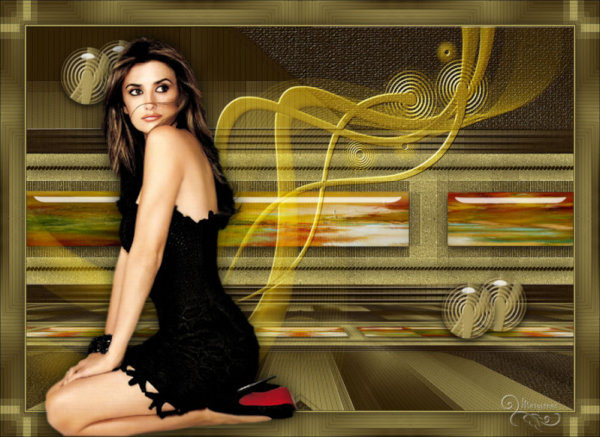
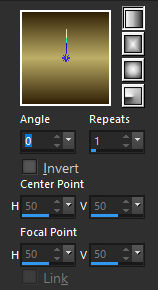
Preparar Gradiente - LINEAR - Angle 0 - Repeats 1 - cores a sua escolha
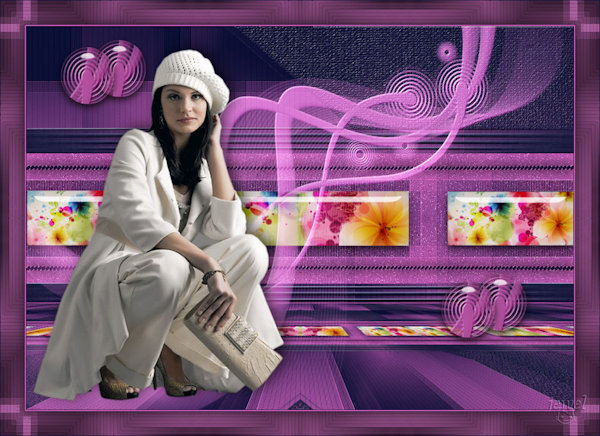
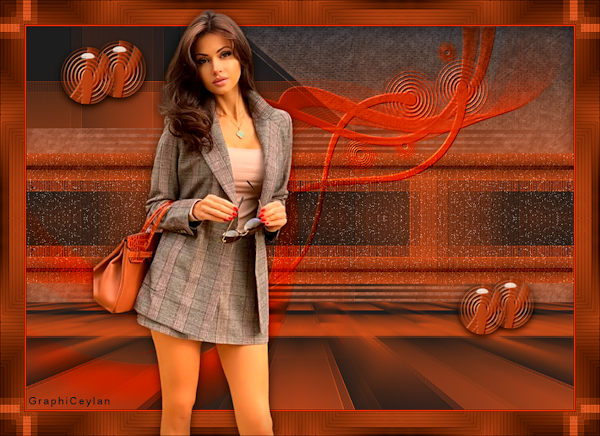
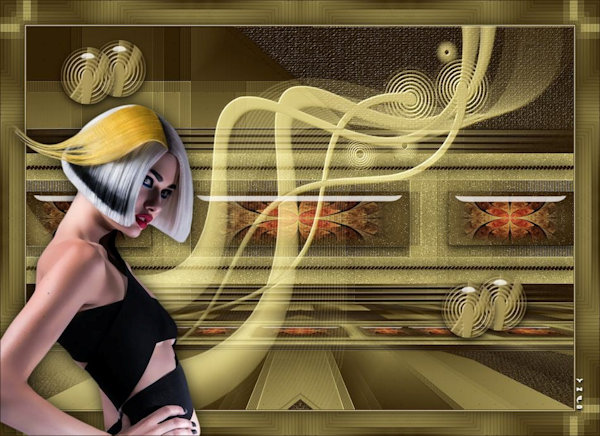
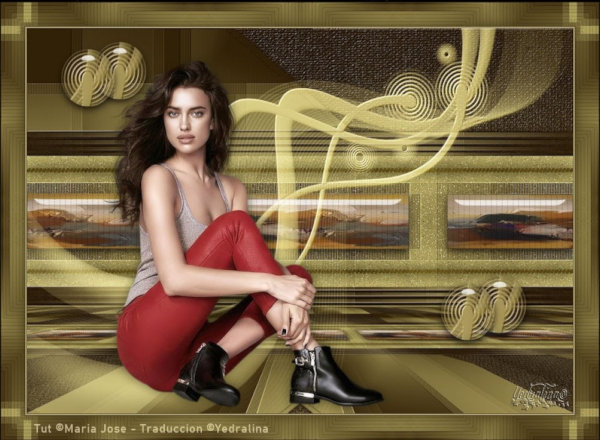
Cores deste tutorial - Foreground #312107 - Background #bdae67-
____________________________________________________________________________________________
1.- Abrir alphachannel_MJ - Fazer uma cópia (Shift+D) - Fechar o original
* Vamos trabalhar na cópia - preencher com a cor escura - (#312107)
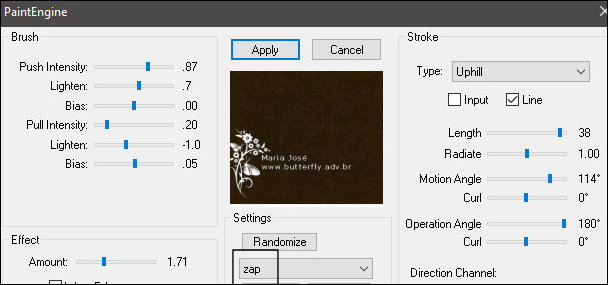
2.- Plugin - Fantastic Machines - PaintEngine - preset zap
____________________________________________________________________________________________
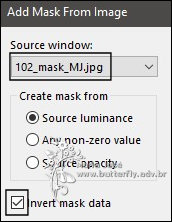
3.- Layers - New Mask Layer - from image - 102_mask_MJ
* Layers - Merge Group
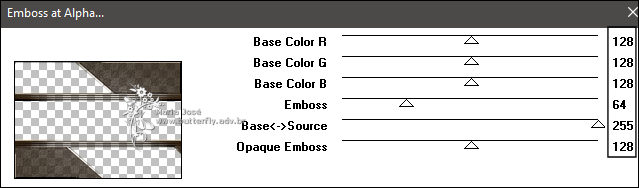
4.- Plugin - MuRa's Seamless - Emboss at Alpha - DEFAULT
____________________________________________________________________________________________
5.- Layers - Add New Layer - preencher com a gradiente
* Layers - Move Down
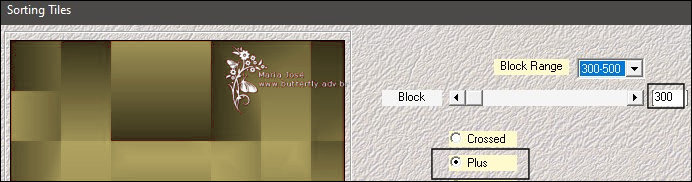
6.- Plugin - Mehdi - Sorting Tiles - Plus (300)
7.- Effects - Edge Effects - Enhance
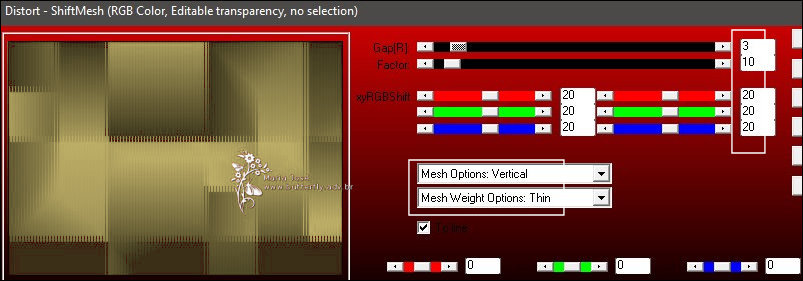
8.- Plugin - AP 01[Innovations] Distort - ShiftMesh
9.- Effects - Image Effects - Seamless Tiling - Corner - HORIZONTAL - transition 100
* Image Flip Vertical
____________________________________________________________________________________________
10.- Selections - Load Selection From Alpha Channel - Selection #1
* Promote Selection to Layer
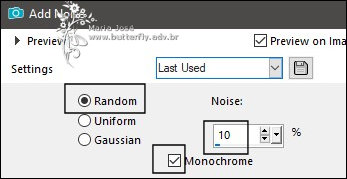
11.- Adjust - Add Noise - Randon - 10 - Mono Clicado
12.- Filters Unlimited 2 - &<Bkg Kaleidoscope> - Kaleidoscope Persian - DEFAULT

____________________________________________________________________________________________
13.- Selections - Load Selection From Alpha Channel - Selection #2
Layers - Add New Layer
14.- Edit - Copiar/Colar dentro da seleção o gráfico (abstrat1_mj) ou outro e sua escolha
15.- Eye Candy 5 - Impact - Glass - preset glass_majo
SELECT NONE
____________________________________________________________________________________________
Ativar a Raster 1
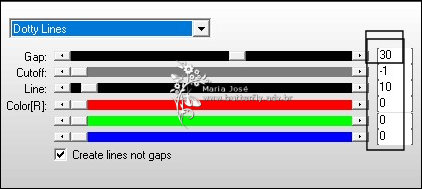
16.- Plugin - AP[Lines] Lines - SilverLining - Dotty Lines
Ativar a Group - Raster 1
17.- Selections - Load Selection From Alpha Channel - Selection #3
* Promote Selection to Layer - SELECT NONE
18.- Ferramenta PICK - Position X 0,00 - Position Y 254,00
Tecle M para desativar a ferramenta
19.- Layers - Duplicate - Image Flip Vertical - Merge Down
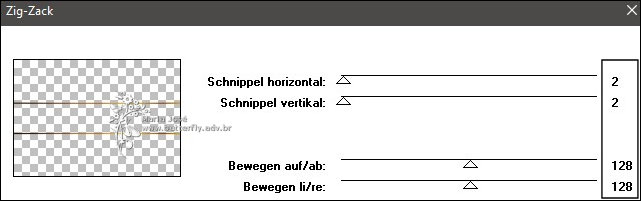
20.- Plugin - *Kiwi* - Zig Zack - DEFAULT
21.- Effects - 3D Effects - Drop Shadow 0, 0, 60, 30, preto
* Blend Mode Multiply
____________________________________________________________________________________________
23.- Edit - Copy Special - Copy Merged - Edit - Paste a New Layer
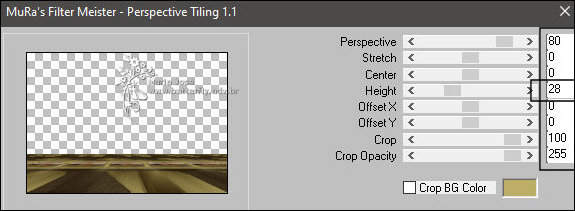
24.- Plugin - MuRa's Meister - Perspective Tiling
25.- Effects - Reflection Effects - Rotating Mirror - DEFAULT
____________________________________________________________________________________________
26.- Layers - Add New Layer - preencher com a cor clara (#bdae67)
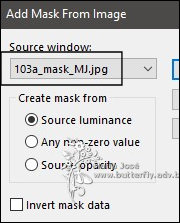
27.- Layers - New Mask Layer - from image - 103a_mask_MJ
* Layers - Merge Group
28.- Plugin - MuRa's Seamless - Emboss at Alpha - DEFAULT
* Blend Mode - Screen
____________________________________________________________________________________________
Ativar a Group - Raster 4 - Layer Superior
29.- Selections - Load Selection From Alpha Channel - Selection #4
* Promote Selection to Layer
30.- Eye Candy 5 - Impact - Glass - preset glass_majo
SELECT NONE
31.- Ferramenta PICK - Position X 44,00 - Position Y 26,00
32.- Duplicar - Move Down - Ferramenta PICK - Position X 102,00 - Position Y 13,00
Tecle M para desativar a ferramenta
* Ativar a Layer Superior - Promoted Selection 2 - Merge Down
33.- Layers - Duplicate - Ferramenta Move - posicionar como no modelo
____________________________________________________________________________________________
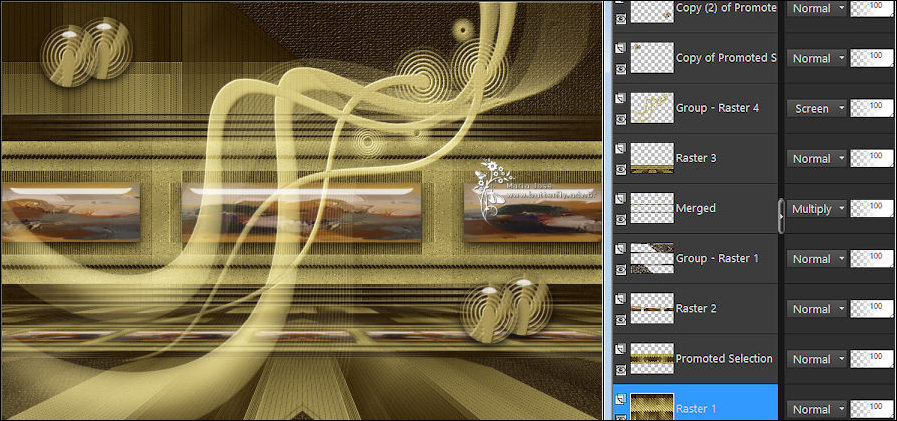
TAG LAYERS - Organizar - Mudar a Blend Mode como gostar
____________________________________________________________________________________________
BORDERS
34.- Image - Add Borders - 1px - cor escura
* Image - Add Borders - 2px - cor clara
* Image - Add Borders - 1px - cor escura
35.- Selections - Select All - Image - Add Borders - 43px - branco
* Selections Invert
36.- Edit - Copiar/Colar dentro da seleção - bordastuto
37.- Selections - Invert - Repetir o Drop Shadow
SELECT NONE
____________________________________________________________________________________________
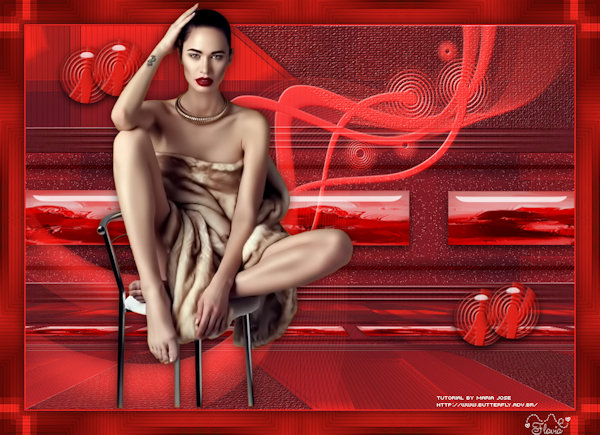
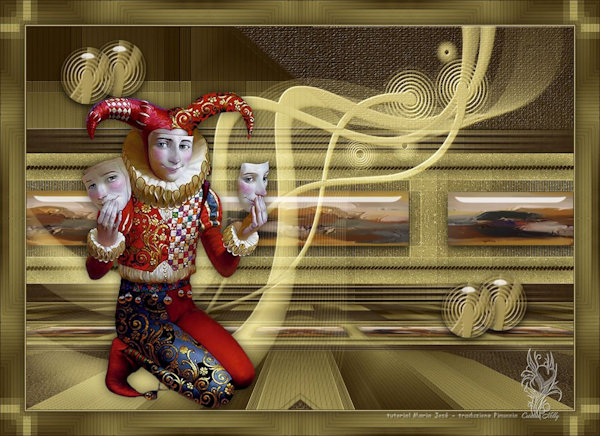
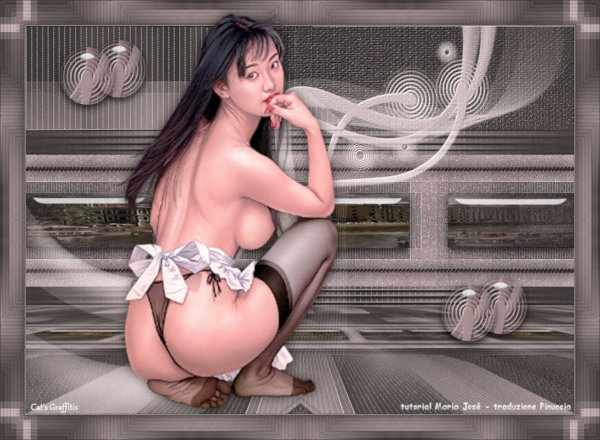
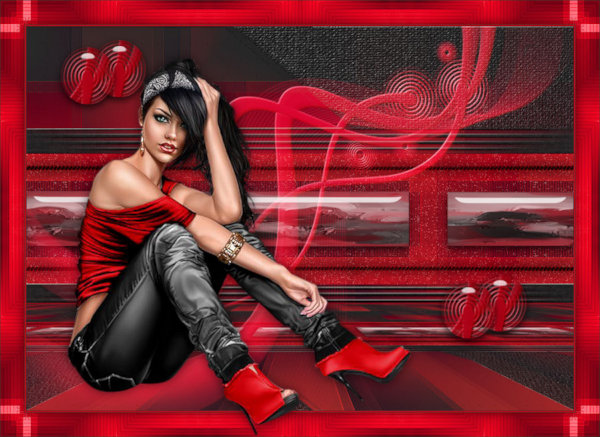
38.- Edit - Copiar/Colar o tube Principal - Posicionar
Drop Shadow - critério pessoal
39.- Assinar o trabalho - Image Add Borders - 1px cor escura
40.- As layers estão mergidas - Image Resize - Width 1000px - Salvar em .jpg
Espero que apreciem, obrigada.
____________________________________________________________________________________________
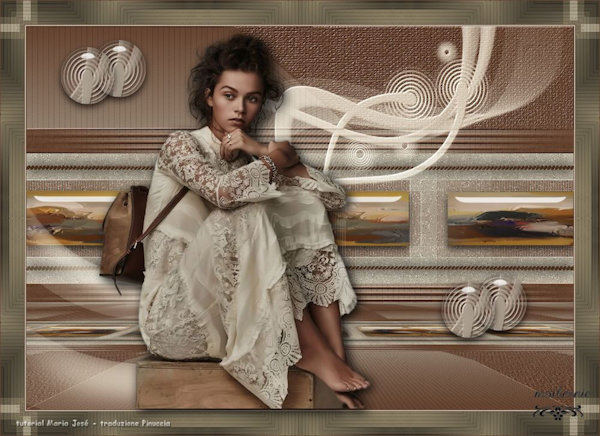
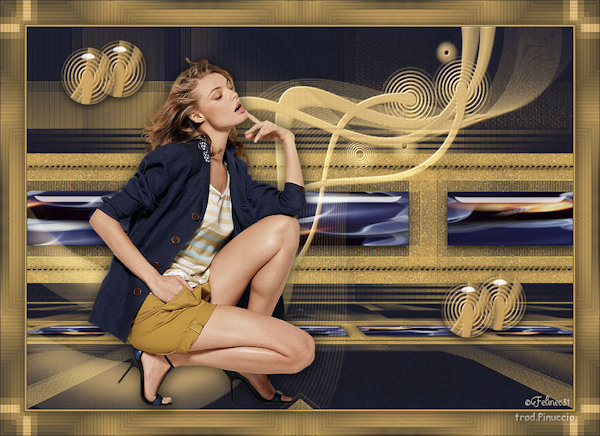
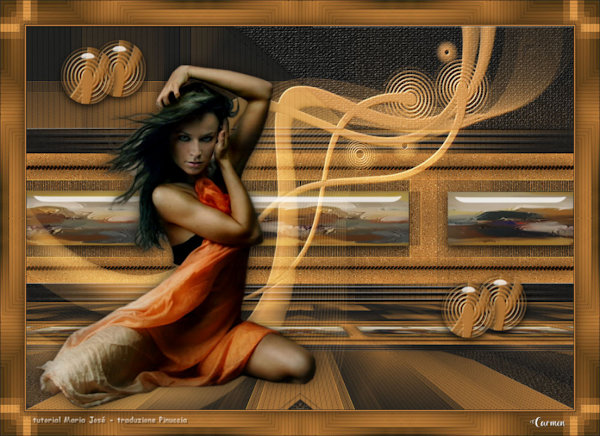
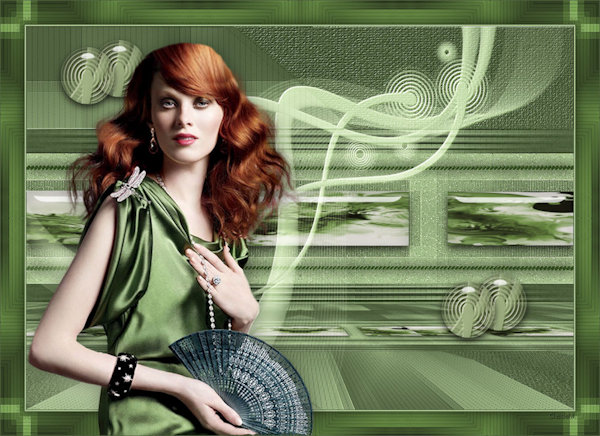
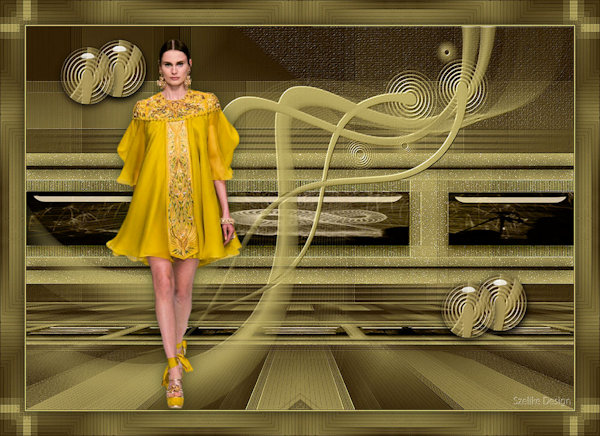
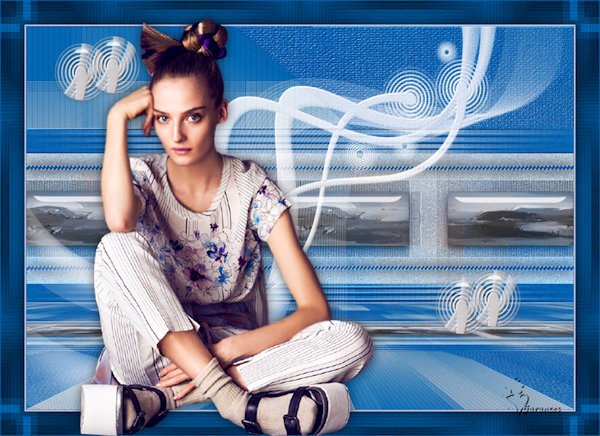
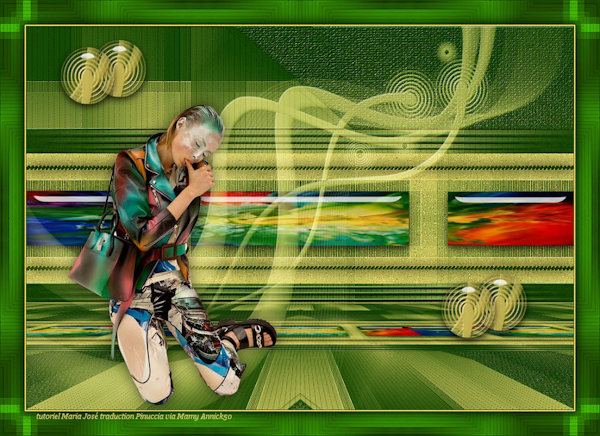
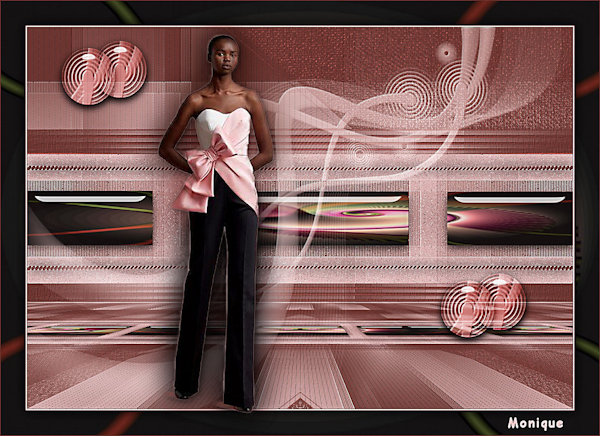
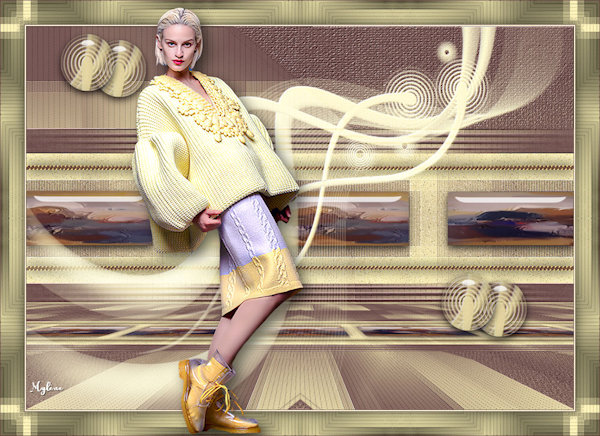
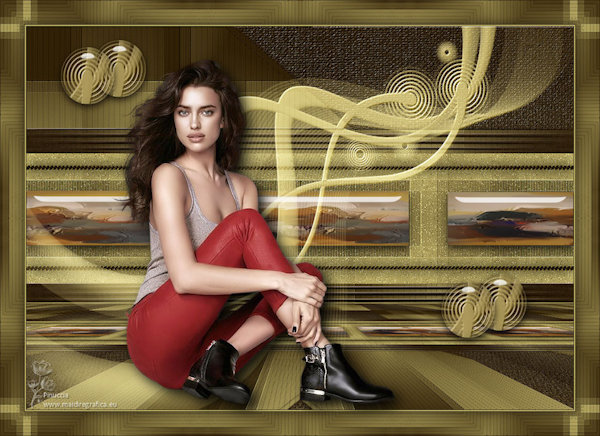
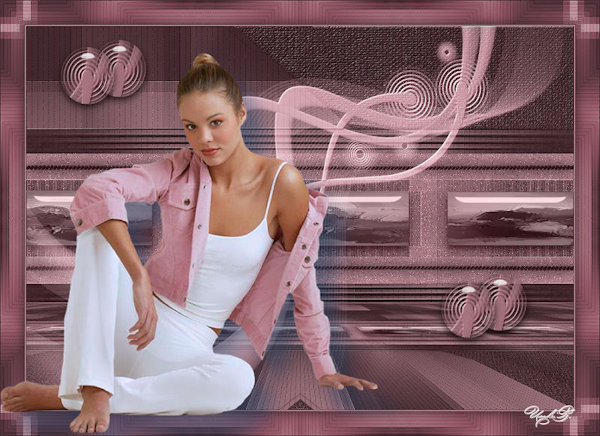
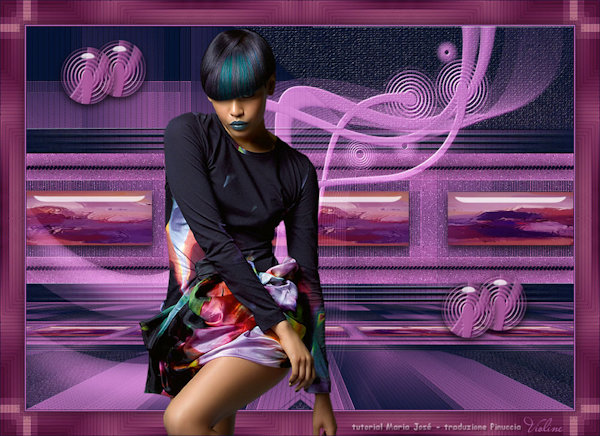
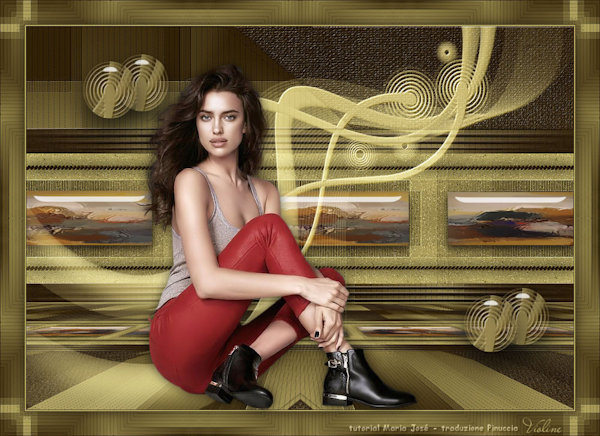
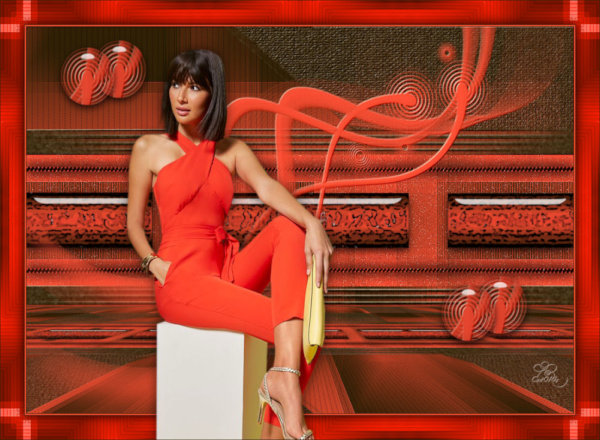
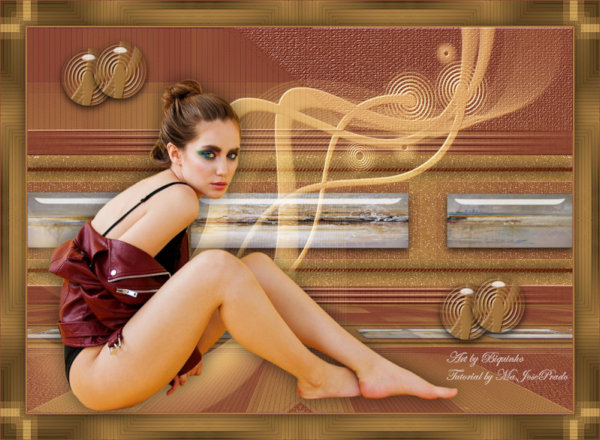
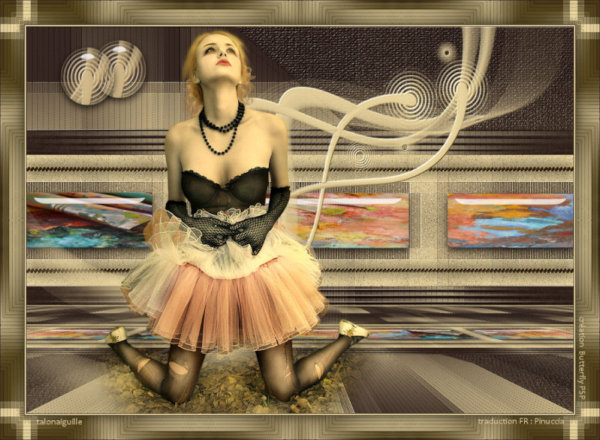
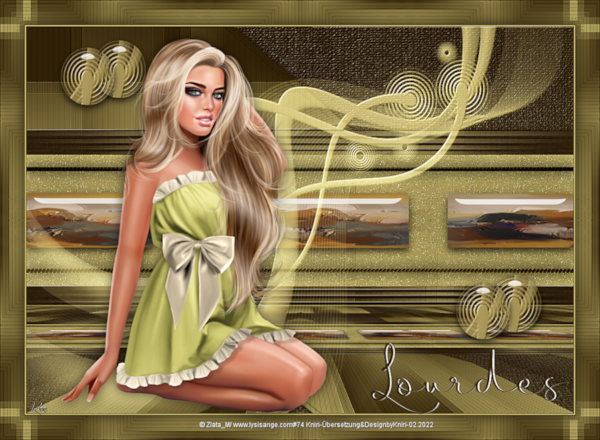
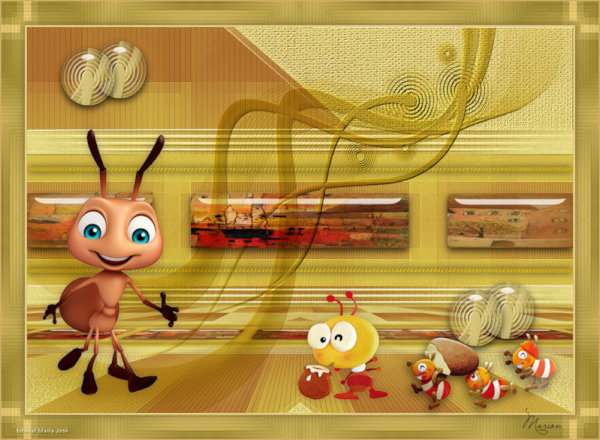
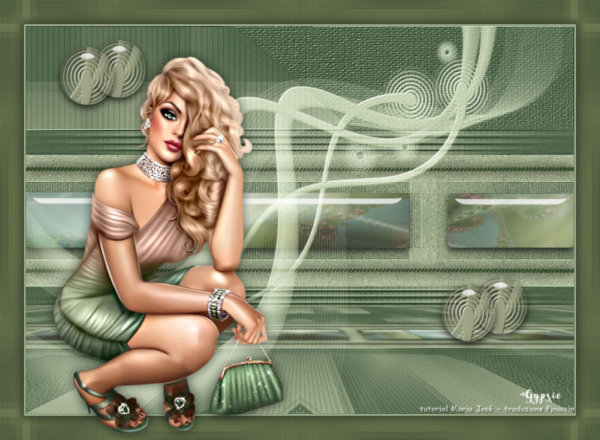
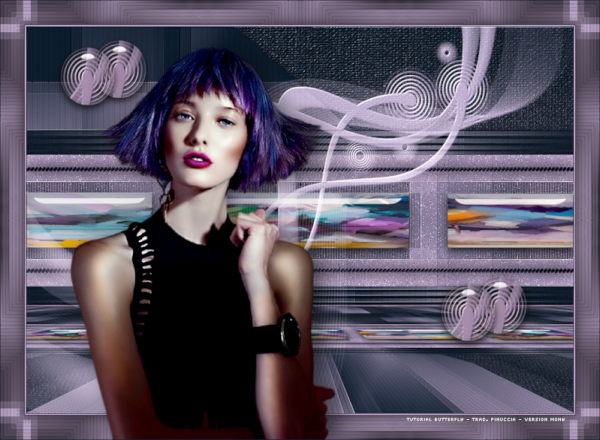
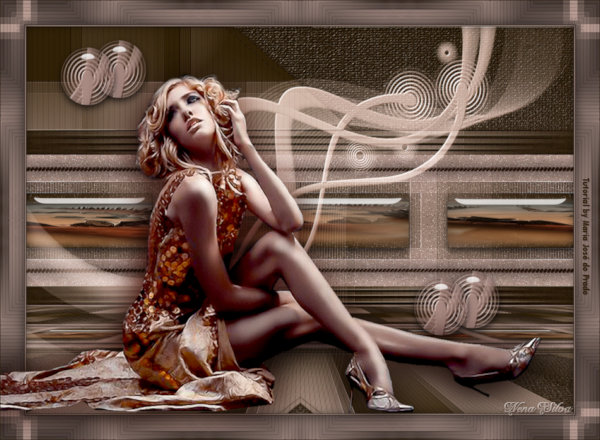
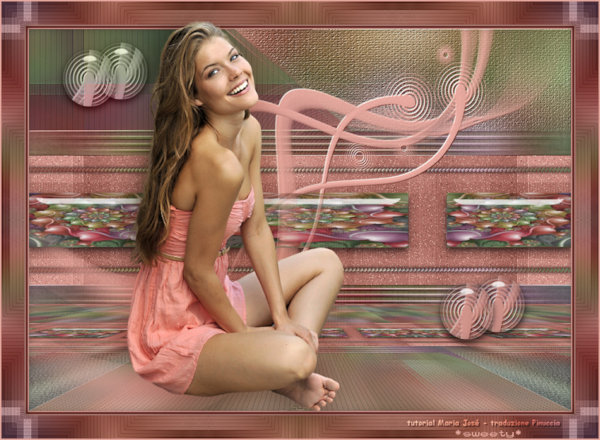
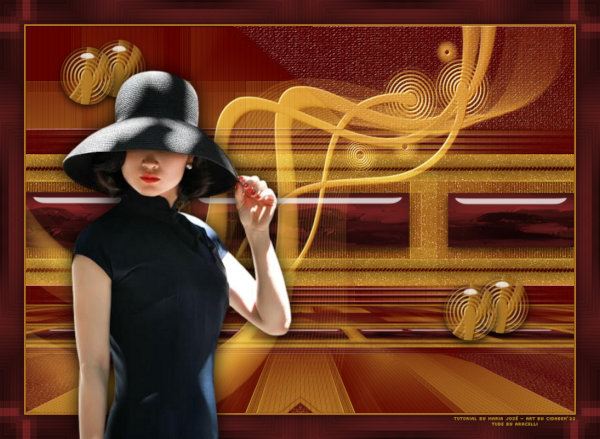
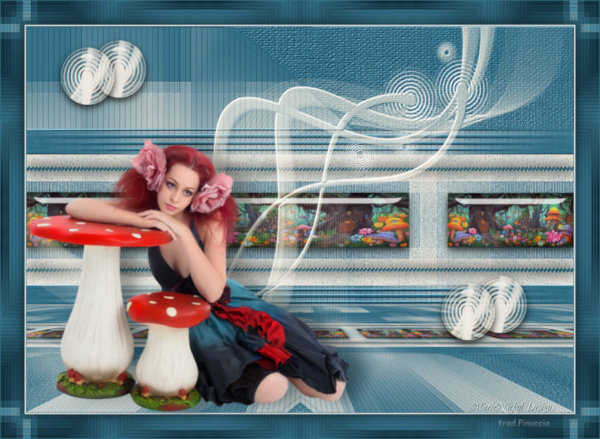
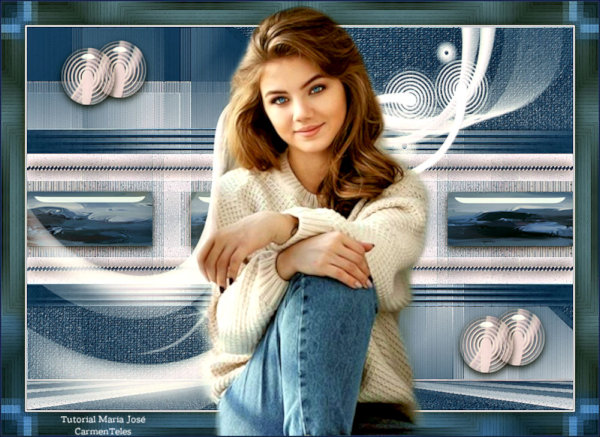
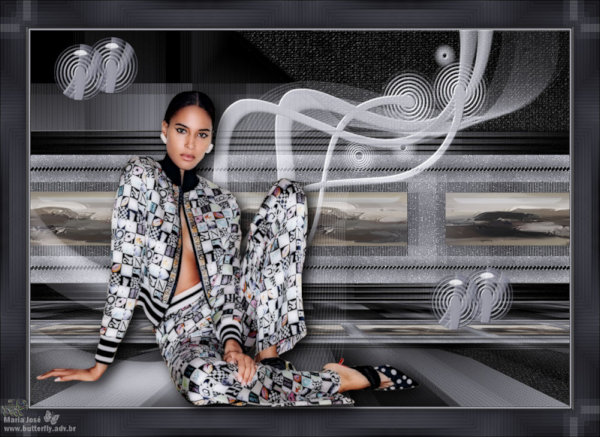
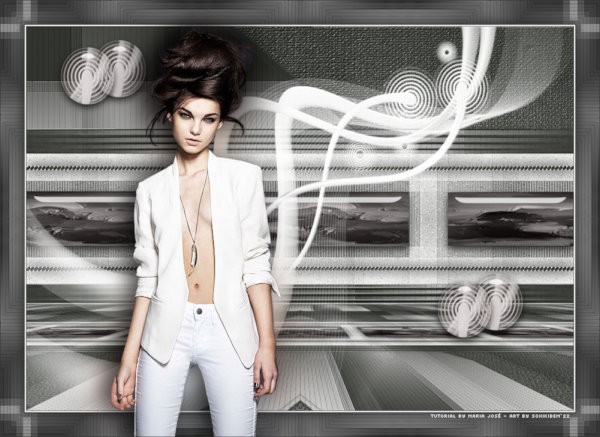
Outro Modelo

Este tutorial foi criado em 24 de fevereiro de 2022 por Maria José Prado. É protegido por lei de Copyright e não poderá ser copiado, retirado de seu lugar, traduzido ou utilizado em listas de discussão sem o consentimento prévio e escrito de sua autora acima declinada.
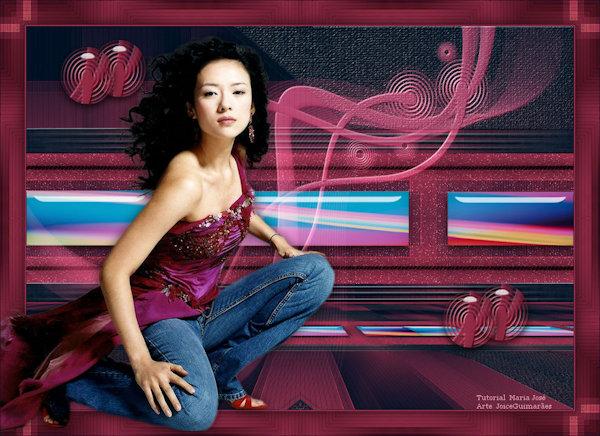
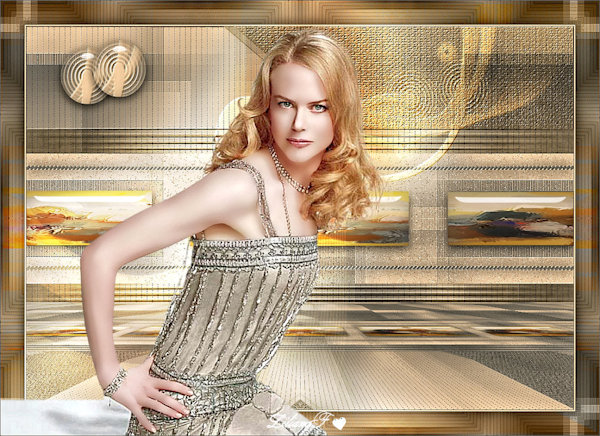
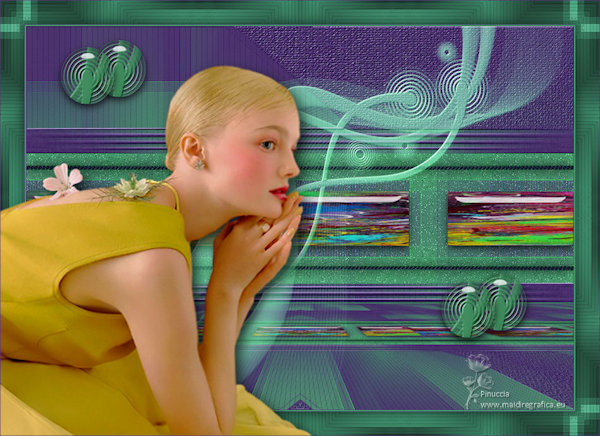
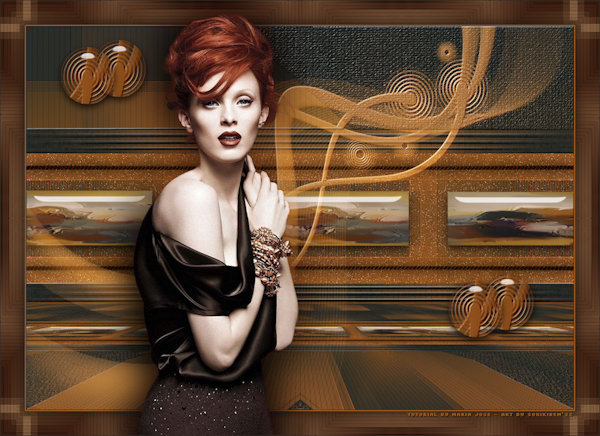
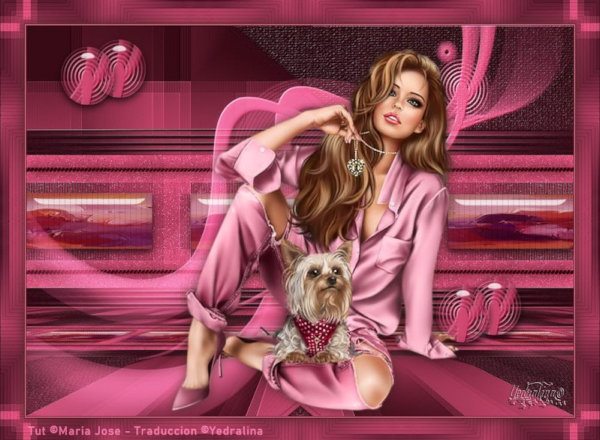
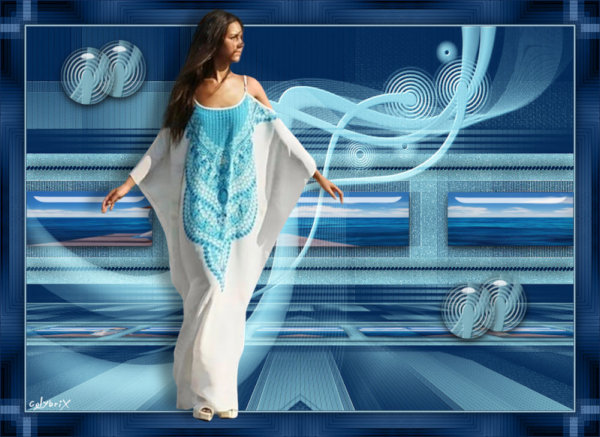
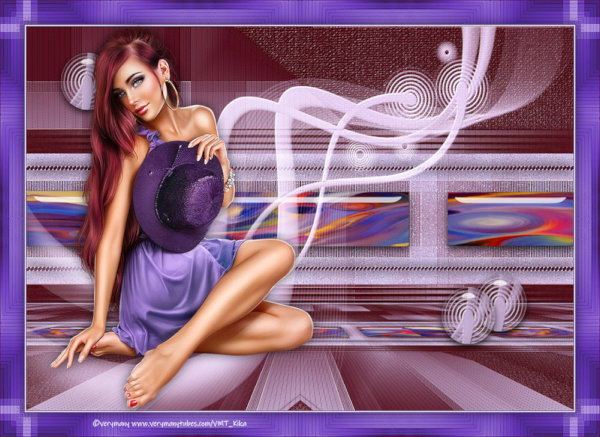
VARIANTES