MATERIAL 
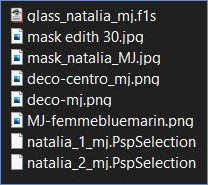
Mask Edith, agradeço
*** Preset Glass - 2 cliks sobre o mesmo ele se instalará
*** Seleções - Copiar/Colar dentro da pasta Selections do PSP
PLUGINS
MuRa's Seamless
Fantastic Machine - Paint Engine
Mehdi
AP[Lines] SilverLining
Carolaine and Sensibility
Eye Candy 5 - Impact
MuRa's Meister
__________________________________________________________________________________________________
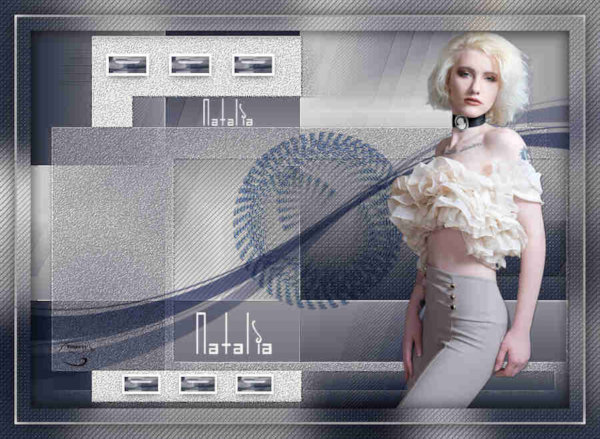
Preparar Gradiente - LINEAR - Angle 0 - Repeats 1 - cores a seu gosto
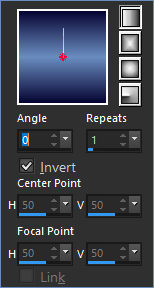
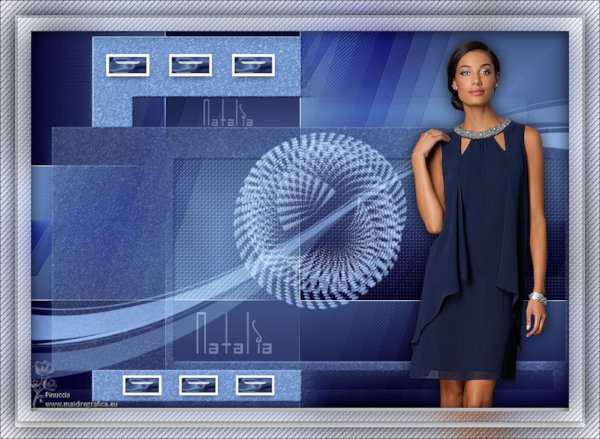
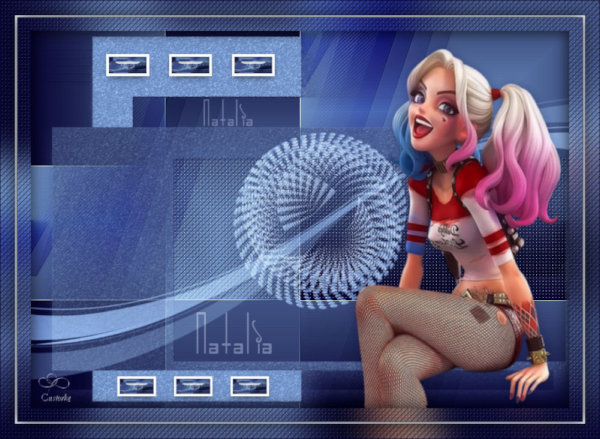
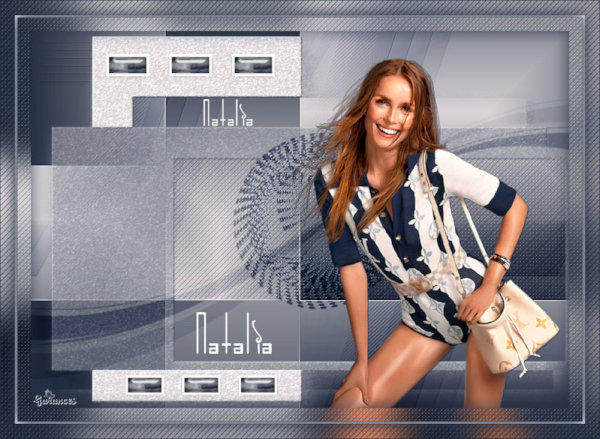
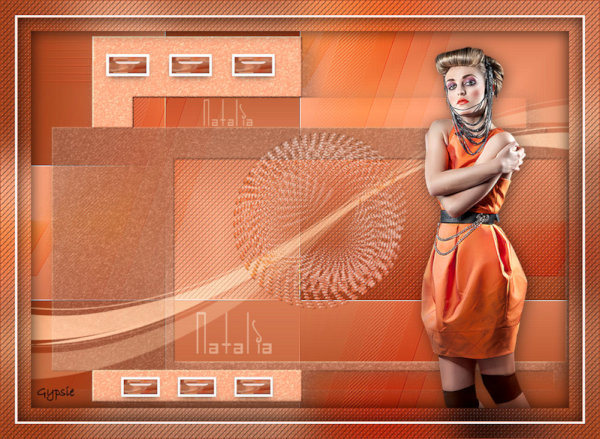
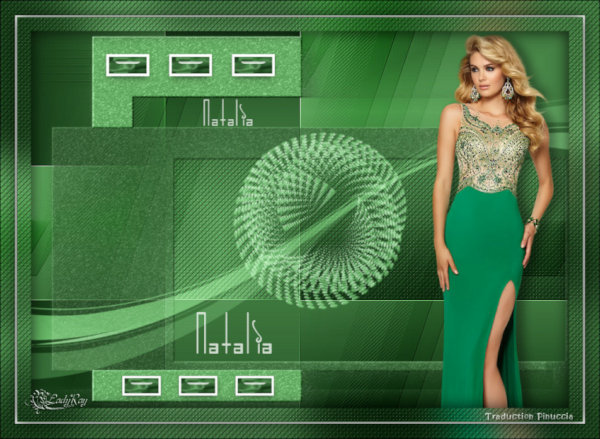
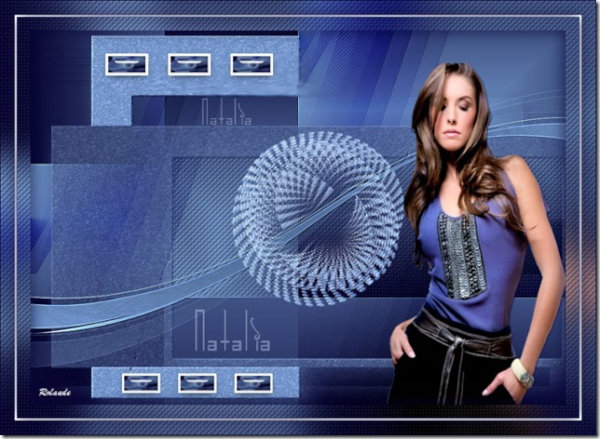
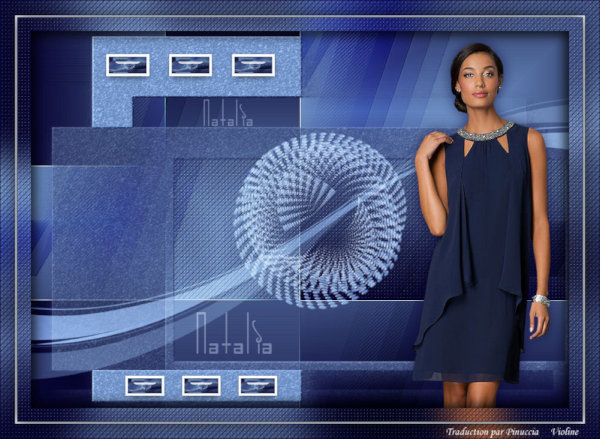
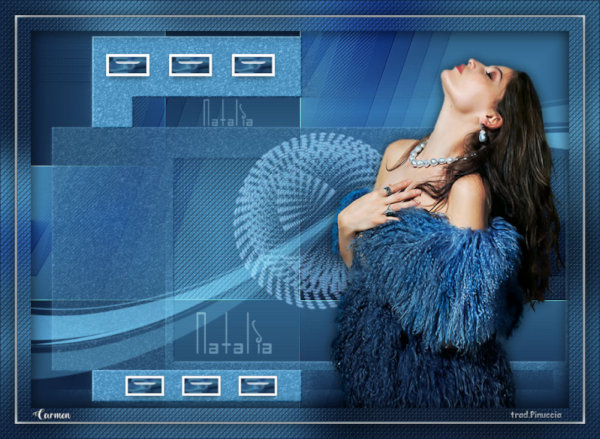
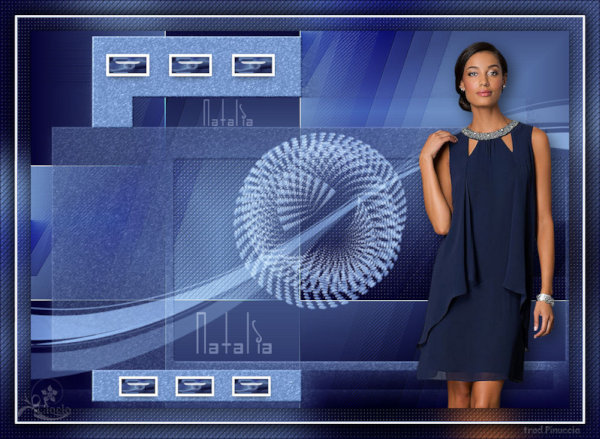
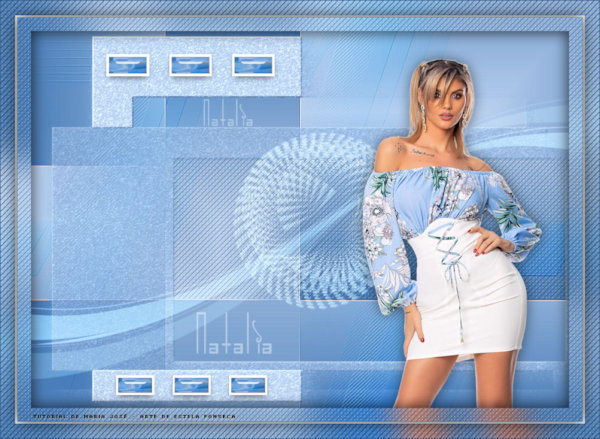
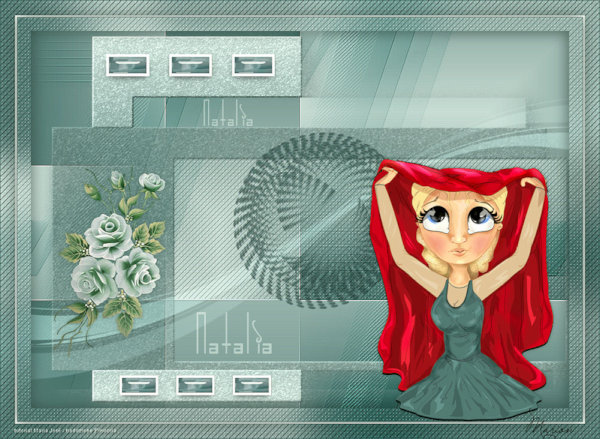
Cores deste tutorial - Foreground- - #6a8cc0 - Background-
 - #070533
__________________________________________________________________________________________________
1.- Layers - New Raster Layer - Transparente - 1000x700px - preencher com a cor escura
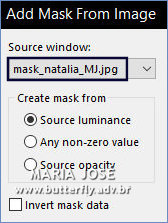
2.- Layers - New Mask Layer - From Image - mask_natalia_MJ
* Layers - Merge Group
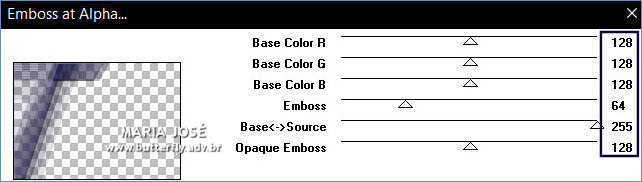
3.- Plugin - MuRa's Seamless - Emboss at Alpha - DEFAULT
4.- Effects - Image Effects - Seamless Tilling - DEFAULT - Transition 100
* Blend Mode - Overlay
__________________________________________________________________________________________________
5.- Layers - Add New Layer - preencher com a cor clara
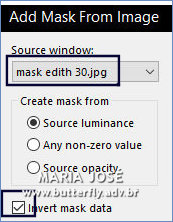
6.- Layers - New Mask Layer - From Image - mask edith 30
* Layers - Merge Group
7.- Plugin - MuRa's Seamless - Emboss at Alpha - DEFAULT
* Drop Sahdow 1, 1, 100, 0, cor escura da gradiente
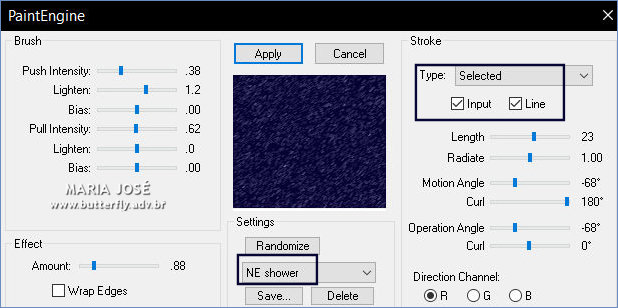
8.- Plugin - Fantastic Machine - Paint Engine - preset NE Schower (ver o print abaixo)
__________________________________________________________________________________________________
9.- Layers - Add New Layer - Layers Arrange - Send to Bottom
* Preencher com a Gradiente
10.- Plugin - Mehdi - Sorting Tiles - Plus (500)
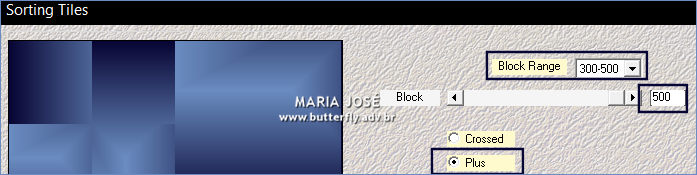
11.- Effects - Edge Effects - Enhance More
__________________________________________________________________________________________________
12.- Selections - Load Selection from Disk - natalia_1_mj
* Promote Selection to Layer
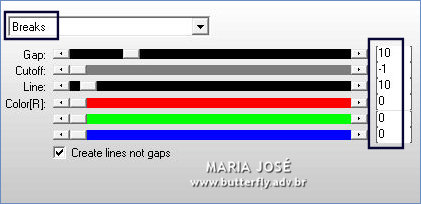
13.- Plugin - AP[Lines] SilverLining - Breaks
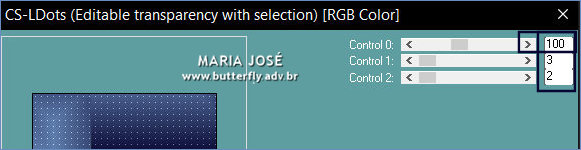
14.- Plugin - Carolaine and Sensibility - CS-LDots
SELECT NONE
__________________________________________________________________________________________________
15.- Edit - Copiar/Colar como nova layer - deco-mj
* Layer - Arrange - Bring to Top - Posicionar
16.- Ferramenta Pick - - Tecle K para ativar a Feramenta
* Position X 0,00 - Position Y 125,00 -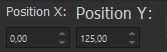
* Tecle M para desativar a Ferramenta
* Blend Mode - Screen
17.- Edit - Copiar/Colar - deco centro_mj
18.- Ferramenta Pick -- Tecle K para ativar a Ferramenta
* Position X 374,00 - Position Y 187,00 -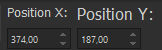
* Tecle M para desativar a Ferramenta
* Blend Mode - Screen
__________________________________________________________________________________________________
19.- Edit - Copy Special - Copy Merged
20.- Selections - Load Selection from Disk - natalia_2_mj
21.- Layers - Add New Layer - preencher com branco
22.- Selections - Modify - Contract 5px - DELETAR
23.- Layers - Add New Layer - colar dentro da seleção a imagem copiada
24.- Eye Candy 5 - Impact - Glass - Preset - glass_natalia_mj
* Layers - Move Down - Ativar a Raster 4 (superior) - Layers - Merge Down
SELECT NONE
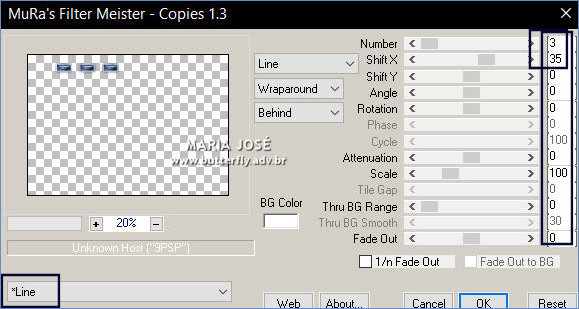
25.- Plugin - MuRa's Meister - Copies
26.- Layers - Duplicate - Image Resize (90%) - All Layers - DESCLICADO
27.- Ferramenta MOVE TOOLS - - ajustar na parte inferior da tag
* Layers - Merge Down
__________________________________________________________________________________________________
28.- Edit - Copiar/Colar - o texto - Posicionar
* Ferramenta Pick -- Tecle K para ativar a Ferramenta
* Position X 308 - Position Y 126-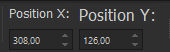
* Blend Mode - Soft Light (opcional)
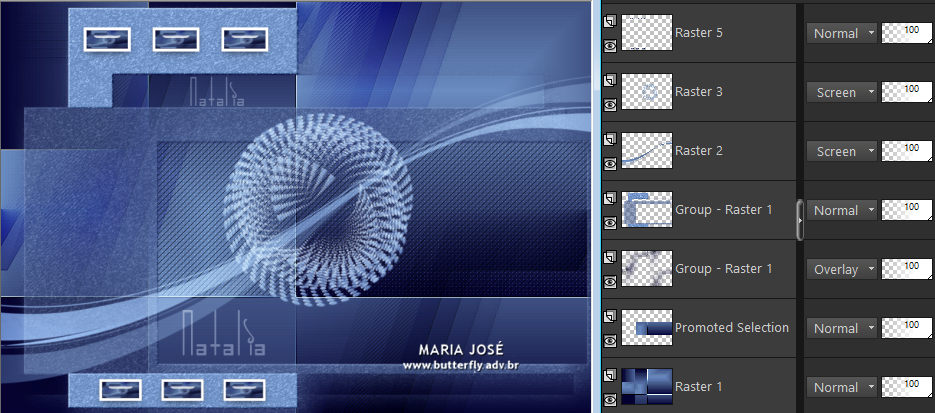
TAG LAYERS - ORGANIZAR - Mude a Blend Mode e Opacidade de acordo com suas cores
29.- Edit - Copiar/Colar o tube personagem (Resize 90%) - Posicionar
* Drop Shadow - critério pessoal
LAYERS - MERGE VISIBLE
__________________________________________________________________________________________________
BORDERS
30.- Selections - Select All - EDIT COPY
31.- Image - Add Borders - 25px - branco
32.- Selections - Invert - Colar dentro da seleção a imagem copiada
33.- Adjust - Blur - Gaussian Blur - Radius 30,00
34.- Plugin - AP[Lines] SilverLining - Breaks
35.- Plugin - Carolaine and Sensibility - CS-LDots
* Drop Shadow 0, 0, 80, 40, preto
Manter a Seleção - EDIT COPY - nesta borda
36.- Selections - All - Image - Add Borders - 1px cor clara
37.- Image - Add Borders - 30px - branco
38.- Selections - Invert - Colar dentro da seleção a imagem copiada
39.- Selections - Invert - Drop Shadow 0, 0, 80, 40, preto
SELECT NONE
__________________________________________________________________________________________________
40.- Assinar o trabalho - Image - Add Borders - 1px - cor escura
41.- As Layers estão mergidas - Image - Resize - Width 1000px - Salvar em .jpg
Espero que apreciem, obrigada.
__________________________________________________________________________________________________
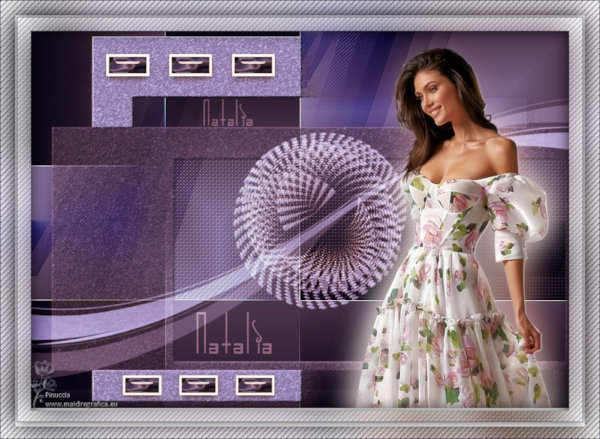
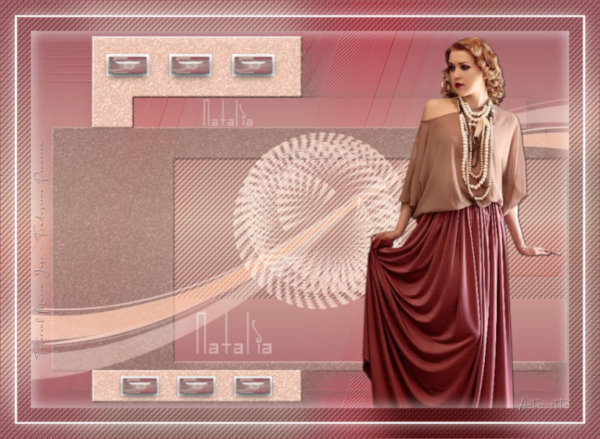
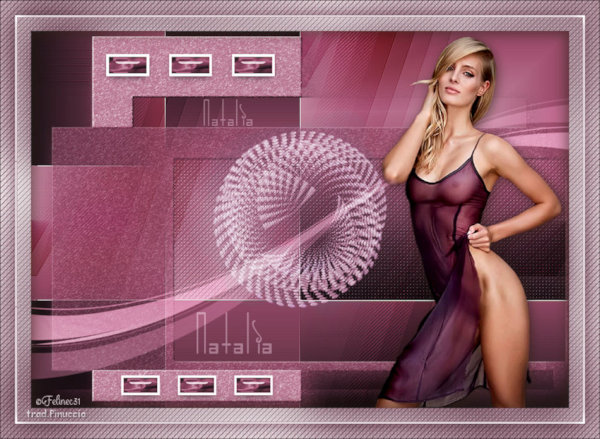
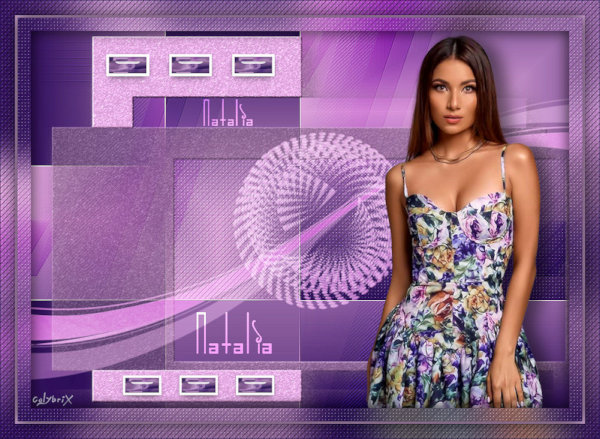
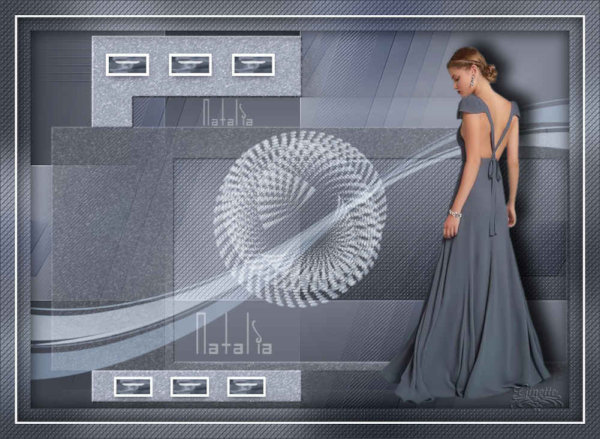
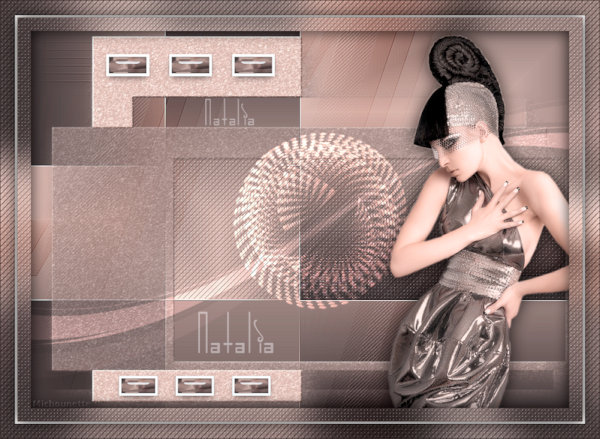
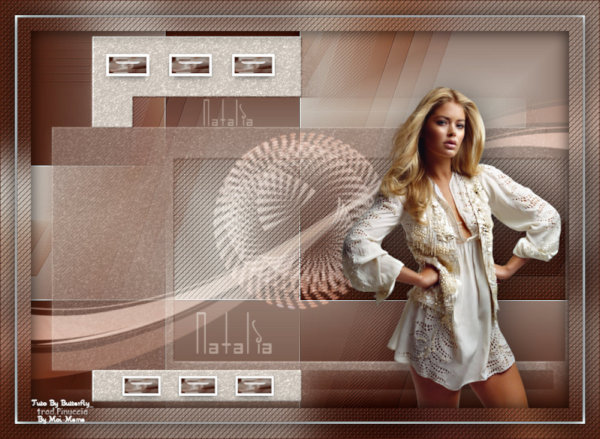
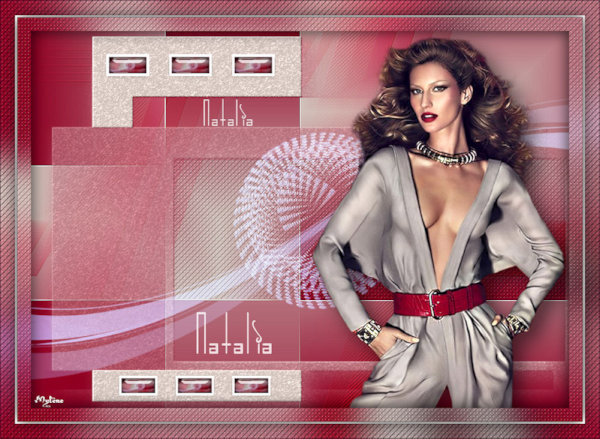
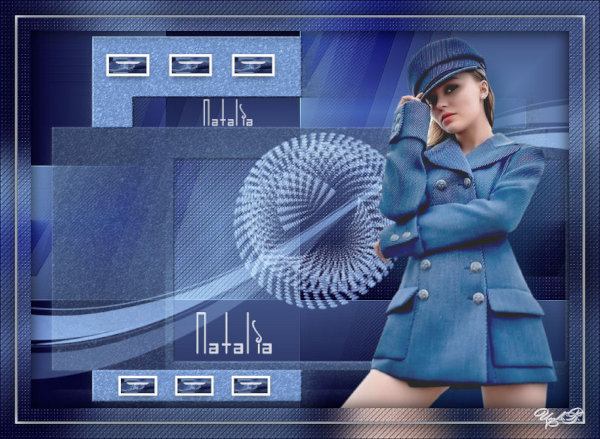
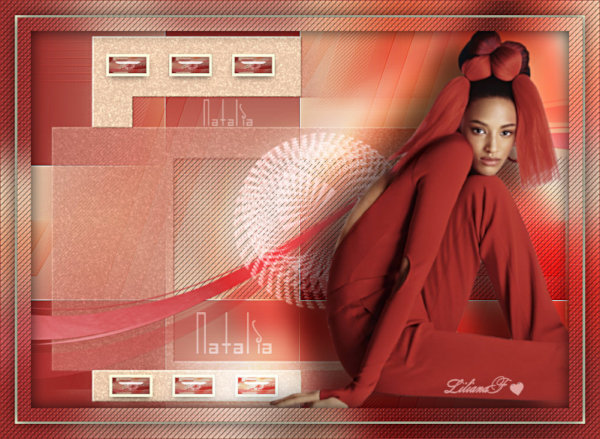
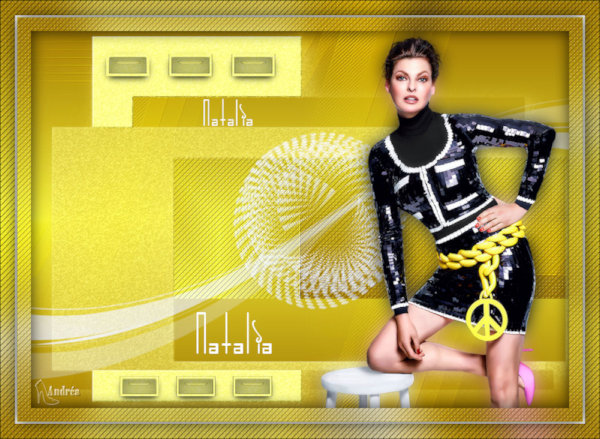
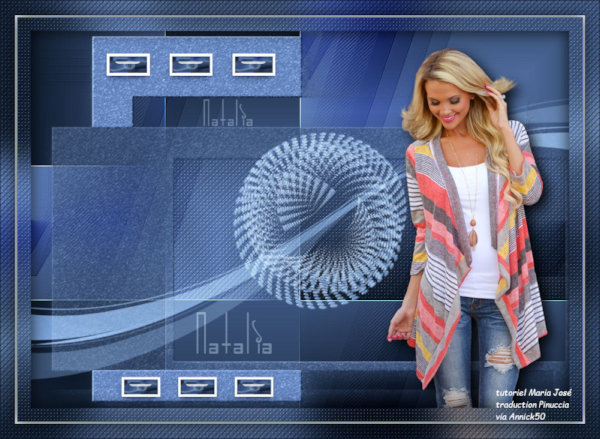
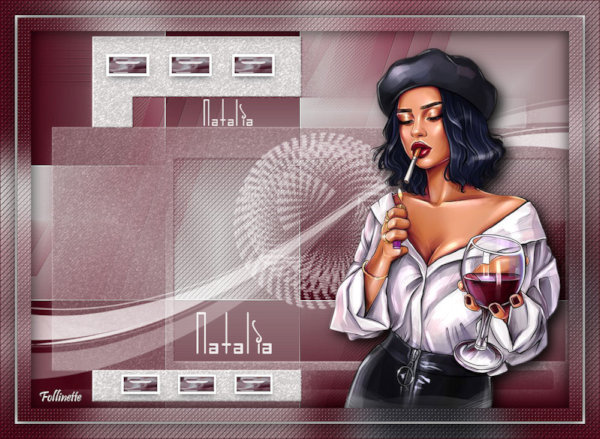
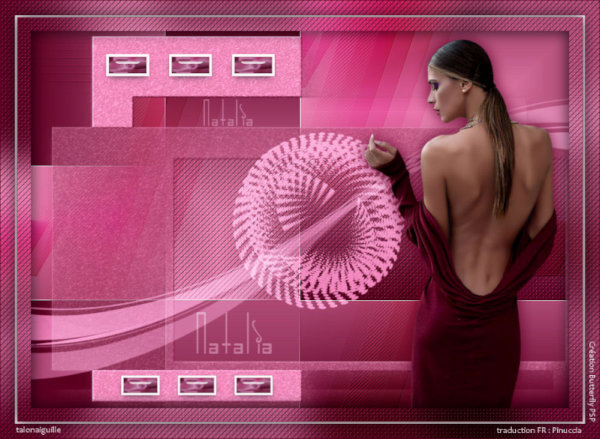
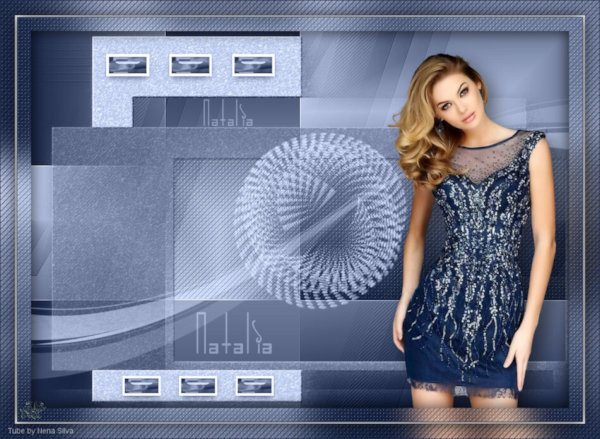
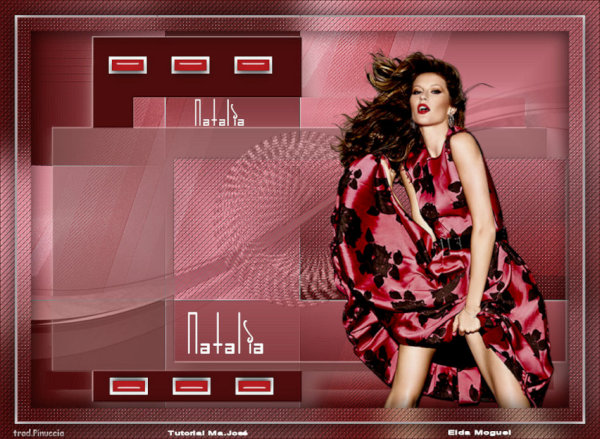
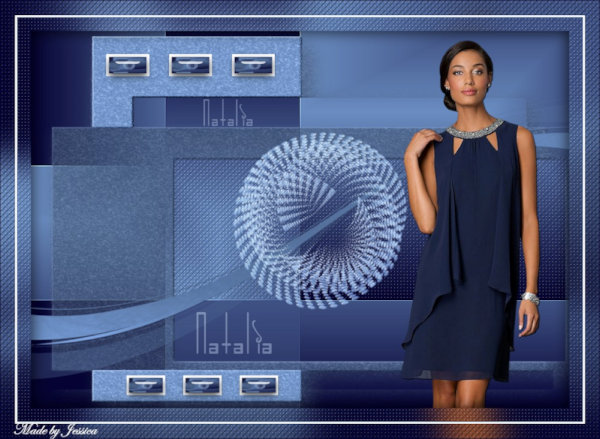
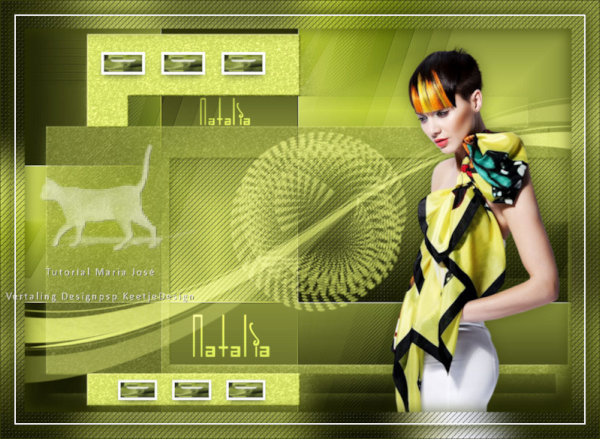
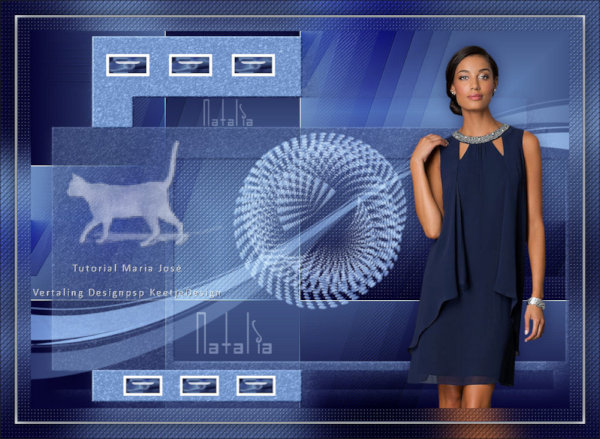
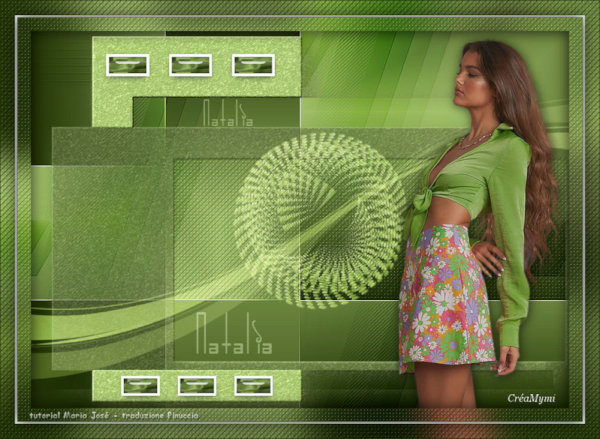
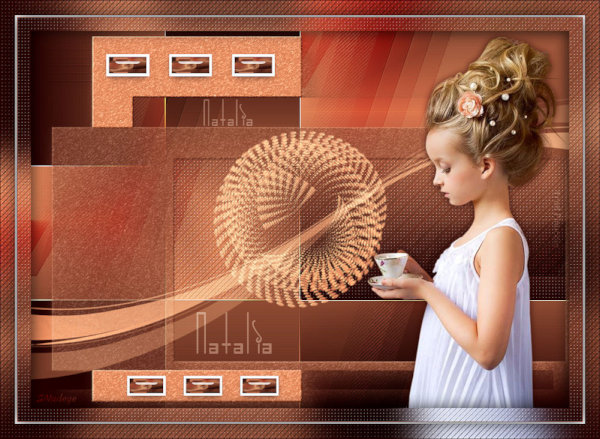
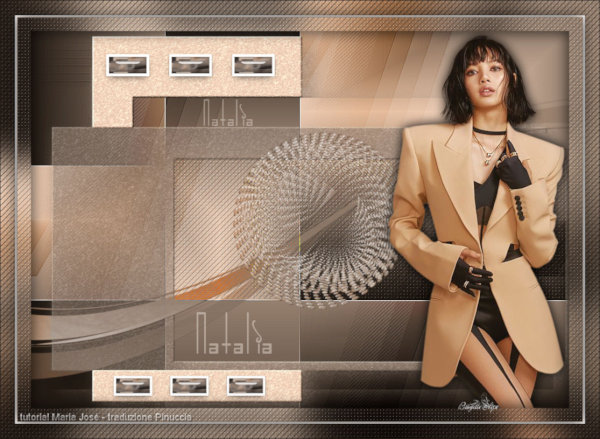
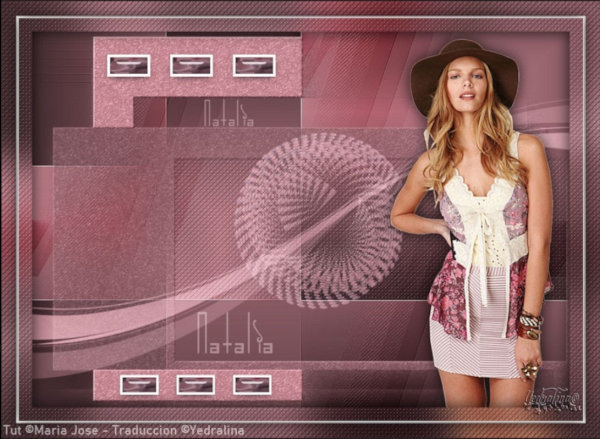
Outro Modelo

Este tutorial foi criado em 13 de maio de 2022 por Maria José Prado. É protegido por lei de Copyright e não poderá ser copiado, retirado de seu lugar, traduzido ou utilizado em listas de discussão sem o consentimento prévio e escrito de sua autora acima declinada.
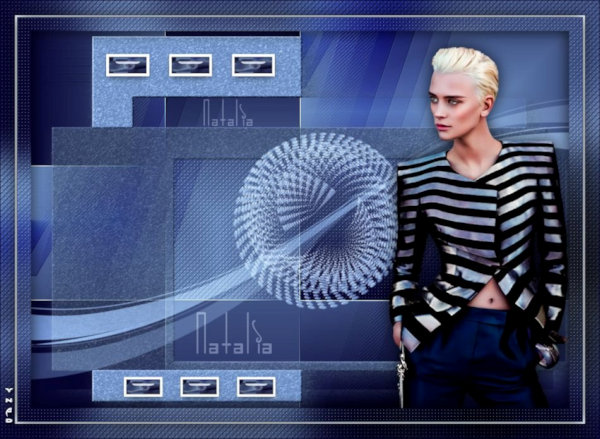
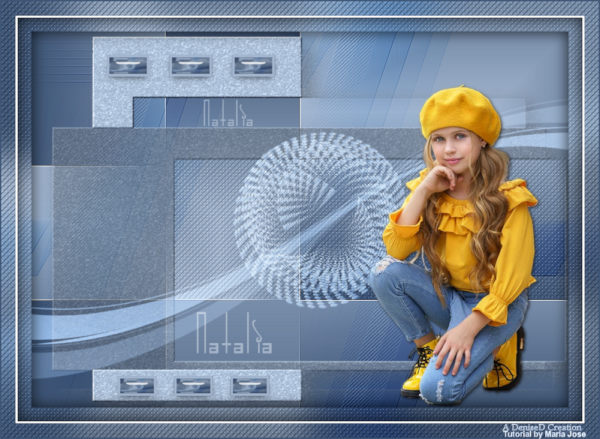
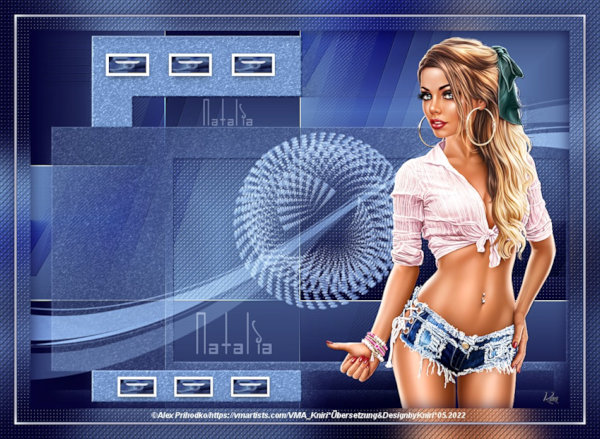
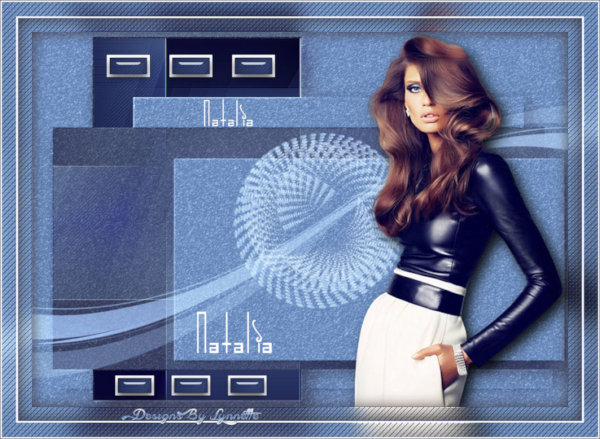
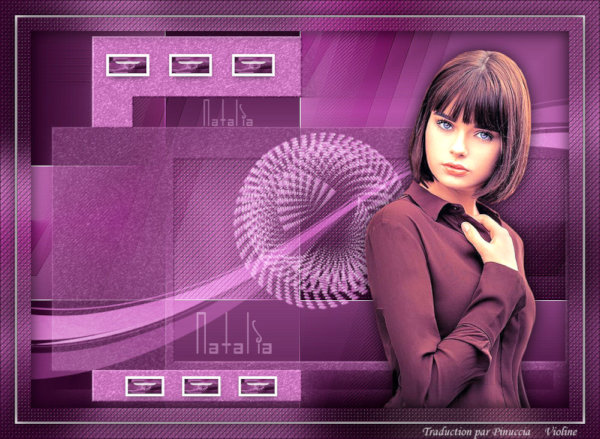
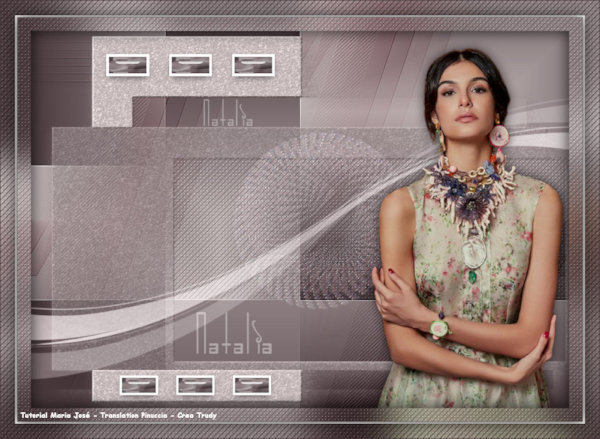
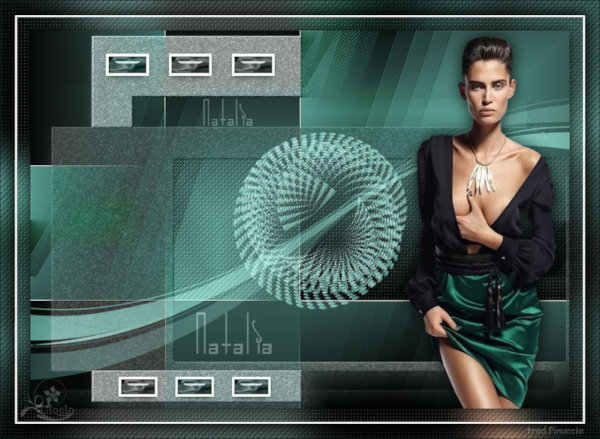
VARIANTES