MATERIAL 
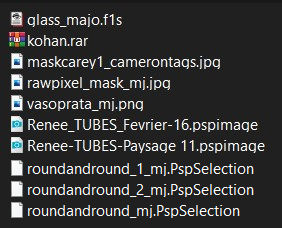
*** Preset Glass, dois cliks sobre o mesmo ele se instalará
*** Seleções, Copiar/Colar dentro da Pasta Selections do PSP
Agradeço às tubeiras Renée, Gabry e Thafs pelos tubes
PLUGINS
Neology
Graphics Plus
Unplugged Tools
Toadies
Kohan's Filters
Eye Candy 5 - Impact
L en K's
MuRa's Meister
MuRa's Seamless
RCS Filter Pak 1.0
Simple
______________________________________________________________________________________________________
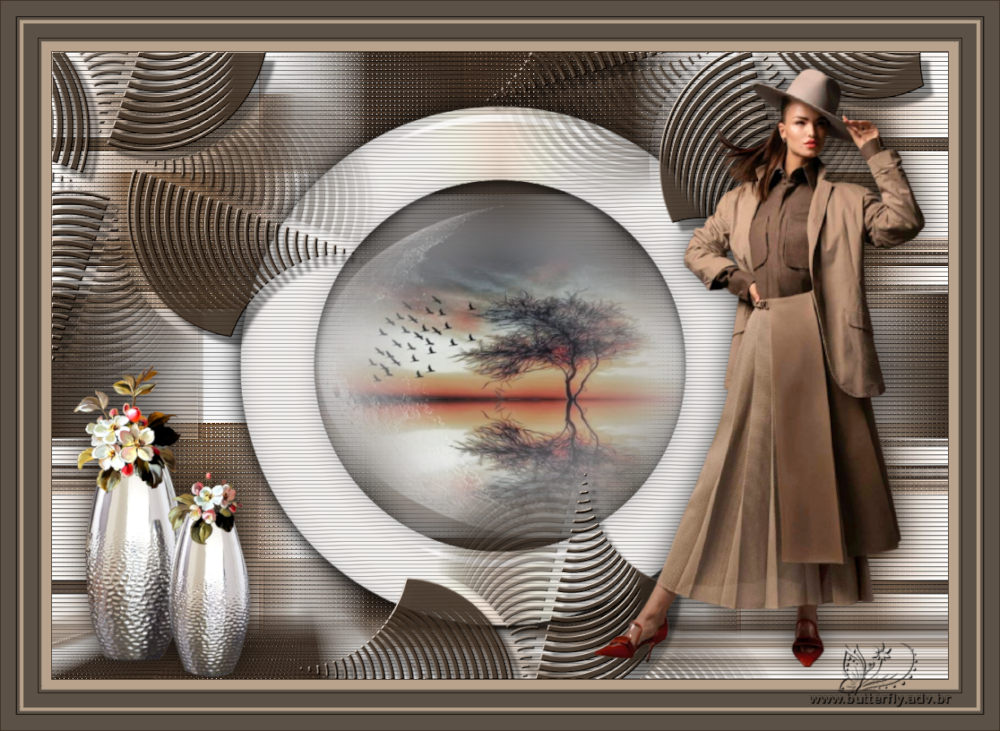
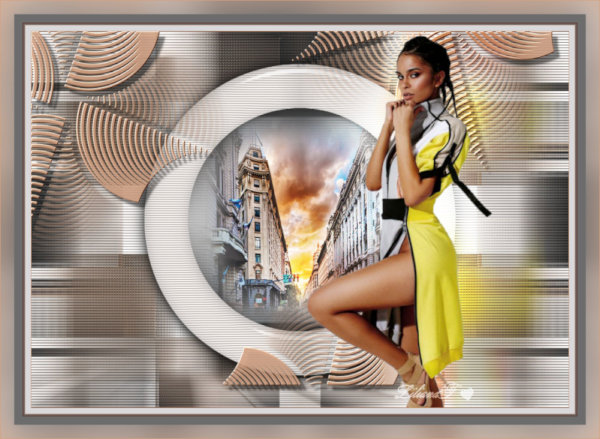
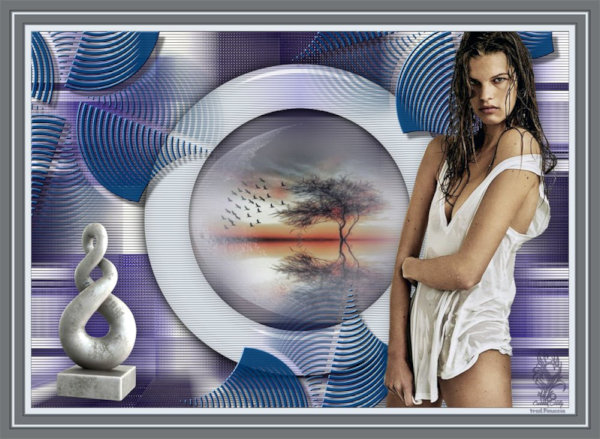
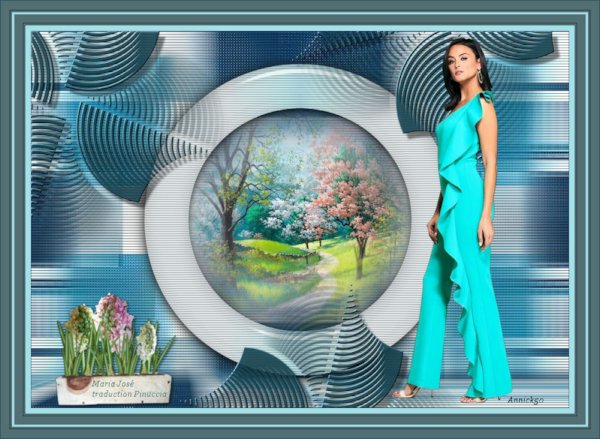
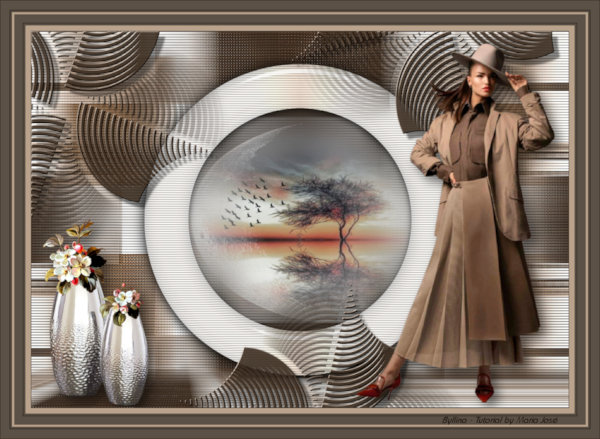
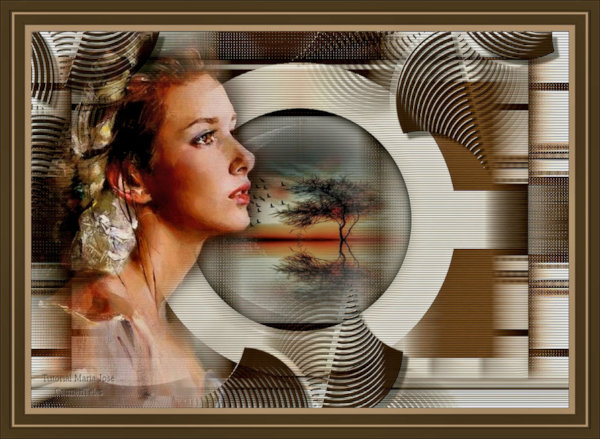
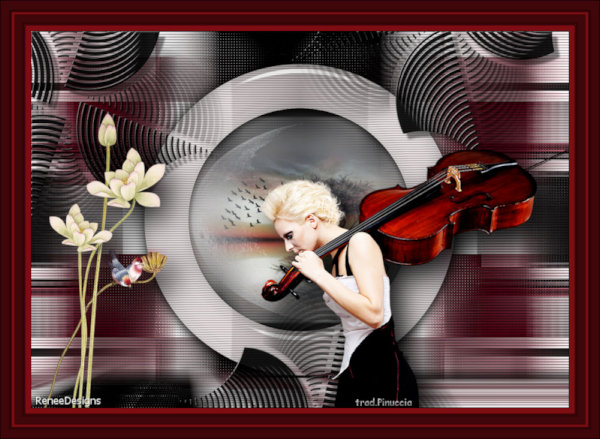
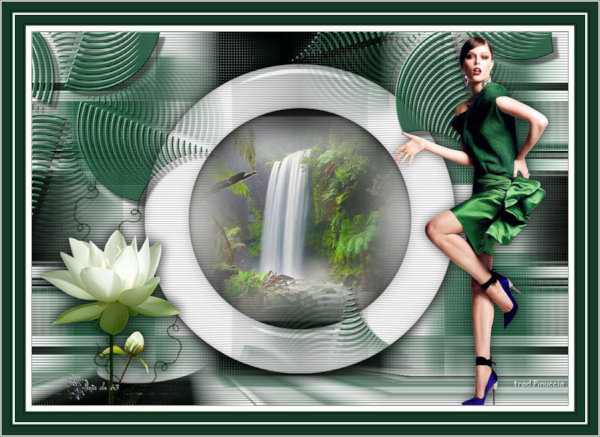
Cores usadas neste Tutorial - Foreground- - #b9a38d - Background-
 - #403124
1.- Abrir - maskcarey1_camerontags - Edit Copy
2.- Abrir - New Raster Layer - Transparente - 1000x700px - Selections - Select All
3.- Edit - Copiar/Colar dentro da seleção a mask copiada no item 1
SELECT NONE
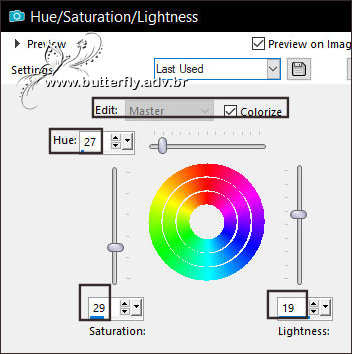
4.- Colorir a seu gosto - neste trabalho usamos a configuração abaixo
* Hue and Saturation - Hue/Saturation/Lightness
______________________________________________________________________________________________________
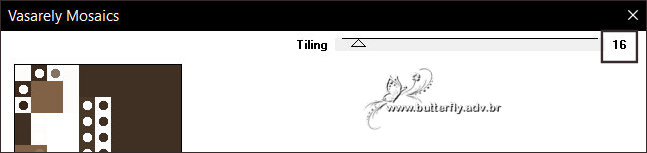
5.- Plugin - Neology - Vassalery Mosaics (16)
8.- Effects - Reflection Effects - Rotation Mirror (180 - Reflect)
9.- Plugin - Graphics Plus - Vertical Mirror - DEFAULT (128, 0)
10.- Adjust - Add Noise - Randon 20 - Mono Clicado
11.- Effects - Distortion Effects - Wind - Left 100
12.- Effects - Reflection Effects - Rotation Mirror - DEFAULT
* Layers - Duplicate
13.- Plugin - Unplugged Tools - Round Botton (203, 143, 96, 208, 64)

______________________________________________________________________________________________________
14.- Selections - Load Selection from Disk - roundandround_mj
* DELETAR - SELECT NONE
15.- Selections - Load Selection from Disk - roundandround_1_mj
* Selections - Invert - DELETAR - Manter a Seleção
16.- Ativar a Raster 1 - Promote Selection to Layer
SELECT NONE
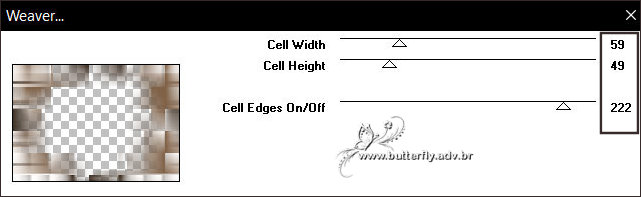
17.- Nesta Layer (promote selection) - Plugin - Toadies - Weaver
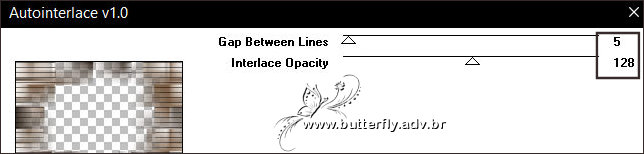
18.- Plugin - Kohan's Filters - autointerlace
19.- Plugin - Simple - Top Left Mirror
20.- Adjust - Sharpness - Sharpen More
* Baixar a Opacidade para 65%
______________________________________________________________________________________________________
21.- Ativar a Copy of Raster 1 - Plugin - Simple - Top Left Mirror
22.- Plugin - Kohan's Filters - autointerlace - mesma configuração
23.- Eye Candy 5 - Impact - Glass - Preset majo_glass
* Na Aba Basic - cor clara #b9a38d
______________________________________________________________________________________________________
* Ativar a Raster 1
24.- Selections - Load Selection from Disk - roundandround_mj
* Promote Selection to Layer - Layers - arrange - Move UP
25.- Adjust - Blur - Gaussian Blur - Radius 35,00
26.- Layers - Add New Layer - Copiar/Colar dentro da seleção o misted
* Ativar Copy of Raster 1 - merge down 2 vezes
SELECT NONE
______________________________________________________________________________________________________
27.- Image - Resize 85% - All Layers - DESCLICADO
* Drop Shadow 0, 0, 80, 40, preto
Ativar a Raster 1
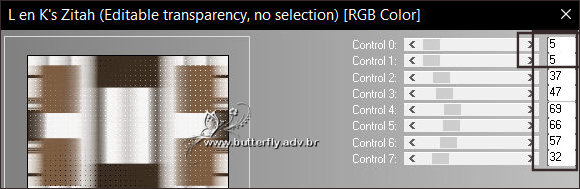
28.- Plugin - L en K's - Zitah
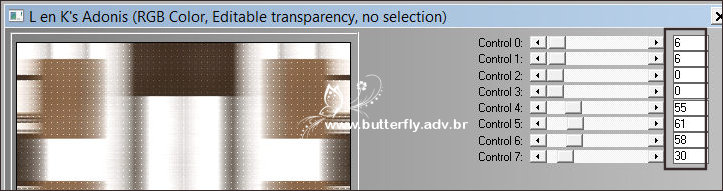
29.- Plugin - L en K's - Adonis
30.- Plugin - Kohan's Filters - autointerlace - mesma configuração
31.- Adjust - Sharpness - Sharpen More
______________________________________________________________________________________________________
* Tirar a Visibilidade da Promoted Selection 1(layer superior)
32.- Edit - Copy Special - Copy Merged - Edit Paste as New Layer
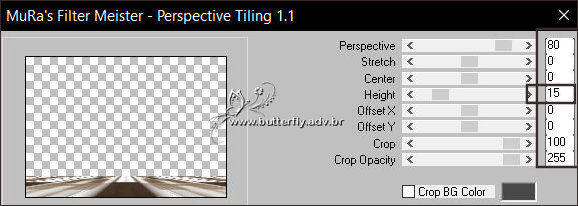
33.- Plugin- MuRa's Meister - Perspective Tiling
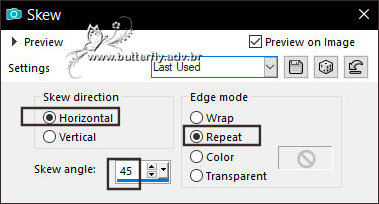
34.- Effects - Geometric Effects - Skew
35.- Selections - Load Selection from Disk - roundandround_2_mj
DELETAR +/- 15 VEZES - SELECT NONE
* Voltar a visibilidade da Promoted Selection 1
______________________________________________________________________________________________________
36.- Layers - Add New Layer - Preencher com a cor escura #403124
37.- Layers - New Mask Layer - from Image - rawpixel_mask_mj

* Layers - Merge Group
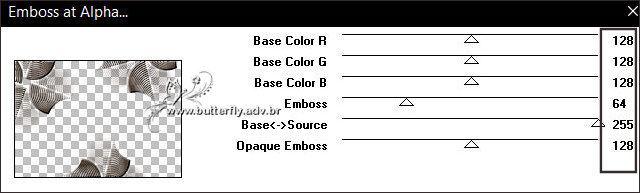
38.- Plugin - MuRa's Seamless - Emboss at Alpha - DEFAULT
* Drop Shadow 10, 10, 50, 5, preto
______________________________________________________________________________________________________
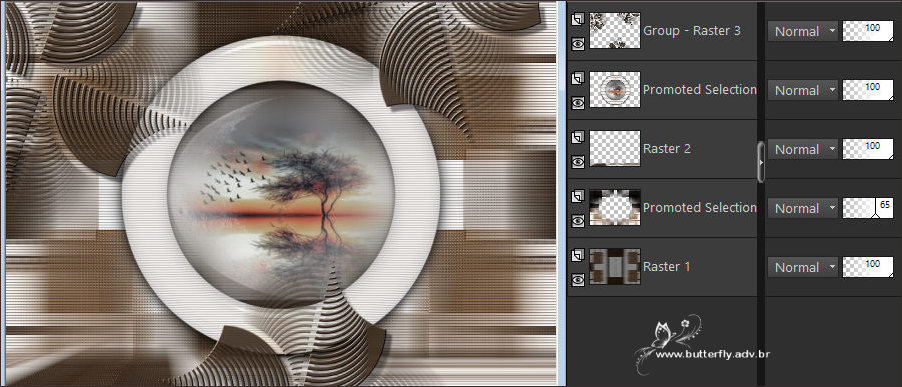
TAG LAYERS - ORGANIZAR - Blend Mode e Opacidade a seu gosto
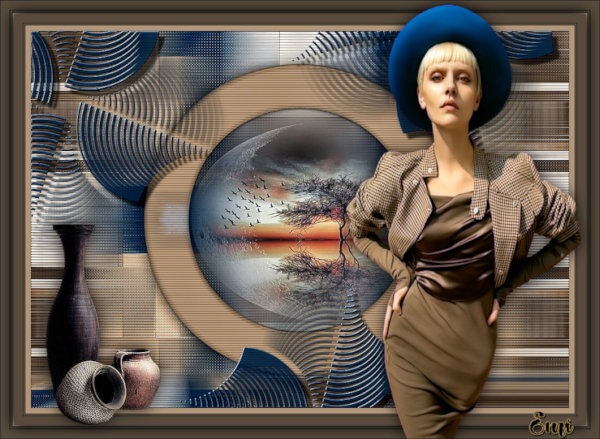
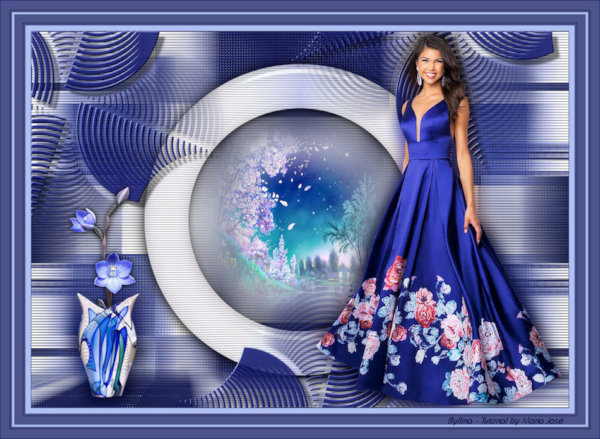
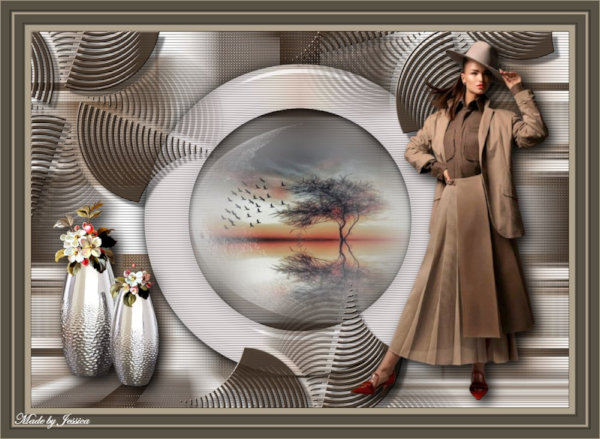
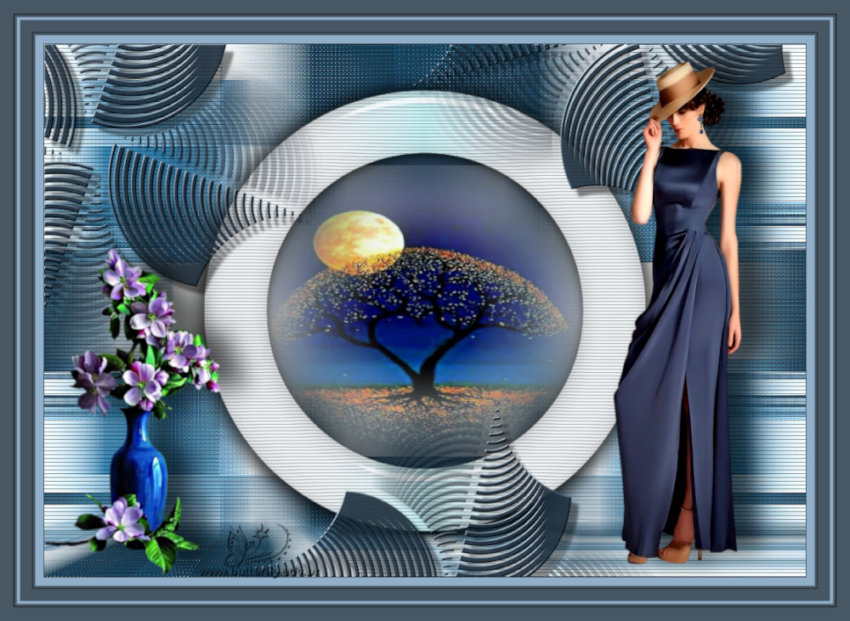
39.- Edit - Copiar/Colar o tube - personagem - posicionar
* Edit - Copiar/Colar o tube - decorativo (resize 65%) - posicionar
* Drop Shadow - para ambos - Critério Pessoal
______________________________________________________________________________________________________
BORDERS
40.- Image - Add Borders - 1px - cor escura #403124
* Image - Add Borders - 10px - cor clara #b9a38d
* Image - Add Borders - 1px - cor escura #403124
* Image - Add Borders - 20px - cor clara #b9a38d
* Ferramenta Magic Wand - Selecionar esta última borda
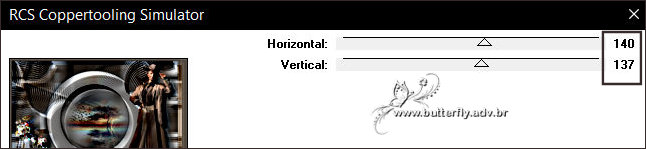
41.- Plugin plugin RCS Filter Pak 1.0 - RCD Coppertooling Simulator
42.- Plugin - Simple - Top Left Mirror
* EDIT COPY - Selections - Select All
43.- Image - Add Borders - 25px - cor clara #b9a38d
* Selections - Invert - Colar dentro da seleção a imagem copiada
SELECT NONE
______________________________________________________________________________________________________
44.- Assinar o trabalho - Image Add Borders 1px cor escura #403124
45.- As layers - estão mergidas - Image Resize - Wifth 1000px - Salvar em .jpg
Espero que apreciem, obrigada.
______________________________________________________________________________________________________
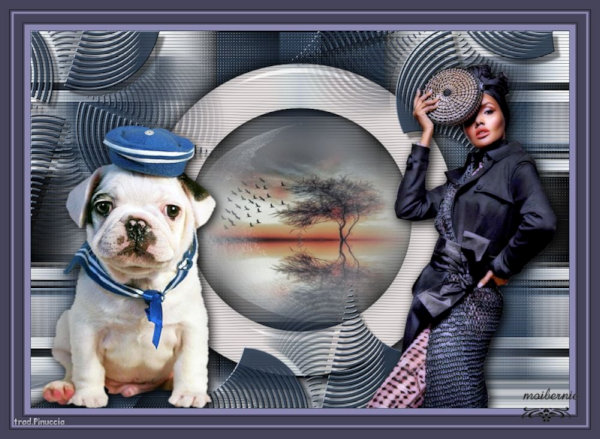
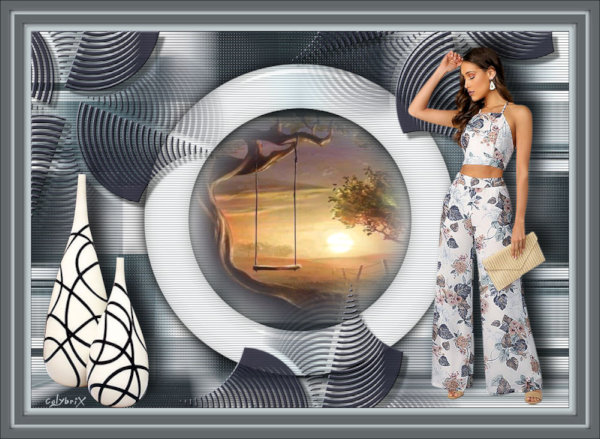
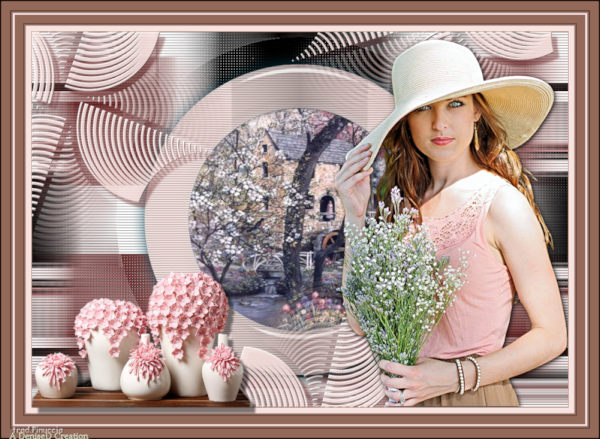
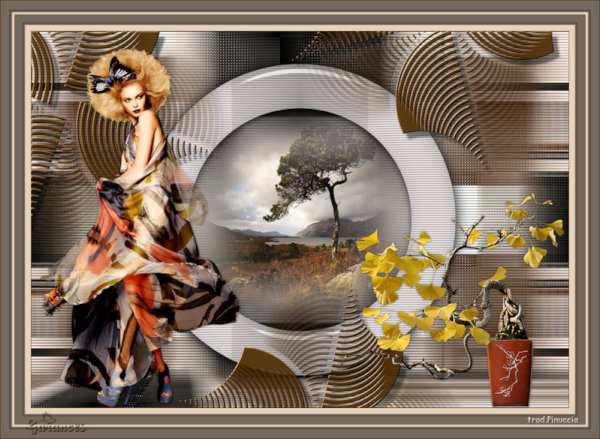
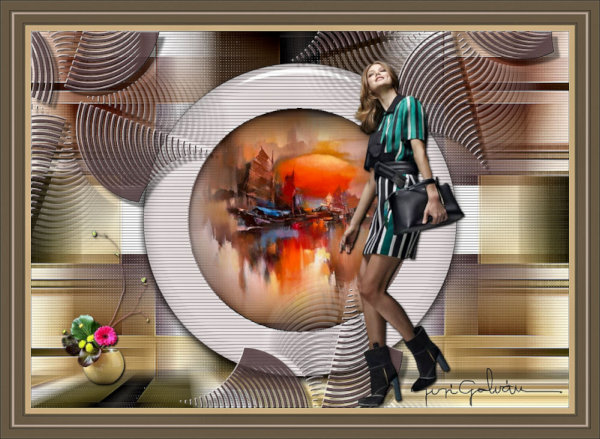
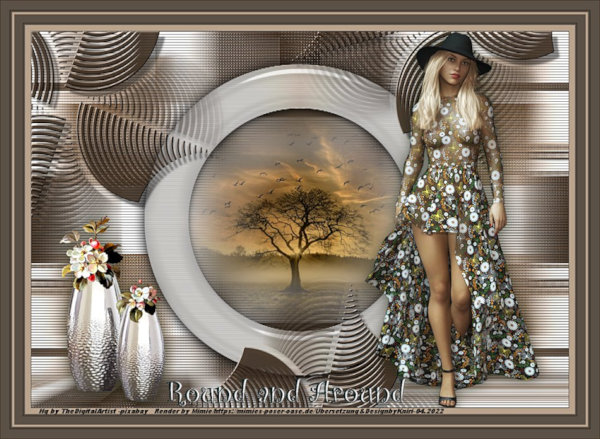
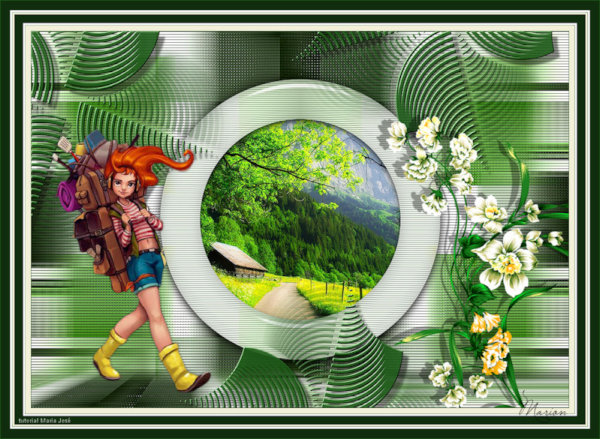
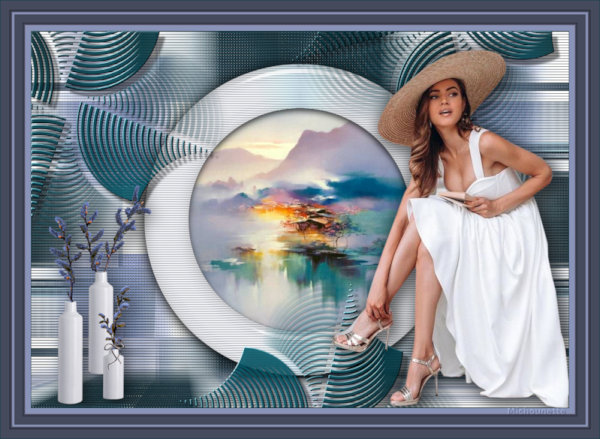
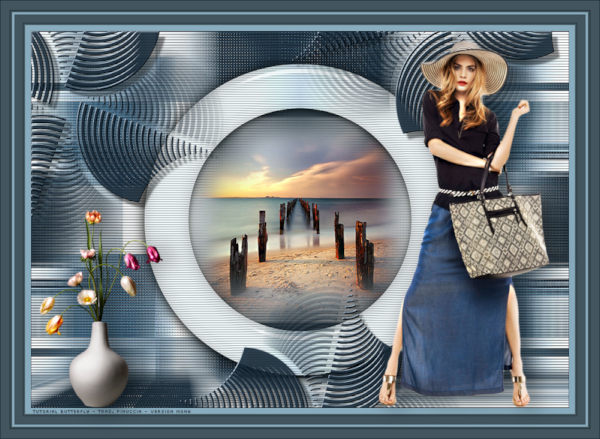
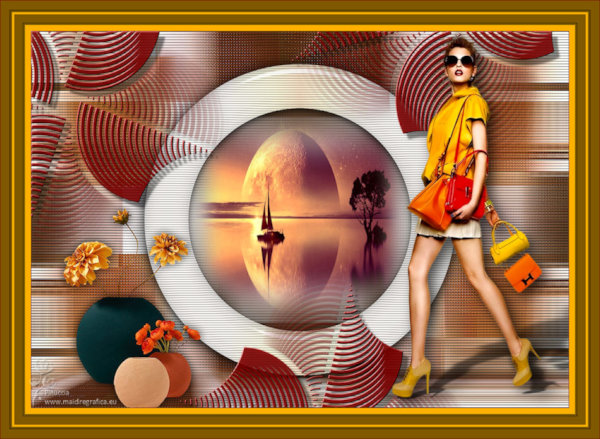
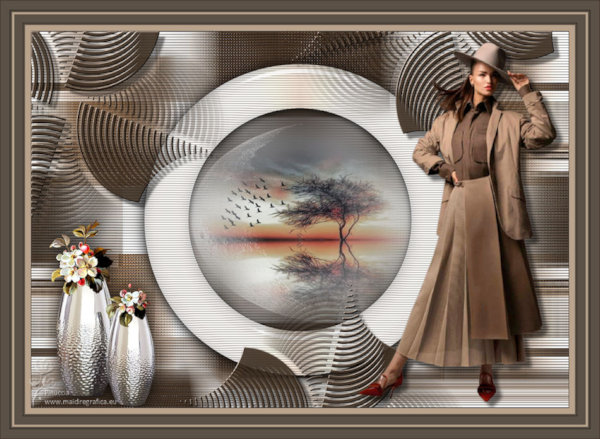
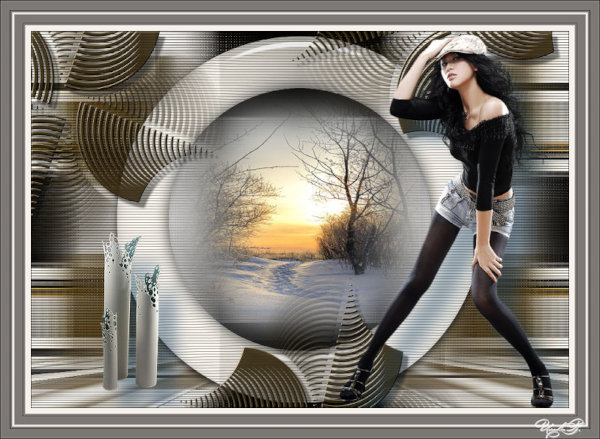
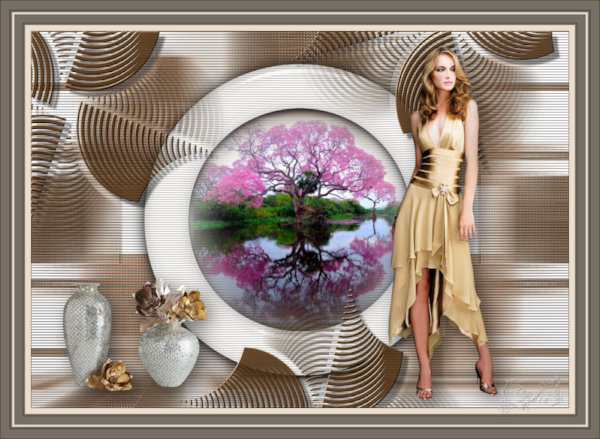
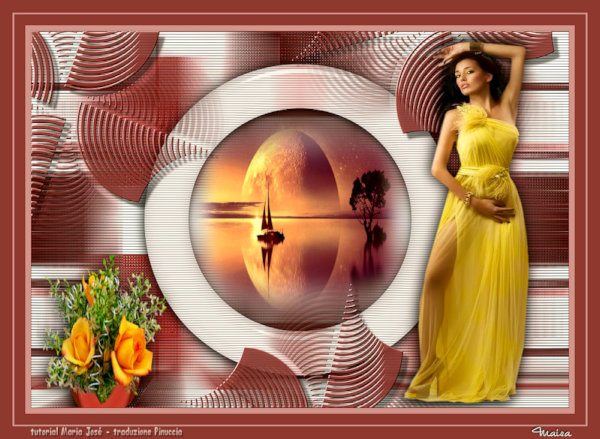
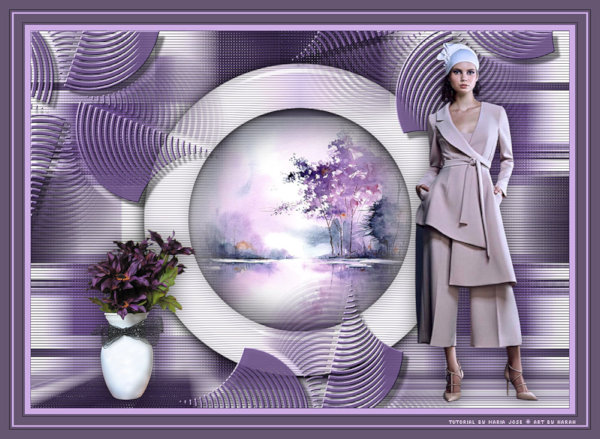
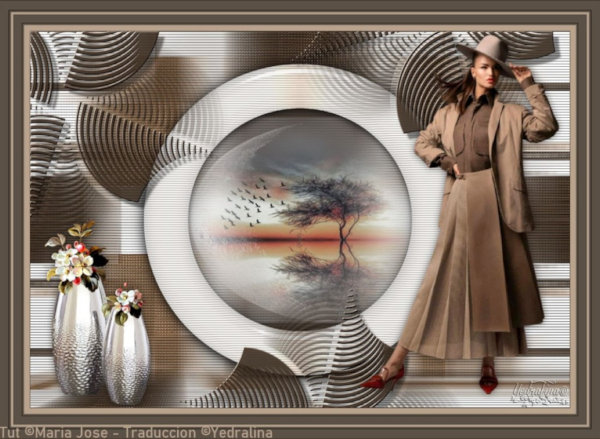
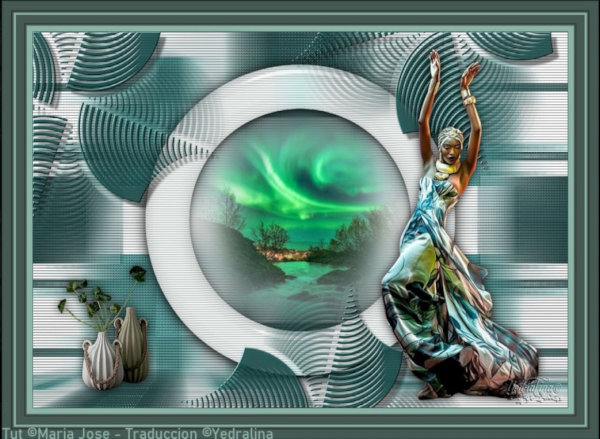
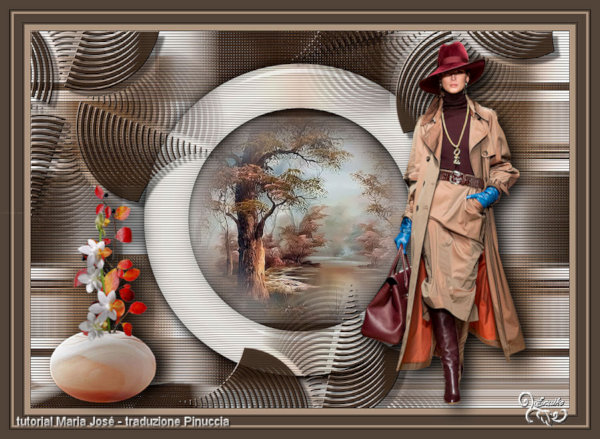
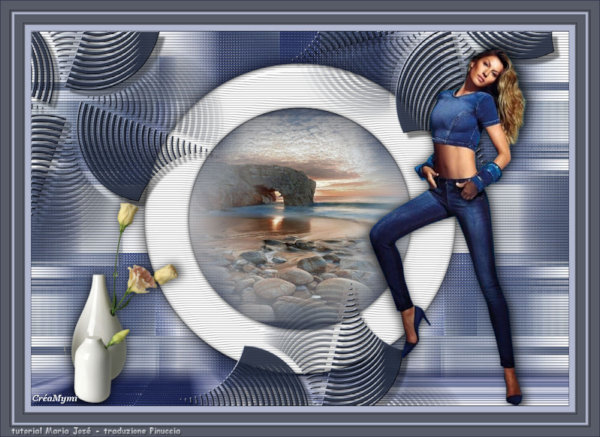
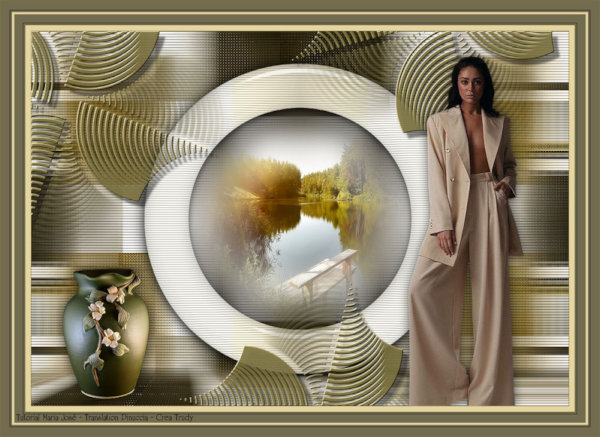
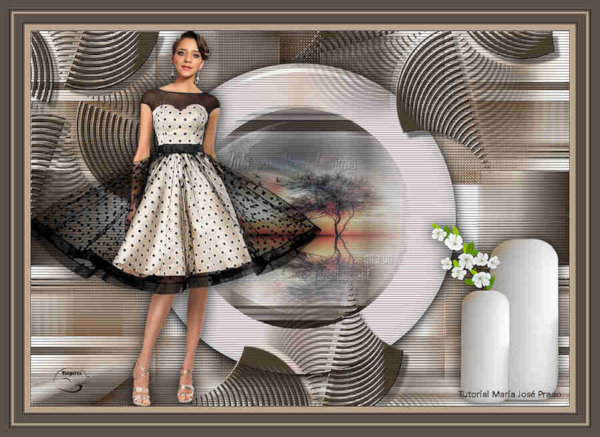
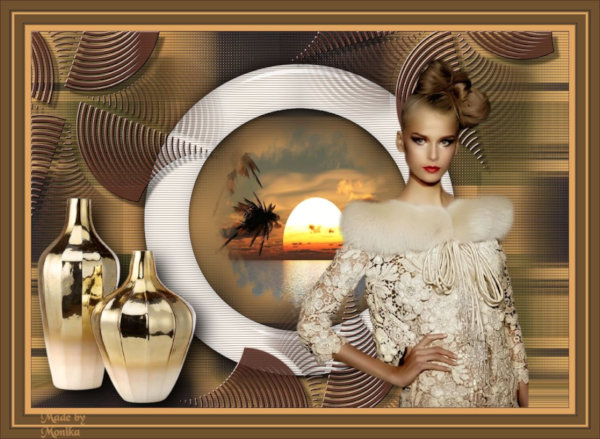
Outro modelo

Este tutorial foi criado em 20 de abril de 2022 por Maria José Prado. É protegido por lei de Copyright e não poderá ser copiado, retirado de seu lugar, traduzido ou utilizado em listas de discussão sem o consentimento prévio e escrito de sua autora acima declinada.
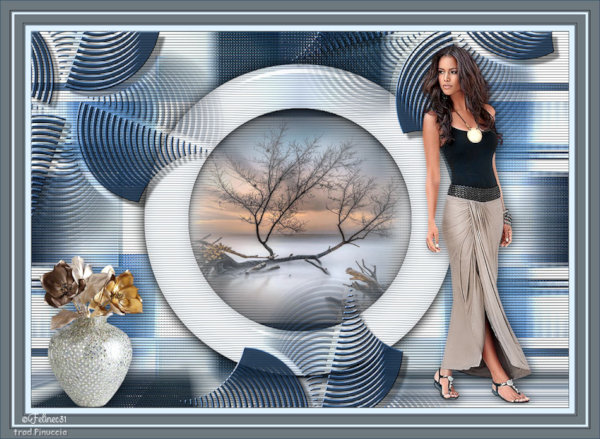
VARIANTES