MATERIAL 
Tube personagem Nena Silva, agradeço
Mask Narah Mask, agradeço
*** Preset Glass - dois cliks sobre o mesmo ele se instalará
*** Pattern prata - Copiar/Colar dentro
da Pasta Pattern do PSP
*** Texture esp_tan_patt_9 - Copiar/Colar dentro da Pasta Texture do PSP
*** Seleção - Copiar/Colar dentro da pasta Selections do PSP
PLUGINS
VanDerLee - UnPlugged-X
Toadies
Carolaine and Sensibility
Mehdi
L en K's
MuRa's Seamless
Eye Candy 5 - Impact
Simple
___________________________________________________________________________________________________
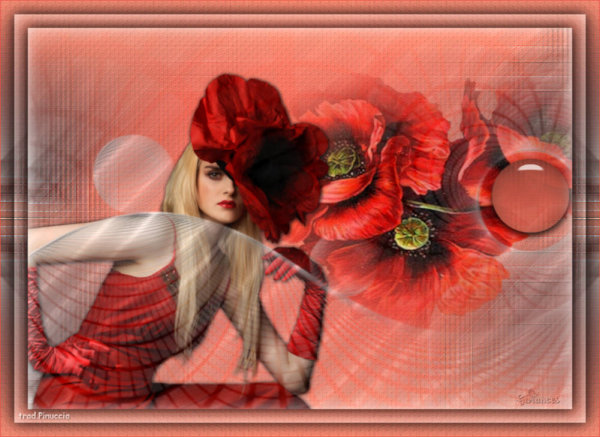
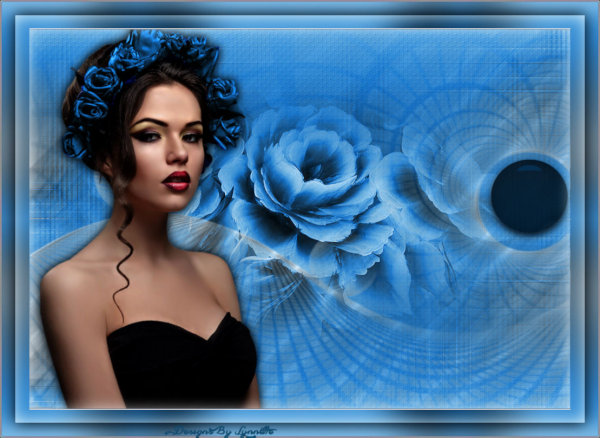
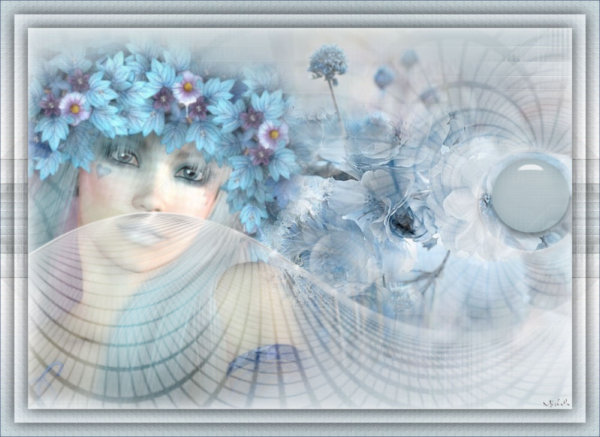
1.- Formar - Gradiente - LINEAR - Angle 0 - Repeats 1 - cores a sua escolha
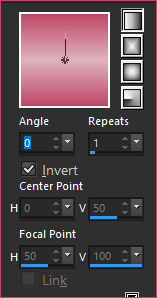
Cores deste tutorial - Foreground- - #deb3bd - Background-
 - #bf4667
___________________________________________________________________________________________________
2.- Layers - New Raster Layer - Transparente - 1000x700px - preencher com a gradiente
3.- Effects - Geometric Effects - Skew 45 - Horizontal - Transparent

4.- Ferramenta - Magic Wand - Selecionar as transparências
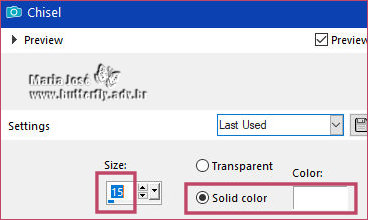
5.- Selections - Invert - Effects - 3D Effets - Chisel 15 - branco
SELECT NONE
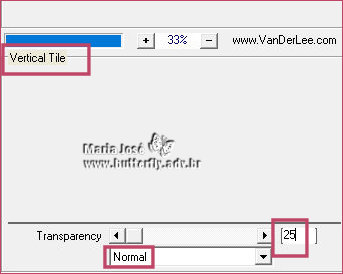
6.- Plugin - VanDerLee - UnPlugged-X - Vertical Tiles - Transparency 25 - Normal
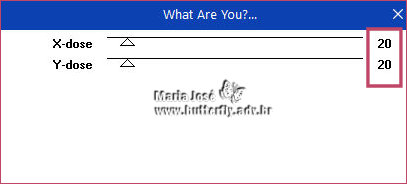
7.- Plugin - Toadies - What are You? - DEFAULT (20,20)
8.- Effects - Edge Effects - Enhance More
___________________________________________________________________________________________________
* Layers - Duplicate
9.- Plugin - Carolaine and Sensibility - CS-LDots - DEFAULT (50, 3, 2)

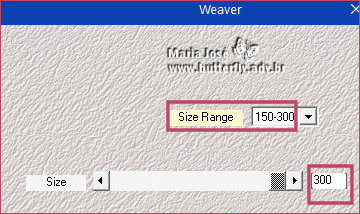
10.- Plugin - Mehdi - Weaver - Size 300
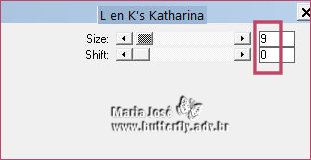
11.- Plugin - L en K's - Katharina (9, 0)
*Layers - Merge - Merge Visíble
___________________________________________________________________________________________________
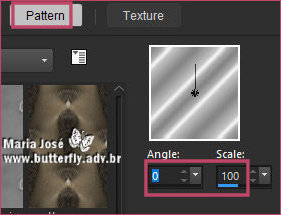
12.- Layers - Add New Layer - Preencher com a pattern Prata
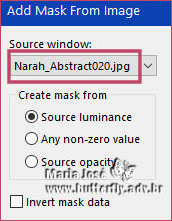
13.- Layers - New Mask Layer - from image - Narah_abstract020
* Layers - Merge Group
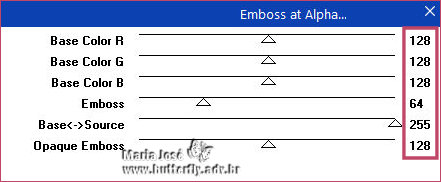
14.- Plugin - MuRa's Seamless - Emboss at Alpha
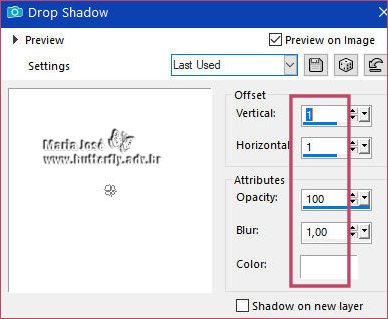
15.- Effects - 3D Effets - Drop Shadow 1, 1, 100, 1, branco
___________________________________________________________________________________________________
16.- Ativar o Misted - Copiar/Colar ao centro - Layers - move down
17.- Ferramenta Pick  (Tecle K para ativar)
* Position X 86,00 - Position Y 86,00 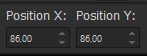
* configuração para o misted usado neste tutorial
* Tecle M para desativar a ferramenta
___________________________________________________________________________________________________
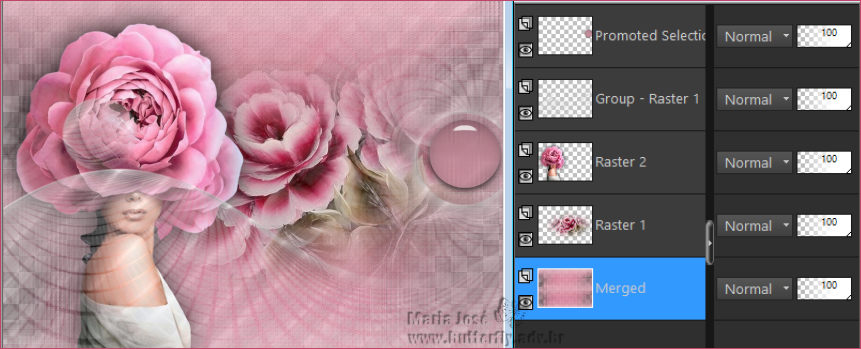
ATIVAR A LAYER MERGED
18.- Selections - Load Selection from Disk - toilesettoiles_mj
* Promote Selection to Layer - Layers - Arrange - Bring to Top
19.- Eye Candy 5 - Impact - Glass - preset glasstoilesettoiles_mj
SELECT NONE
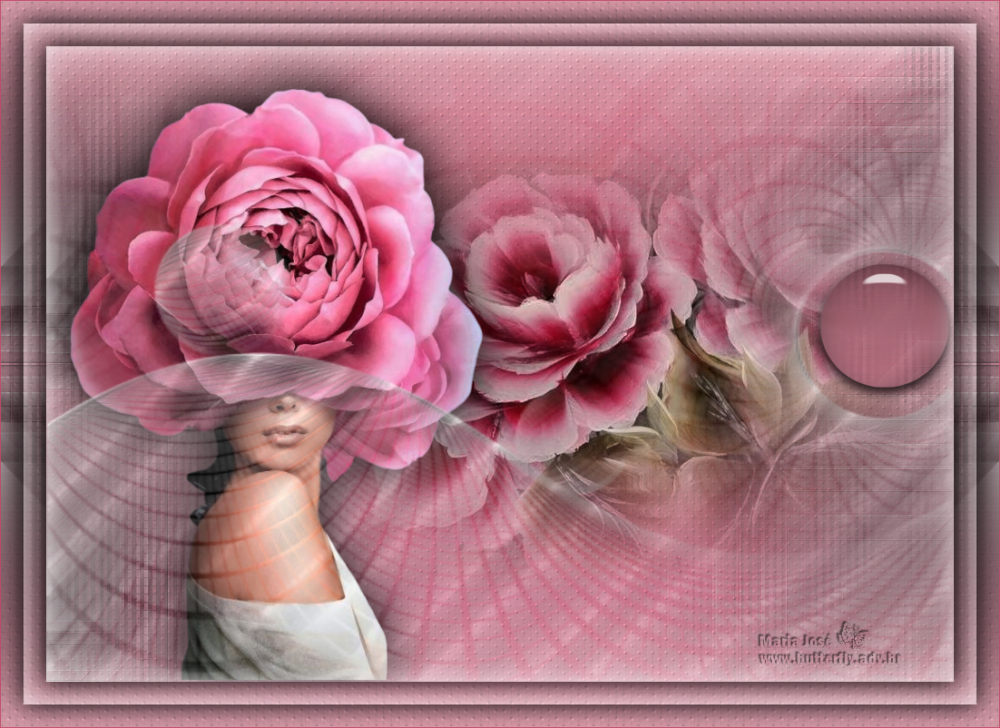
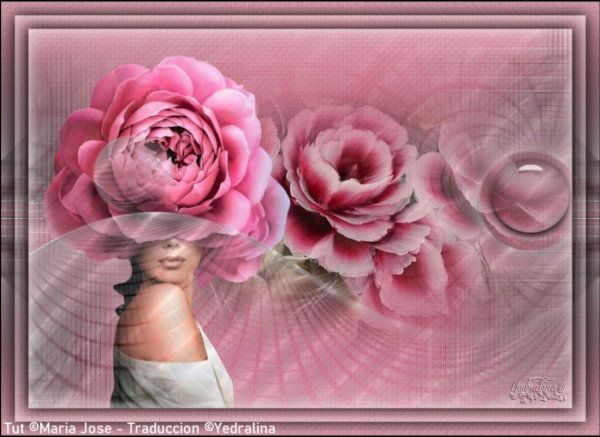
20.- Ativar o tube personagem (resize 95%) All Layers - DESCLICADO
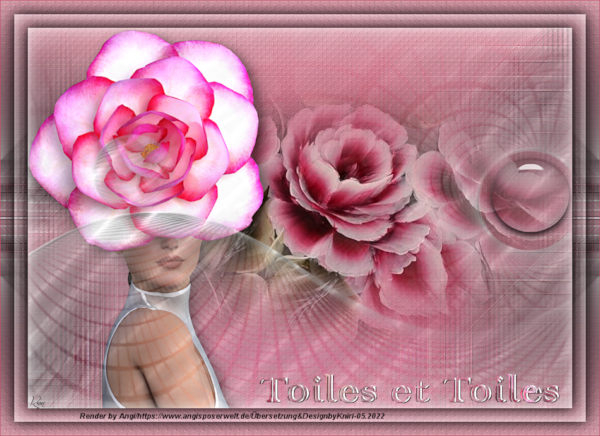
* Copiar/Colar como no modelo - Drop Shadow critério pessoal
___________________________________________________________________________________________________
* ATIVAR A LAYER MERGED
21.- Effects - Texture Effects - Texture - esp_tan_patt_9

22.- Edit - Copy na Raster 1 - Edit - Paste as New Image - MINIMIZAR
TAG LAYERS - ORGANIZAR - Mude as Blend Mode e Opacidade como gostar
___________________________________________________________________________________________________
23.- Selections - Select All - Image - Add Borders - 50px - Branco
24.- Select Invert - Copiar/Colar dentro da seleção a imagem minimizada
25.- Plugin - Simple - Top Left Mirror
26.- Effects - 3D Effects - Drop Shadow 0, 0, 80, 40, BRANCO
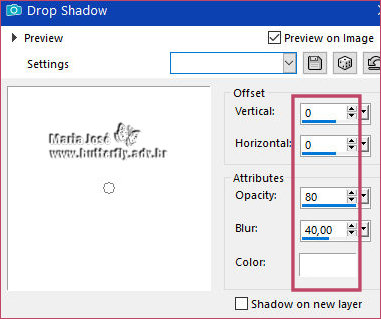
27.- Selections Invert - Effects - 3D Effects - Drop Shadow 0, 0, 80, 40, PRETO
28.- Selections - Select All - Selections - Modify - Contract 25
* Selections Invert - Drop Shadow como no ÍTEM 26 - BRANCO
* Selections Invert - Drop Shadow como no ÍTEM 27 - PRETO
SELECT NONE
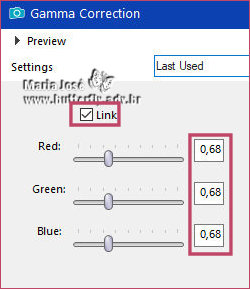
29.- (OPCIONAL) - Effects - Gamma Correction (Shift G) 0,68
___________________________________________________________________________________________________
30.- Assinar o trabalho - Image - Add Borders - 1px - cor escura
31.- As layers estão mergidas - Image - Resize - Width 1000px - Salvar em .jpg
Espero que apreciem, obrigada.
___________________________________________________________________________________________________
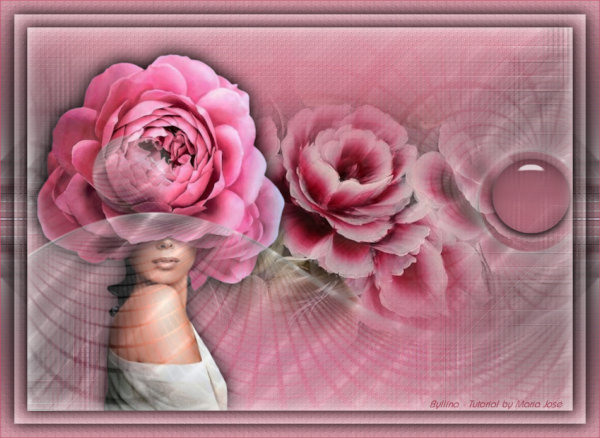
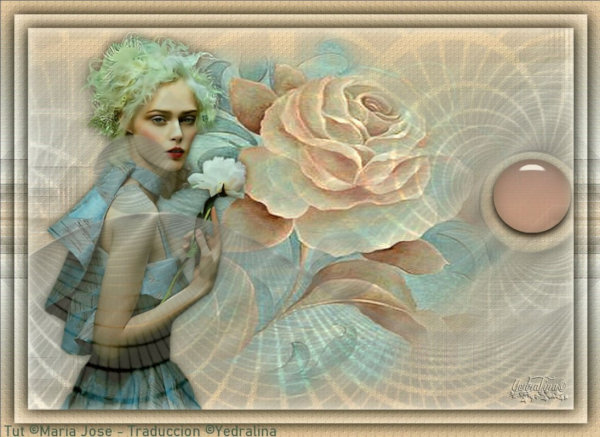
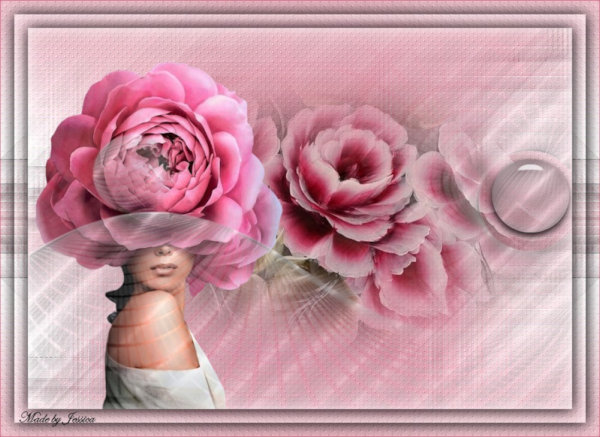
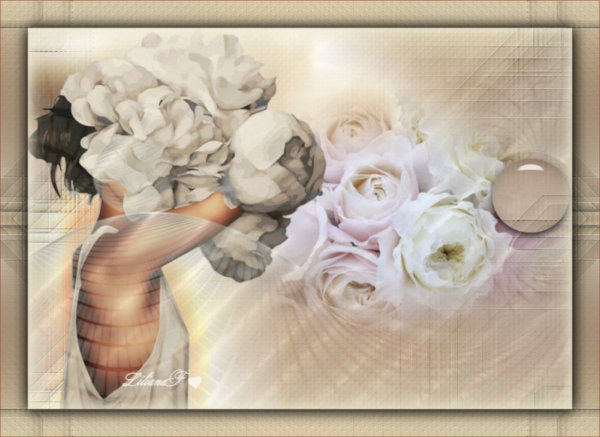
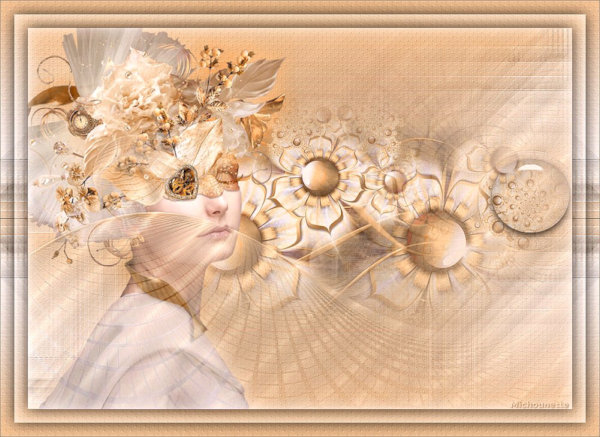
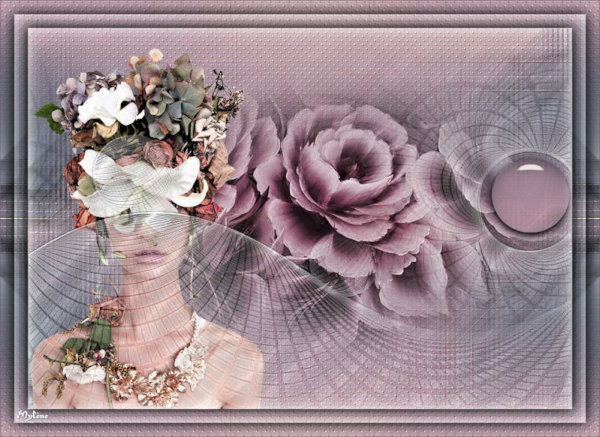
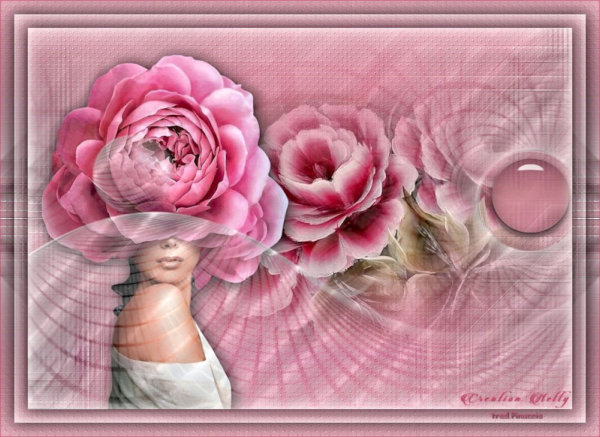
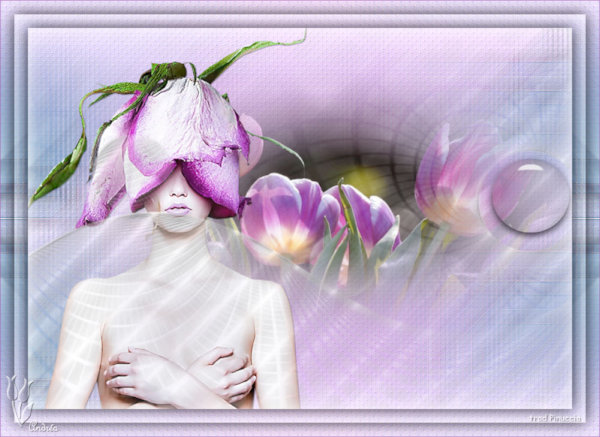
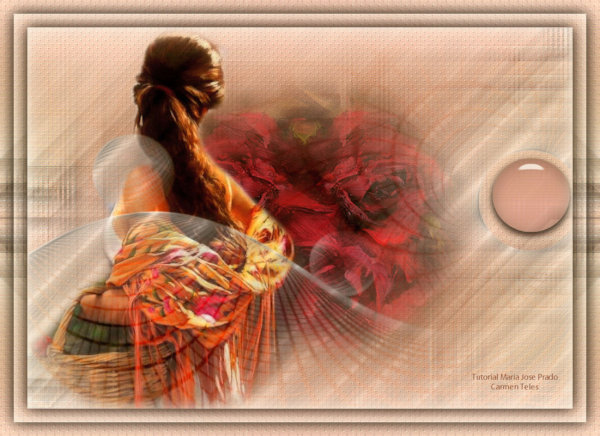
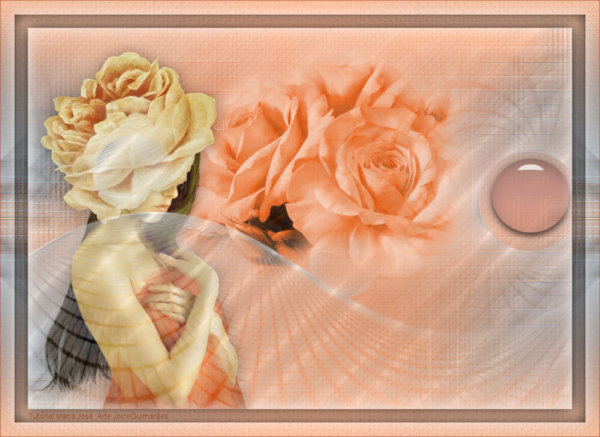
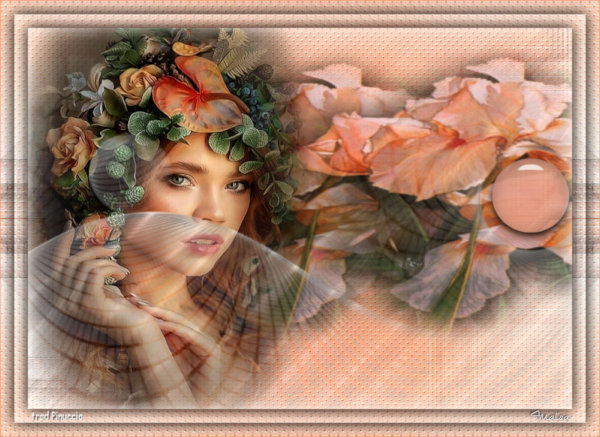
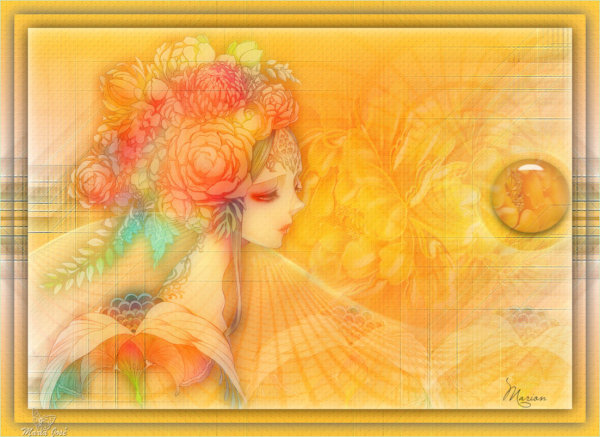
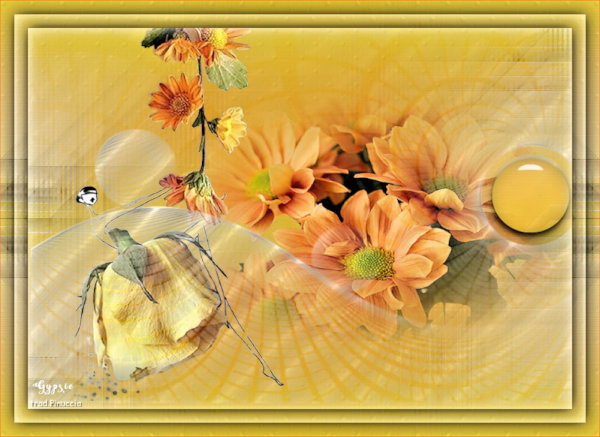
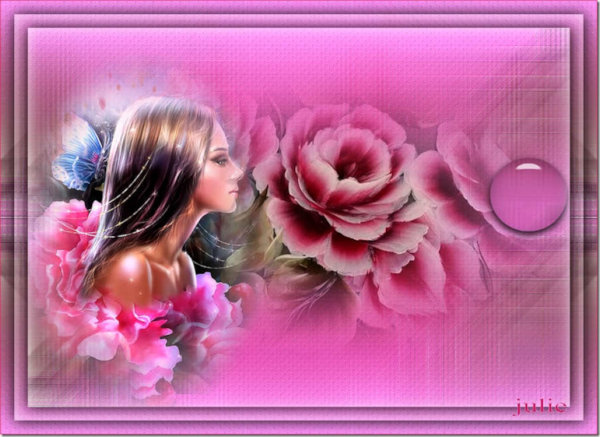
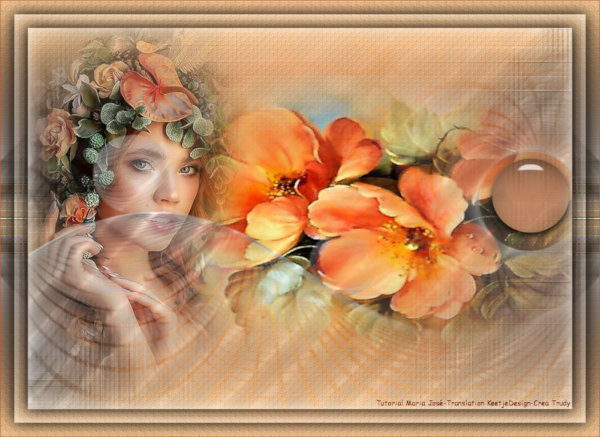
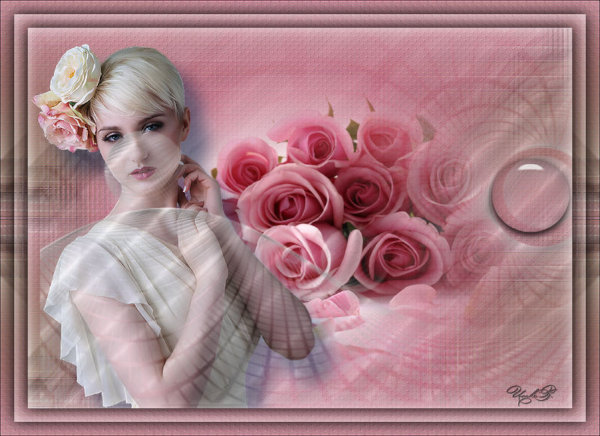
Outro Modelo

.gif)
Este tutorial foi criado em novembro 2011 e atualizado em 22 de maio de 2022 por Maria José Prado. É protegido por lei de Copyright e não poderá ser copiado, retirado de seu lugar, traduzido ou utilizado em listas de discussão sem o consentimento prévio e escrito de sua autora acima declinada.
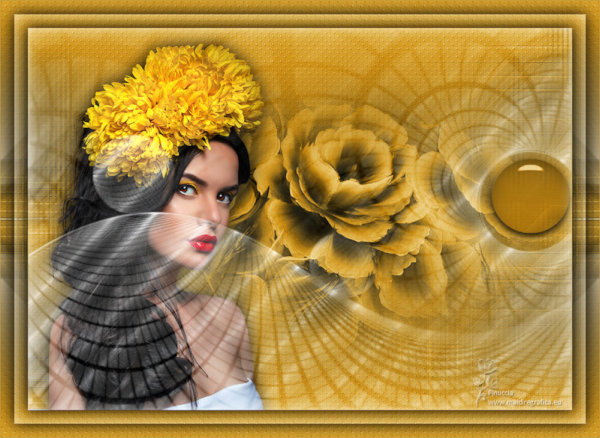
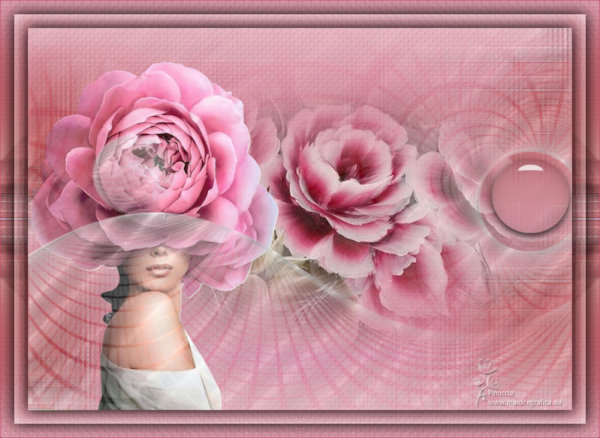
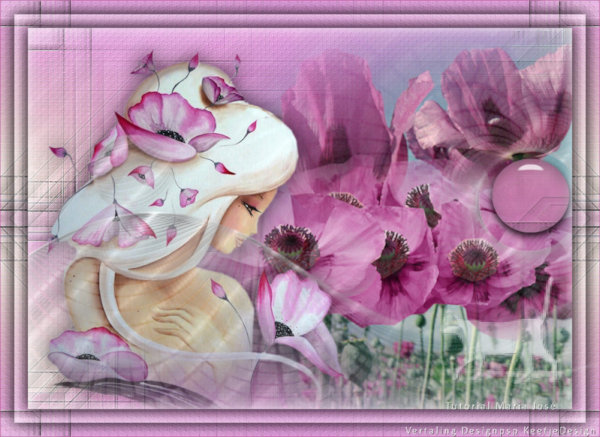
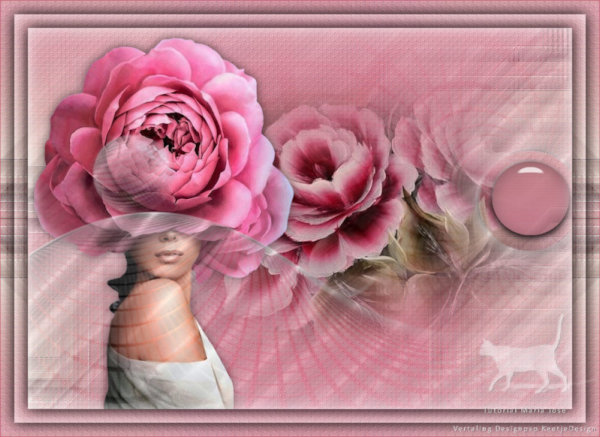
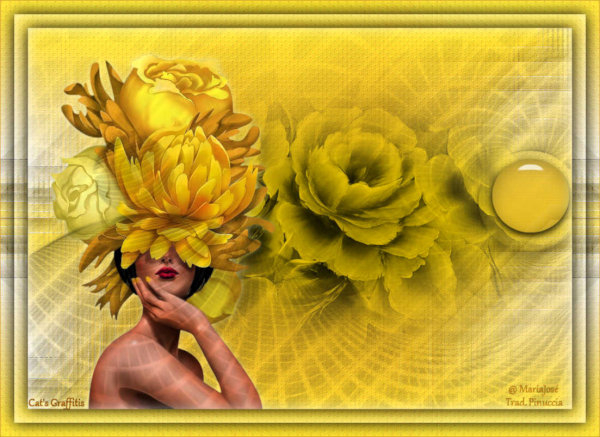
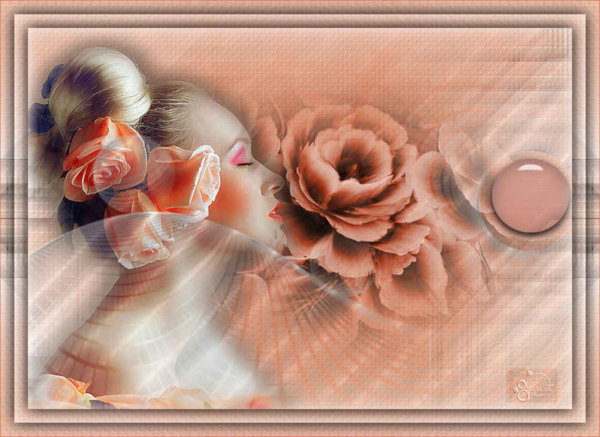
VARIANTES