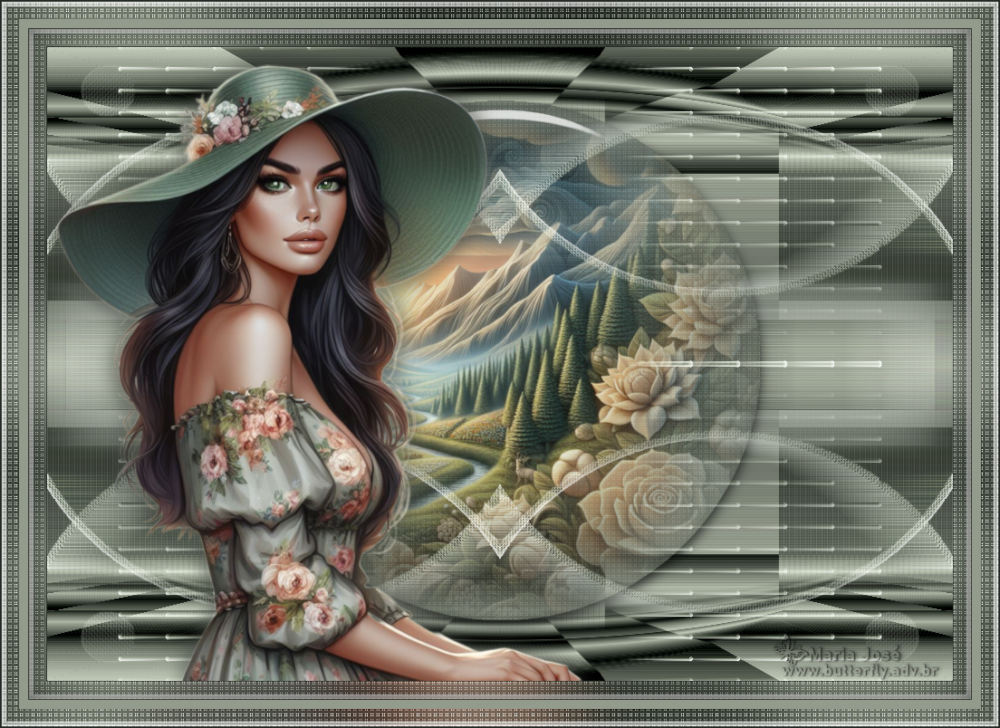
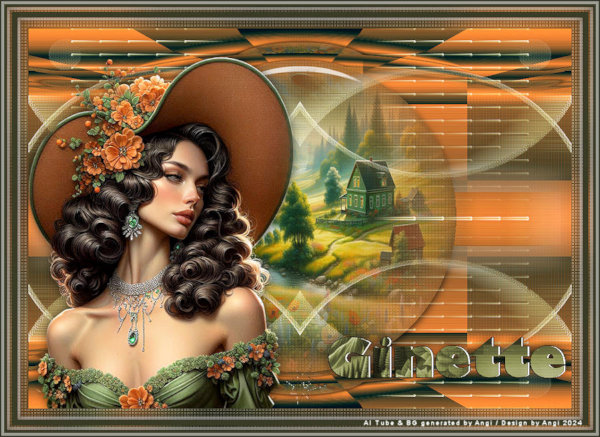
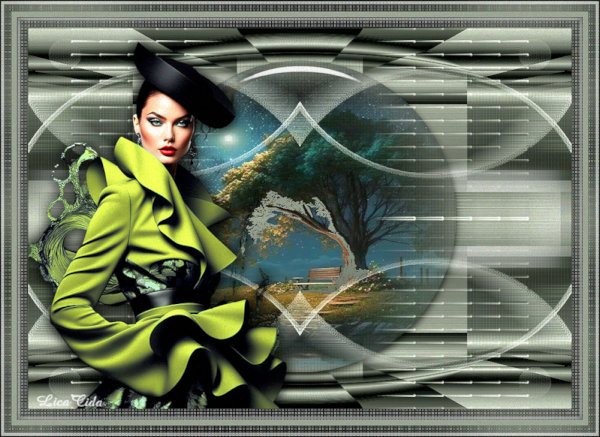
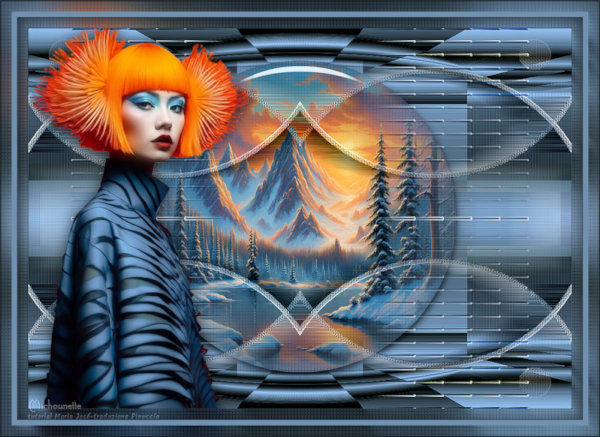
MATERIAL 
*** Preset Glass - dois clicks sobre o mesmo ele se instalará
PLUGINS
Filter Factory Gallery C
VM Distortion
Simple
Carolaine and Sensibility
Eye Candy 5 - Impact
MuRa's Meister
Toadies
AAA Frame - Foto Frame
_________________________________________________________________________________________________________
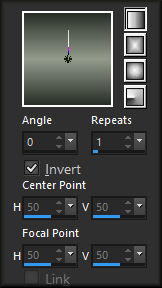
Preparar Gradiente - LINEAR - Angle 0 - Repeats 1 - cores a seu gosto
Cores deste tutorial - Foreground- - #939b8c - Background-
 - #282f27
_________________________________________________________________________________________________________
1.- Abrir alphachannel-ginette - fazer uma cópia - Shift+D - fechar o original
* Vamos trabalhar na cópia - preencher com a Gradiente
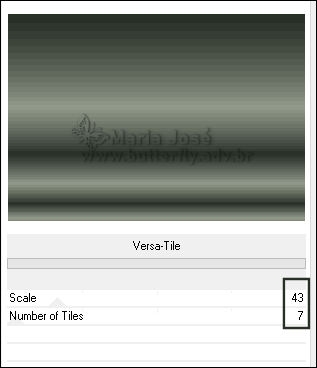
2.- Plugin - Filter Factory Gallery C - Versa Tile - DEFAULT
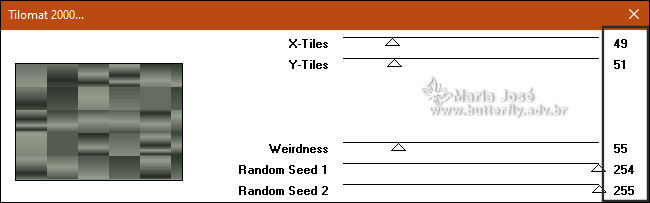
3.- Plugin - VM Distortion - Tilomat 2000
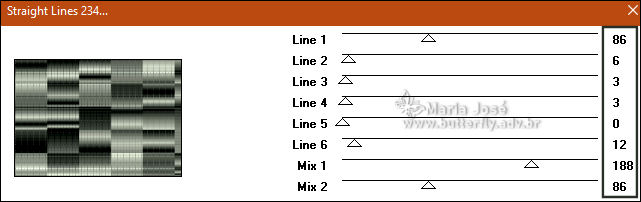
4.- Plugin - Andrew's Filters 51 - Straight Lines 234 - DEFAULT
5.- Effects - Reflection Effects - Rotating Mirror - 180 - Reflect
6.- Plugin - Simple - Top Left Mirror
_________________________________________________________________________________________________________
7.- Selections - Load Selection - From Alpha Channel - Selection #1
* Promote Selection to Layer
8.- Adjust - Blur - Gaussian Blur - Radius 35,00
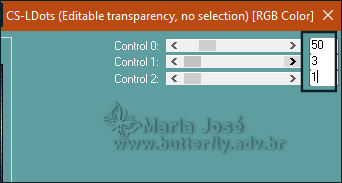
9.- Plugin - Carolaine and Sensibility - CS-LDots (50, 3, 1)
* Layers - Add New Layer
10.- Edit - Copiar/Colar dentro da seleção o misted-floral-MJ
11.- Eye Candy 5 - Impact - Glass - preset glass ginette-MJ
* Layers - Merge Down - Select None
_________________________________________________________________________________________________________
* Ativar a Raster 1
12.- Selections - Load Selection - From Alpha Channel - Selection #2
* Promote Selection to Layer
13.- Plugin - MuRa's Meister - Perpective Tiling - DEFAULT

14.- Ferramenta Magic Wand - Feather 50 - Selecionar a Transparência
* DELETAR +/- 10 VEZES - SELECT NONE
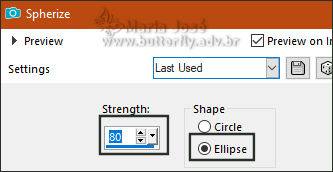
15.- Effects - Geometric Effects - Spherize Ellipse (80)
16.- Layers - Duplicate - Image Flip Vertical - Layers Merge Down
_________________________________________________________________________________________________________
* Ativar a Raster 1
17.- Selections - Load Selection - From Alpha Channel - Selection #3
* Promote Selection To Layer - Manter a Seleção
18.- Plugin - Carolaine and Sensibility - CS-LDots (50, 3, 1)
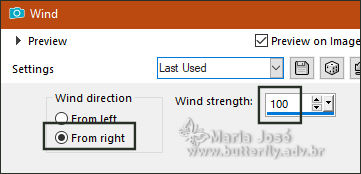
19.- Effects - Distortion Effects - Wind
20.- Effects - Reflection Effects - Rotating Mirror - DEFAULT
21.- Adjust - Sharpness - Sharpen More
SELECT NONE
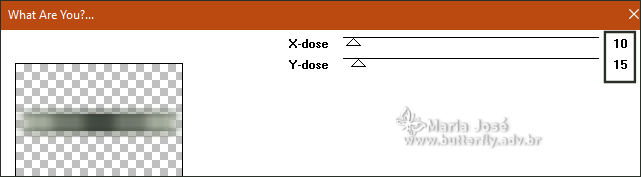
22.- Plugin - Toadies - What Are You? (10, 15)
23.- Effects - 3D Effects - Drop Shadow 0, 0, 60, 30 branco
_________________________________________________________________________________________________________
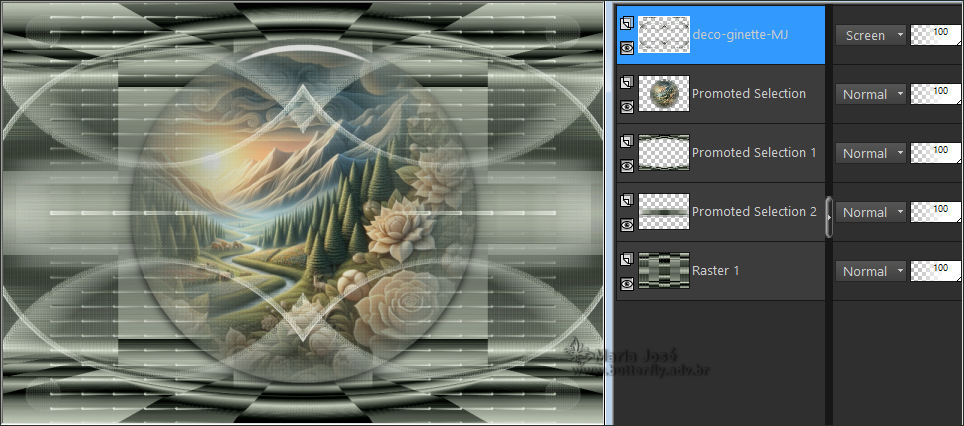
24.- Edit - Copiar/Colar como nova layer - deco-ginette-MJ
* Layers - Arrange - Bring To Top - Blend Mode - Screen ou outro
TAG LAYERS - ORGANIZAR - Blend Mode e ou Opacidade como gostar
25.- Edit - Copiar/Colar como nova layer o tube personagem (resize 68%)
* Posicionar - Drop Shadow - critério pessoal
_________________________________________________________________________________________________________
BORDERS
26.- Image - Add Borders - 1px - cor escura
27.- Selections - Select All - EDIT COPY
* Image - Add Borders - 20px - branco
28.- Selections - Invert - Colar dentro da Seleção a Imagem copiada (item 27)
29.- Adjust - Blur - Gaussian Blur - Radius 35,00
30.- Plugin - Carolaine and Sensibility - CS-LDots (50, 3, 1)
* Sharpness - Sharpen More
_________________________________________________________________________________________________________
31.- Plugin - AAA Frame - Foto Frame
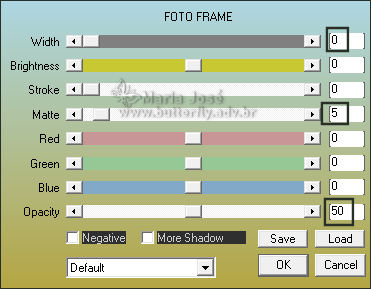
* Manter a Seleção - Edit Copy
32.- Selections - Select All - Image - Add Borders - 10px - cor clara
* Selections - Invert - Drop Shadow 0, 0, 60, 30, preto
33.- Selections - Select All - Image - Add Borders - 20px - branco
34.- Selections - Invert - Colar dentro da Seleção a Imagem copiada (item 31*)
SELECT NONE
_________________________________________________________________________________________________________
35.- Assinar o trabalho - Image Add Borders 1px - cor escura
36.- As layers estão mergidas - Image Resize - Width 1000px - All Layers Clicado
* Salvar em .jpg
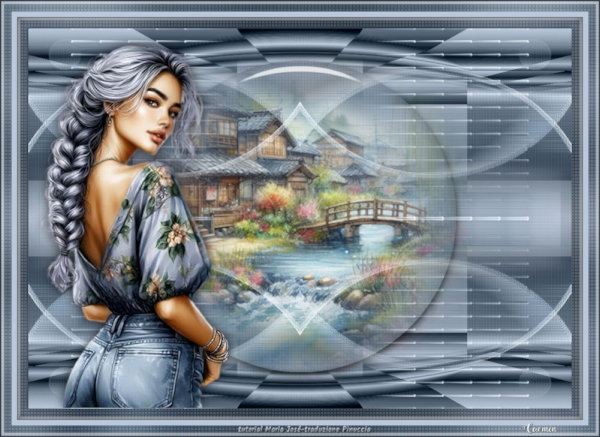
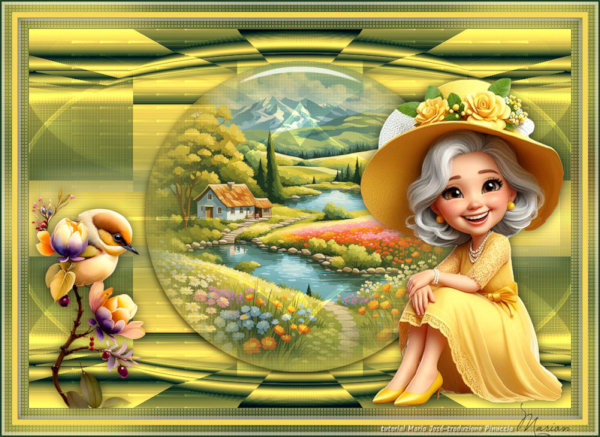
Espero que apreciem, obrigrada
_________________________________________________________________________________________________________
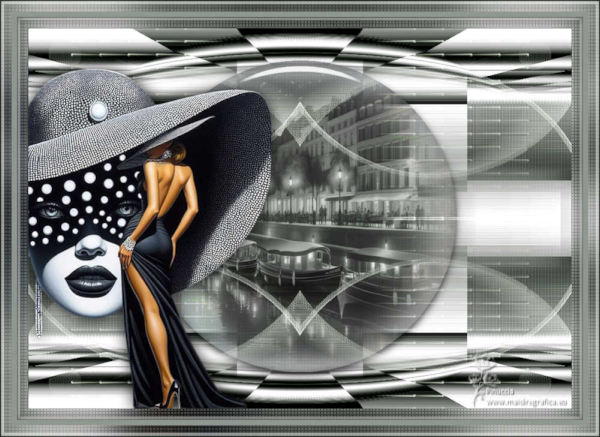
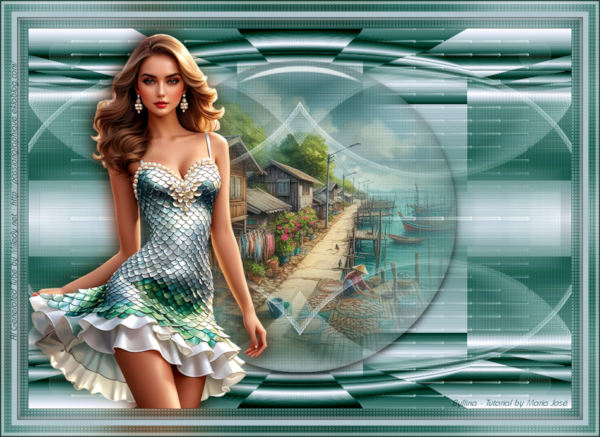
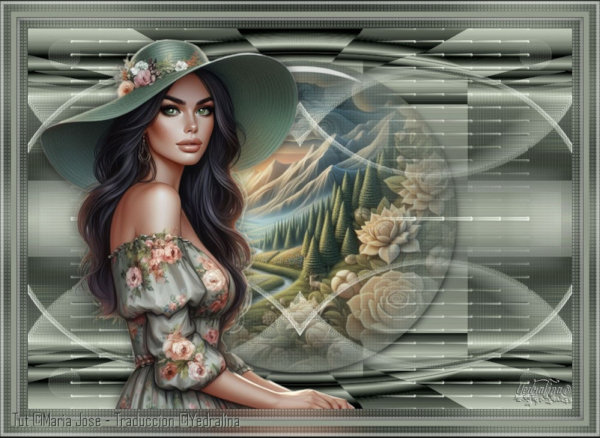
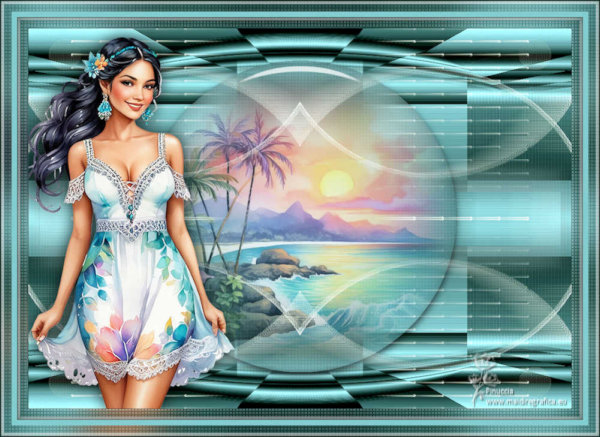
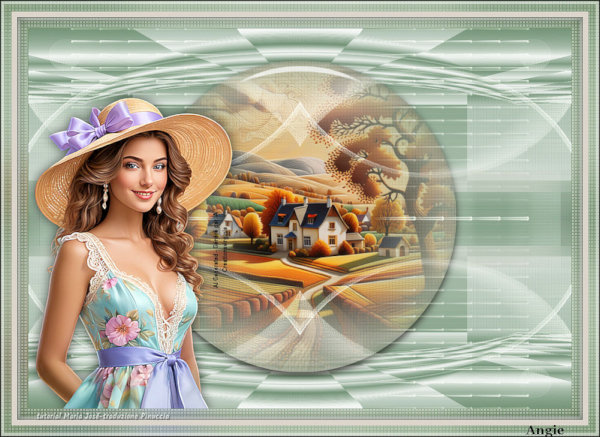
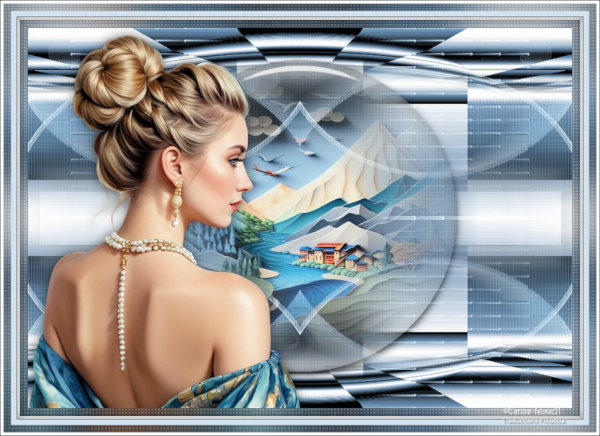
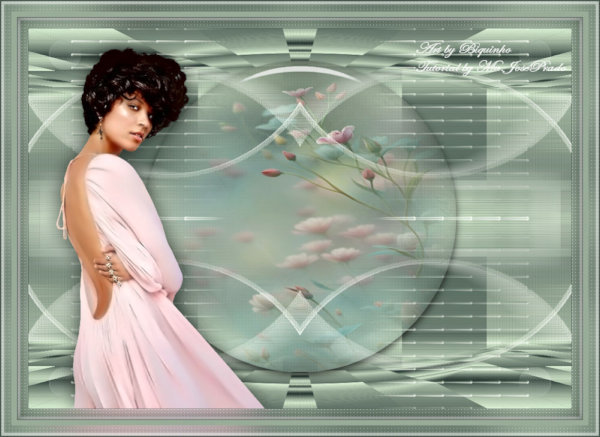
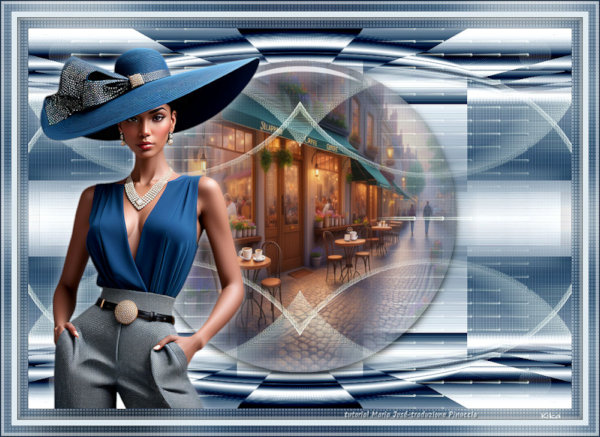
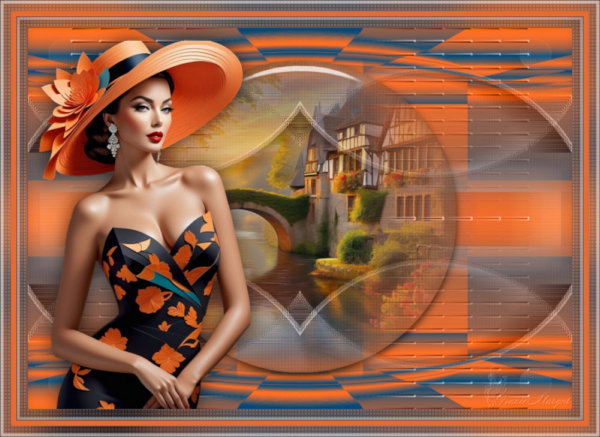
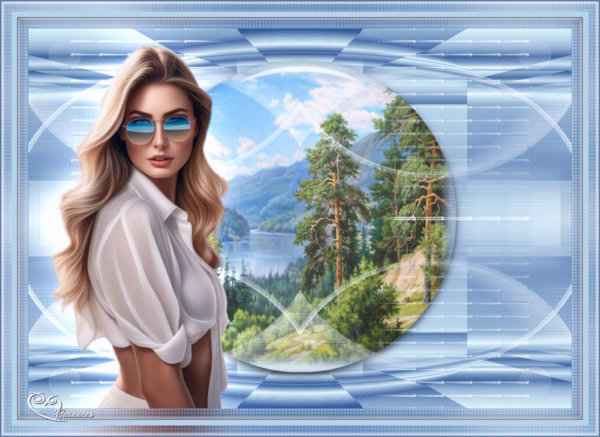
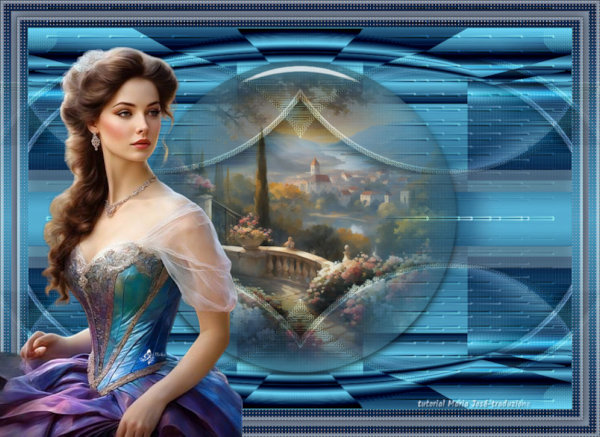
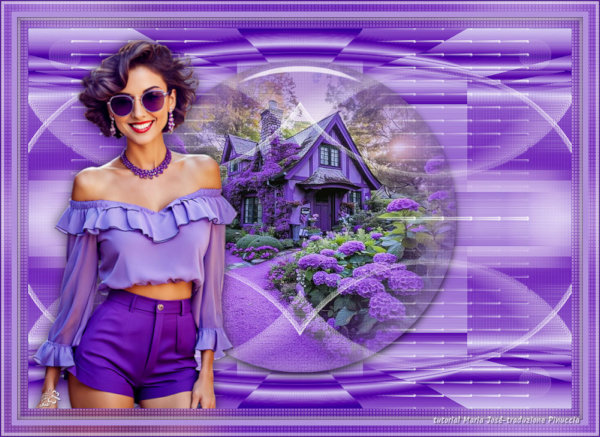
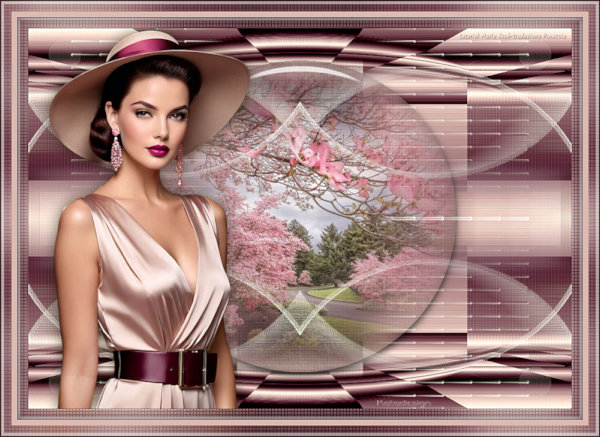
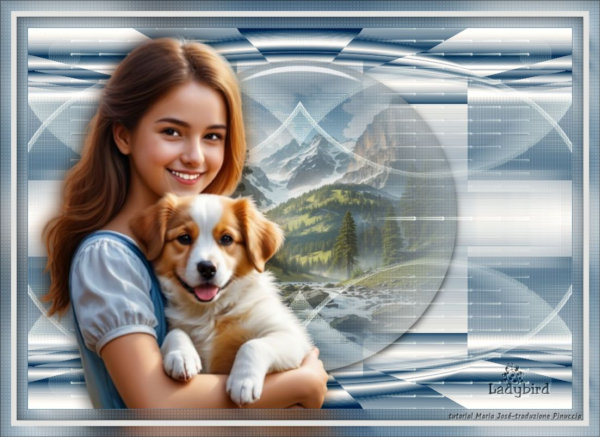
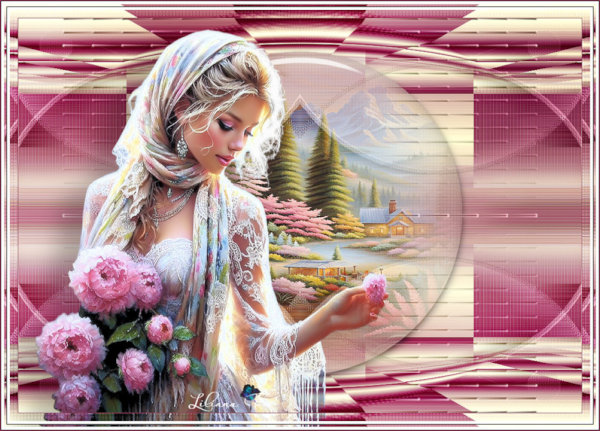
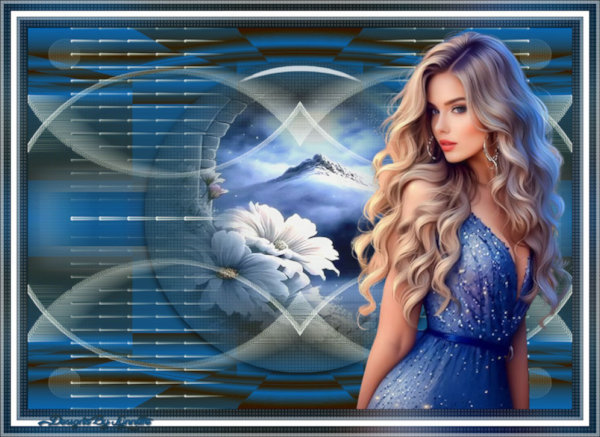
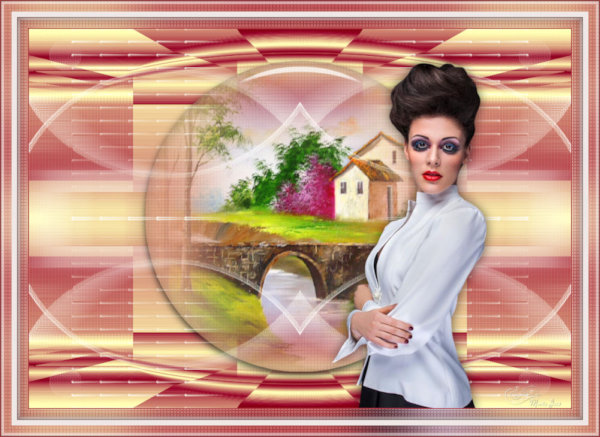
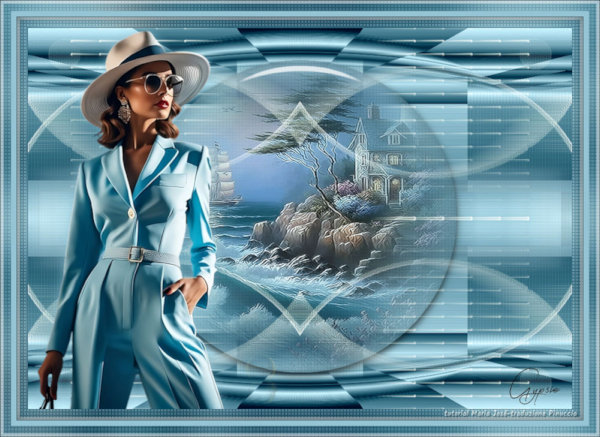
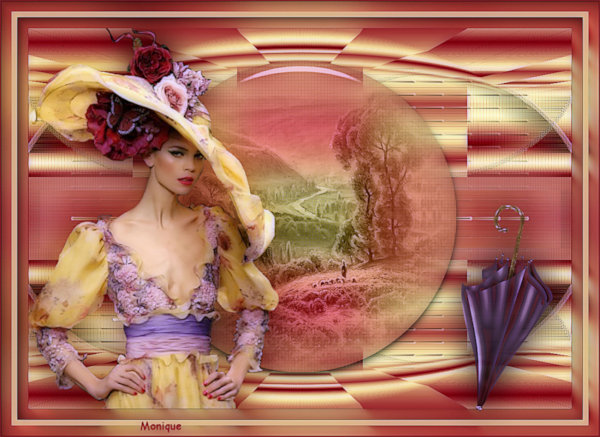
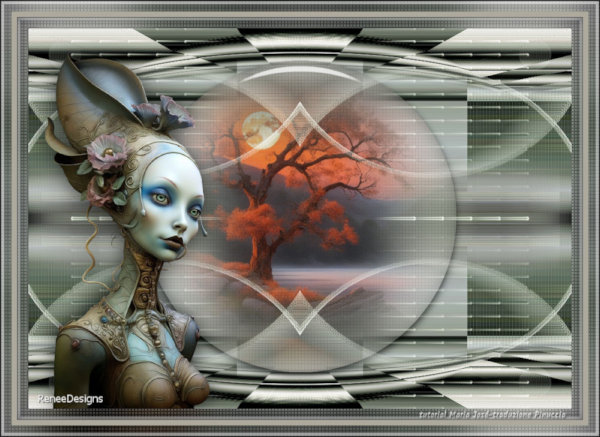
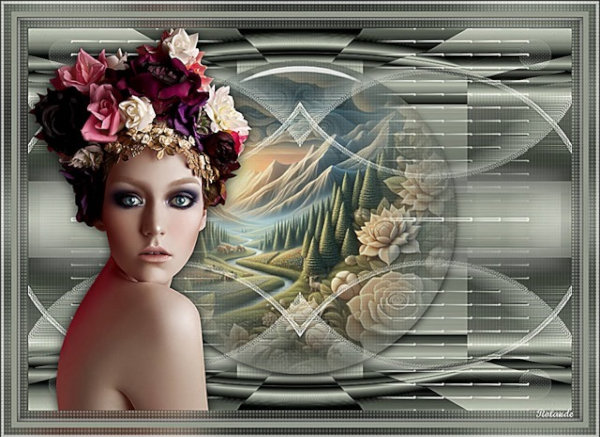
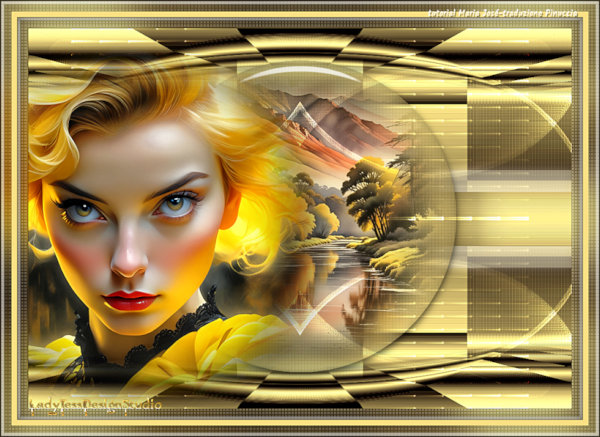
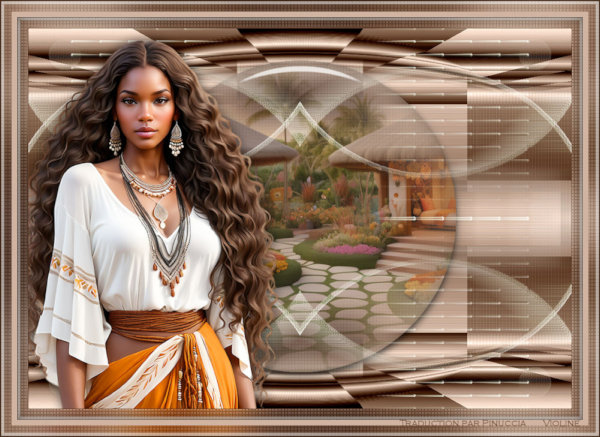
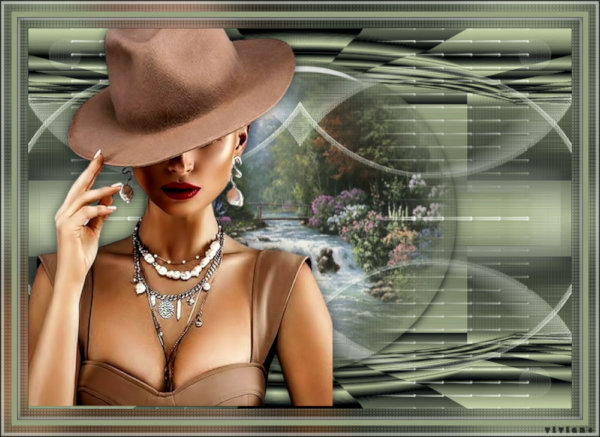
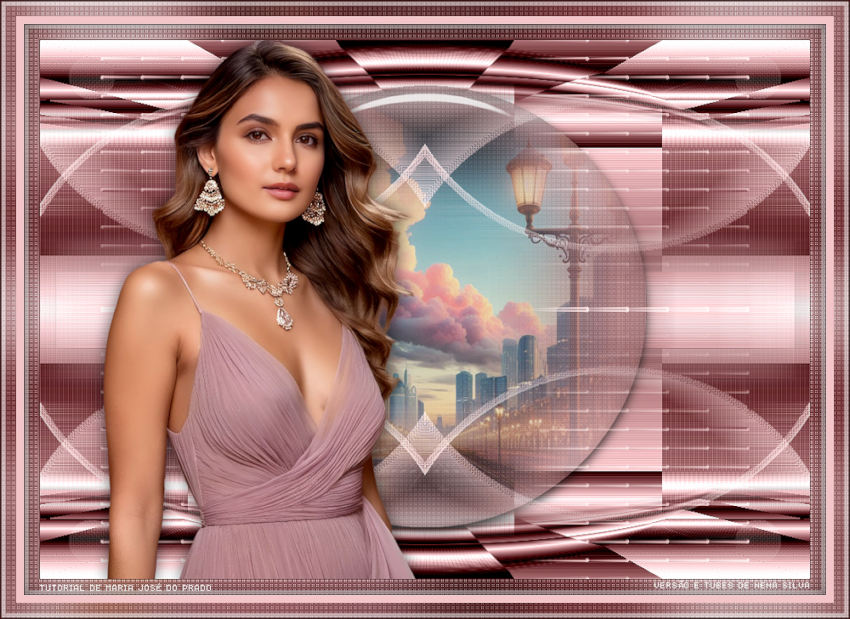
Outro modelo
Agradeço a amiga NENA SILVA que gentilmente corrigiu e testou para mim

Este tutorial foi criado em junho de 2024 por Maria José do Prado. É protegido pela lei de Copyright e não poderá ser copiado,
retirado de seu lugar, traduzido ou utilizado em listas de discussão sem o consentimento prévio e escrito de sua autora acima declinada.