MATERIAL 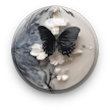
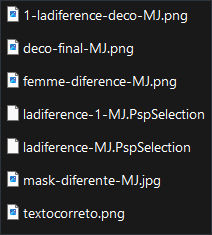
*** Seleções - Copiar/Colar dentro da pasta Selections do PSP
PLUGINS
Mehdi
&<Bkg Designer sf10 I>
FM Tile Tools
Simple
Eye Candy 4000
VM Stylize
MuRa's Seamless
Flaming Pear - Flexify 2
______________________________________________________________________________________________________
Preparar - Gradiente - SUNBURST-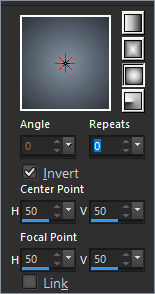 - Angle 0 - Repeats 0 - cores a seu gosto
Cores deste tutorial - Foreground- - #2d343b - Background-
 - #8592a2
______________________________________________________________________________________________________
1.- Nova Imagem - Transparente - 1000x700px - preencher com a gradiente
2.- Plugin - Mehdi - Sorting Tiles - Crossed - 350

3.- Effects - Image Effects - Seamless Tiling - Corner - HORIZONTAL - Transition 100
4.- Adjust - Sharpness - Sharpen More
5.- &<Bkg Designer sf10 I> - Cirquelate (10)
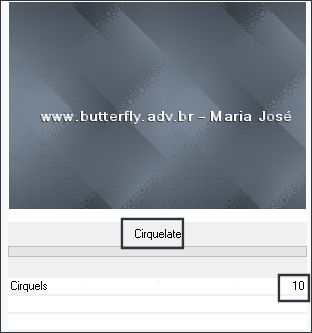
6.- Plugin - FM Tile Tools - Blend Emboss - DEFAULT
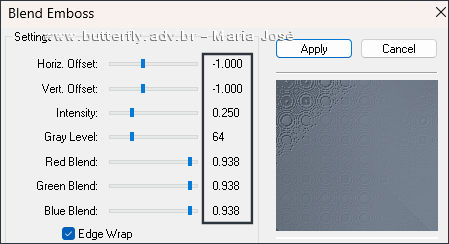
* Adjust - Sharpness - Sharpen More
______________________________________________________________________________________________________
* LAYERS DUPLICATE
7.- Plugin - Simple - Pizza Slice Mirror - Aplicar duas vezes
8.- Effects - Reflection Effects - Rotating Mirror - Rotation Angle 180 - Reflect
9.- Selections - Load Selection From Disk - ladiference-MJ - DELETAR
10.- Effects - 3D Effects - Drop Shadow - 0, 0, 60, 30, preto
* SELECT NONE
11.- Effects - Image Effects - Seamless Tiling - Corner - HORIZONTAL - Transition 100
12.- Plugin - Simple - Top Left Mirror
______________________________________________________________________________________________________
* ATIVAR A RASTER 1
13.- Selections - Load Selection From Disk - ladiference-1-MJ
* Promote Selection to Layer - Layers - Arrange - Bring to Top
* MANTER A SELEÇÃO
14.- Plugin - &<Bkg Designer sf10 I> - Circus Maximus (0)
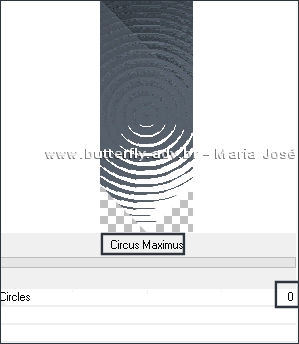
SELECT NONE
15.- Plugin - Simple - Top Left Mirror
16.- Plugin - Eye Candy 4000 - Motion Trail
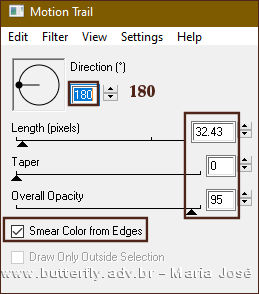
* LAYERS DUPLICATE
16.- Plugin - VM Stylize - Zoom Blur - DEFAULT

17.- Plugin - Simple - Top Left Mirror
18.- Adjust - Sharpness - Sharpen More
* Blend Mode - Screen
19.- Effects - Geometric Effects - Cylinder Vertical
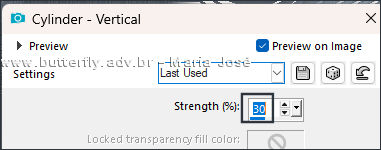
* Ativar a Promoted Selection
20.- Effects - Image Effects - Seamless Tiling - Corner - VERTICAL - Transition 100
* Layers - Arrange - Move Up
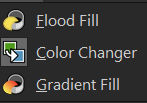
* OPCIONAL - Manter o branco ou colorir com a ferramenta Color Changer Tool - cor a seu gosto
______________________________________________________________________________________________________
21.- Layers - Add New Layer - preencher com a cor clara
22.- Layers - New Mask Layers - From Image - mask-diferente-MJ
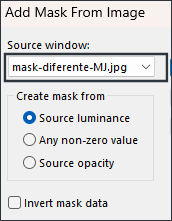
* Layers - Merge Group
23.- Plugin - MuRa's Seamless - Emboss at Alpha - DEFAULT

24.- Plugin - Flaming Pear - Flexify 2
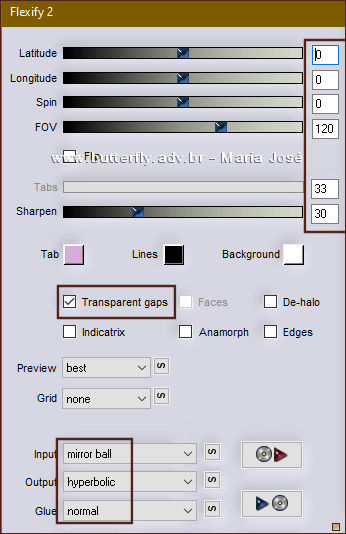
25.- Adjust - Sharpen More - Image - Flip - Flip Vertical
* Blend Mode - Screen - Layers - Arrange - Move Down
______________________________________________________________________________________________________
26.- Edit - Copiar/Colar como nova layer - 1-ladiference-deco-MJ
* Blend Mode -Luminance(L) - Layers - Arrange - Move Down
* Drop Shadow 0, 0, 60, 30, preto
TAG LAYERS - ORGANIZAR - Blend Mode de acordo com suas cores
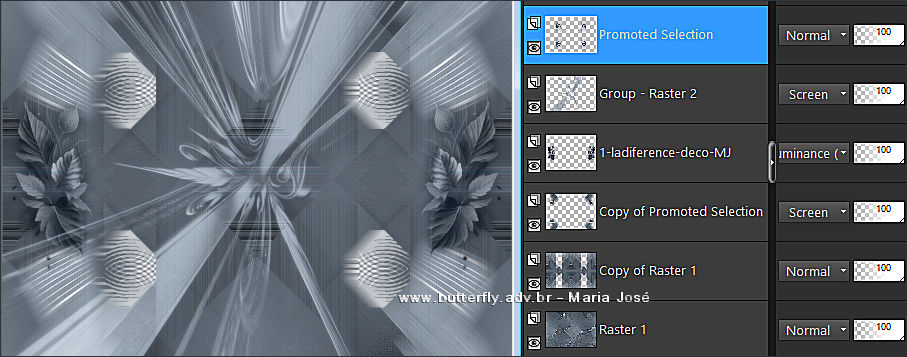
27.- Edit - Copiar/Colar o tube personagem - Layers Arrange - Bring to Top - Resize 63% - - Posicionar
* Drop Shadow - critério pessoal
28.- Edit - Copiar/Colar como nova layer - LA DIFFÉRENCE - textocorreto-MJ - Posicionar como gostar
* Blend Mode - Luminance (L)
______________________________________________________________________________________________________
BORDERS
29.- Image - Add Borders - 1px - cor escura
30.- Selections - Select All - EDIT COPY
* Image - Add Borders - 50px - branco
31.- Selections - Invert - Colar dentro da seleção a imagem copiada (item 30)
32.- Adjust - Blur - Gaussian Blur - Radius 30,00
33.- Plugin - &<Bkg Designer sf10 I> - Circus Maximus (0)
34.- Adjust - Sharpness - Sharpen More
35.- Plugin - Simple - Top Left Mirror
* Drop Shadow 0, 0, 80, 40, preto
36.- Selections - Select All - Modify - Contract 10
37.- Selections - Invert - Adjust - Blur - Gaussian Blur - Radius 30,00
* Drop Shadow 0, 0, 80, 40, preto
SELECT NONE
______________________________________________________________________________________________________
38.- Assinar o trabalho - Image - Add Borders 1px - cor escura
39.- As layers estão mergidas - Image - Resize - Width 1000px - All Layers CLICADO
* Salvar em .jpg
Espero que apreciem, obrigada.
______________________________________________________________________________________________________
Outro Modelo
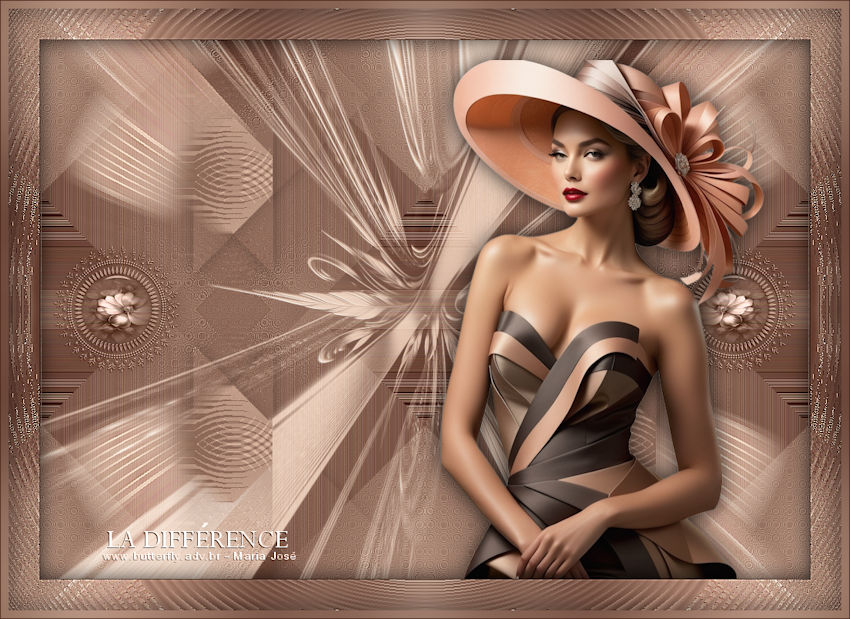
Agradeço a amiga NENA SILVA que gentilmente corrigiu e testou para mim.
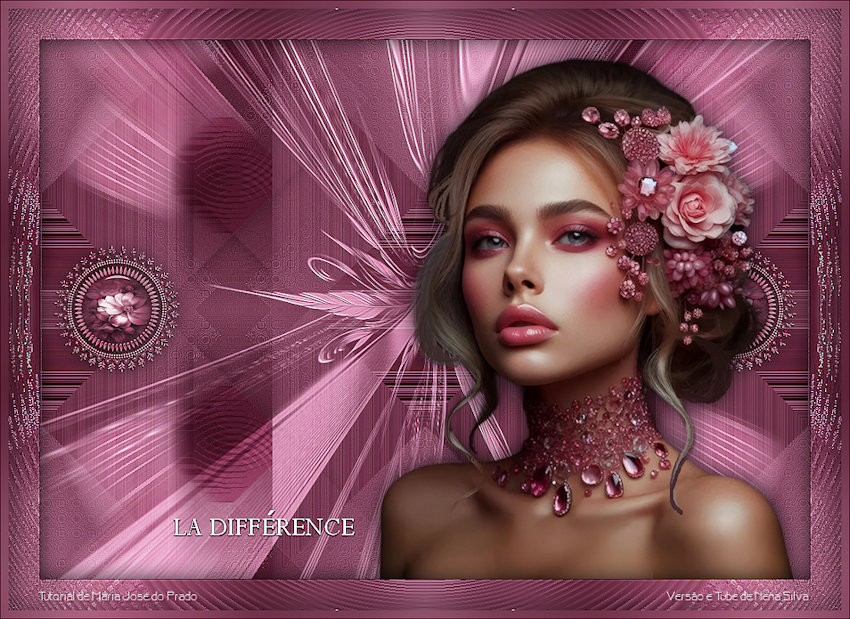


Este tutorial foi criado em dezembro de 2024 por Maria José do Prado. É protegido pela lei de Copyright e não poderá ser copiado,
retirado de seu lugar, traduzido ou utilizado em listas de discussão sem o consentimento prévio e escrito de sua autora acima declinada.