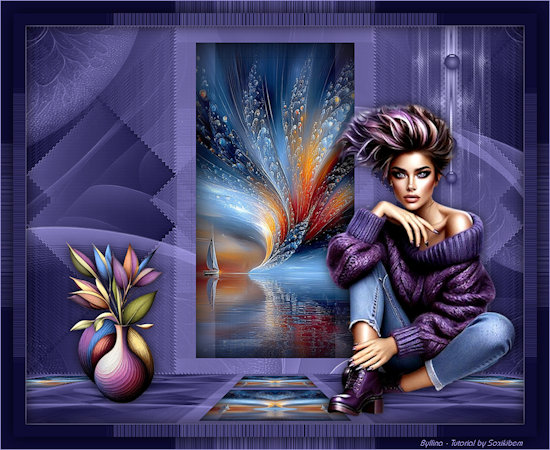
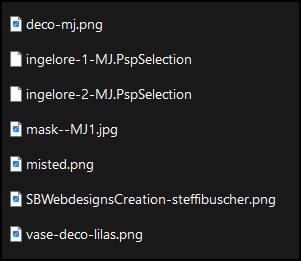
MATERIAL - 
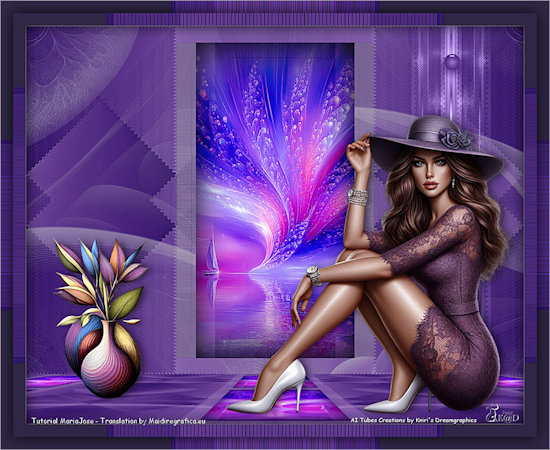
Tube femme - Steffi Buscher - Agradeço
*** Seleções - Copiar/Colar dentro da Pasta Selections do PSP
PLUGINS
Toadies
Mehdi
Andrew's Filters 3
*Kiwi's
Simple
L en K's
AAA Frames
Eye Candy 5 - Impact
MuRa's Meister
MuRa's Seamless
_____________________________________________________________________________________________
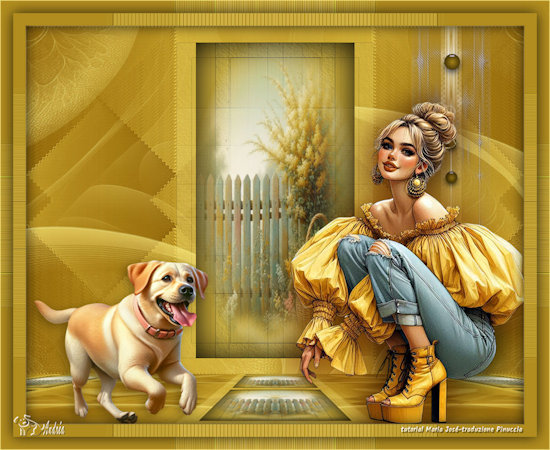
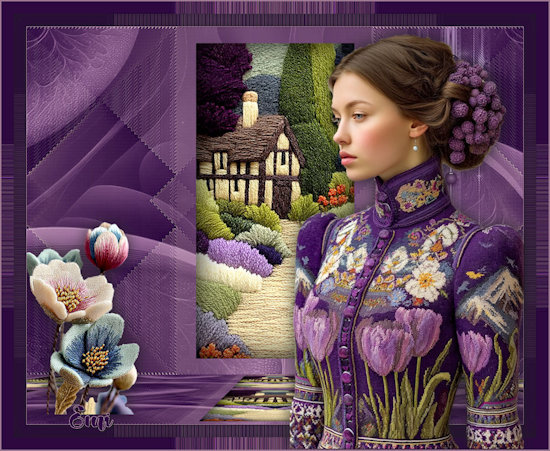
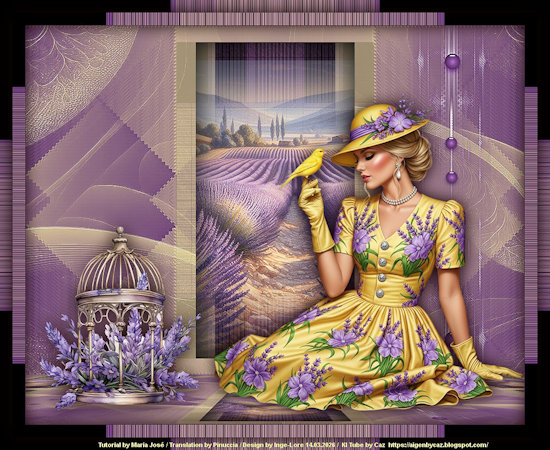
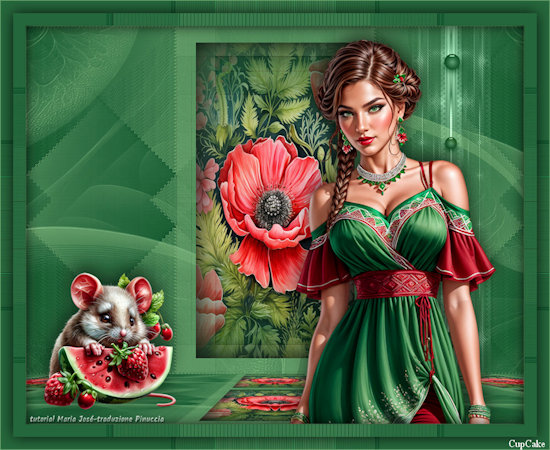
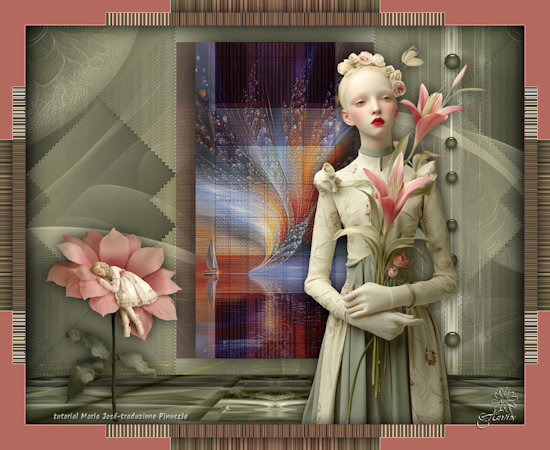
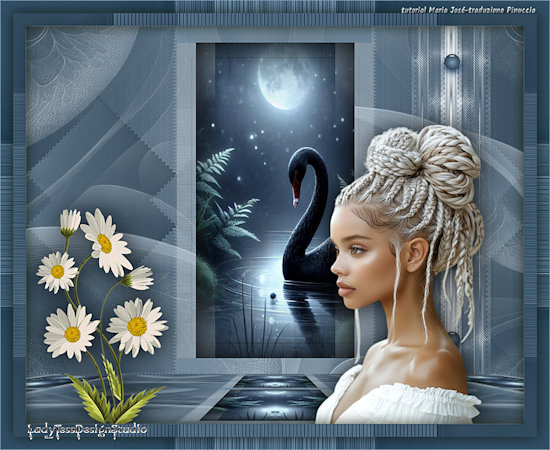
Escolha duas cores do seu tube - Foreground cor clara - Background cor escura
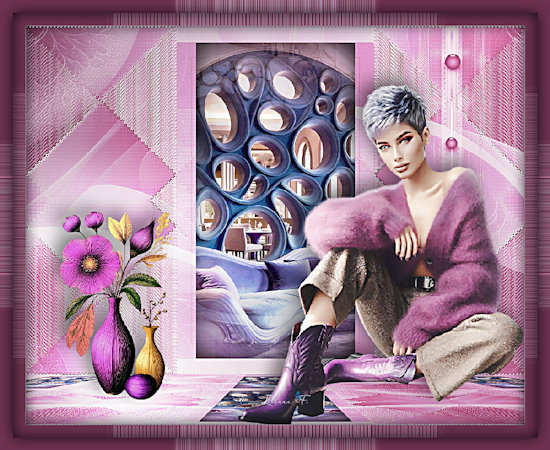
Cores deste Tutorial - Foreground- - #aba3ec - Background-
 - #0d0a35
1.- Preparar - Gradiente - SUNBURST-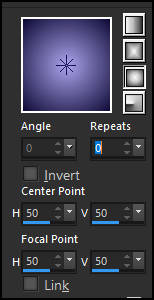 - Angle 0 - Repeats 0 - Central e Focal Point - H e V 50
_____________________________________________________________________________________________
2.- Abrir nova Imagem - Transparente - 1000x700px - Preencher com a Gradiente
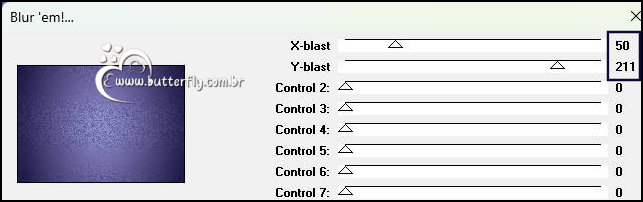
3.- Plugin - Toadies - Blur 'em! - 50, 211 (demais 0)
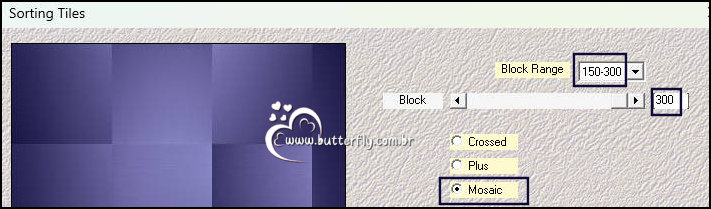
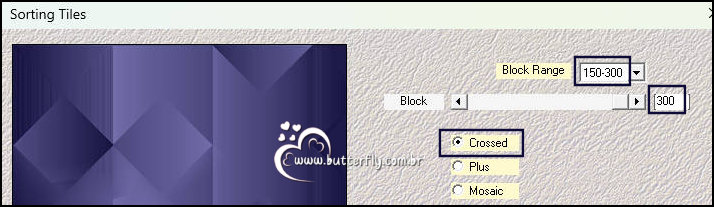
4.- Plugin - Mehdi - Sorting Tiles - Mosaic - 300
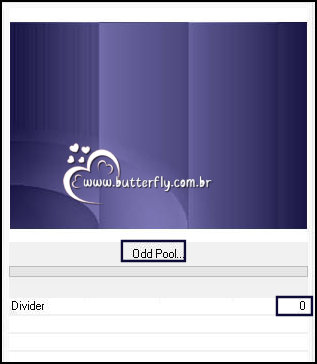
5.- Plugin - Andrew's Filters 3 - Odd Pool... - 0
6.- Plugin - Mehdi - Sorting Tiles - Crossed - 300
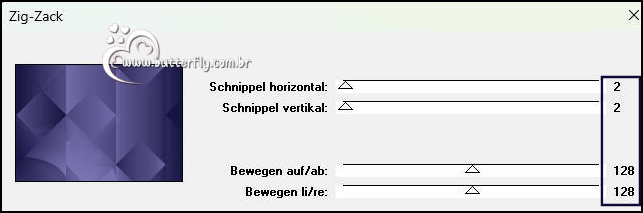
7.- Plugin - *Kiwi's - Zig- Zack - DEFAULT
8.- Plugin - Simple - Top Left Mirror
9.- Adjust - Sharpness - Sharpen More
_____________________________________________________________________________________________
10.- Selections - Load Selection - From Disk - ingelore-1-MJ
11.- Add New Layer - Preencher com a gradiente
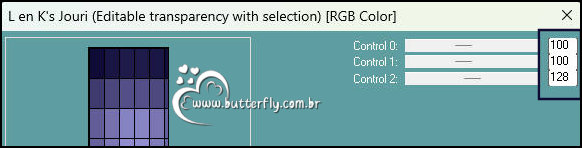
12.- Plugin - L en K's - Jouri - 100, 100, 128
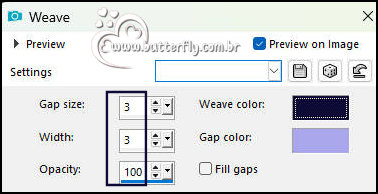
13.- Effects - Texture Effects - Weave - 3, 3, 100
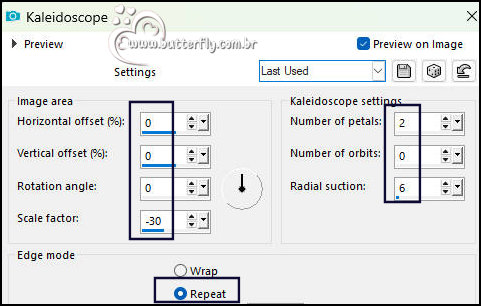
14.- Effects - Reflection Effects - Kaleidoscope
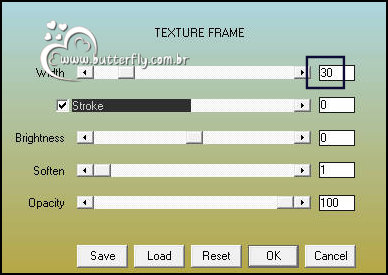
15.- Plugin - AAA Frames - Texture Frame
* SELECT NONE
* Coloque no Background a cor clara ou como gostar
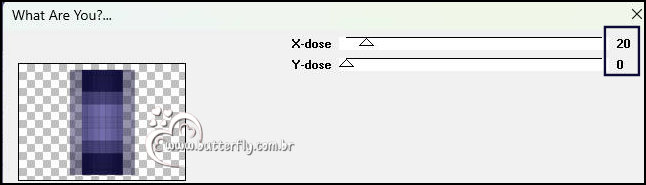
16.- Plugin - Toadies - What Are You? - 20, 0
_____________________________________________________________________________________________
17.- Selections - Load Selection - From Disk - ingelore-1-MJ
18.- Edit - Copiar/Colar como nova Layer o misted
* Resize se necessário - Posicionar a seu gosto
19.- Selections - Invert - DELETAR - Selections - Invert
* Layers - Add New Layer
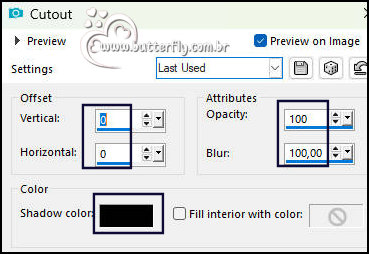
20.- Effects - 3D Effects - Cutout
* SELECT NONE
_____________________________________________________________________________________________
21.- Layers - Add New Layer - preencher com a cor clara (foreground)
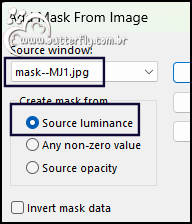
22.- Layers - New Mask Layer from Image - mask--MJ1
* Layers - Merge - Merge Group
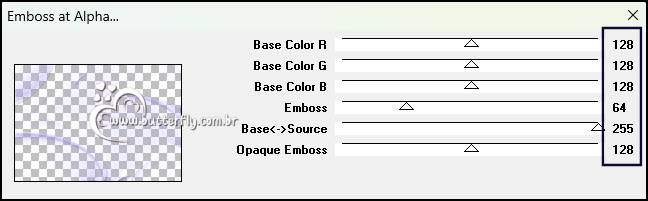
23.- Plugin - MuRa's Seamless - Emboss at Alpha - DEFAULT
24.- Nesta mesma Layer - Selections - Load Selection - From Disk - ingelore-1-MJ
* DELETAR - LAYERS - ARRANGE - MOVE DOWN
_____________________________________________________________________________________________
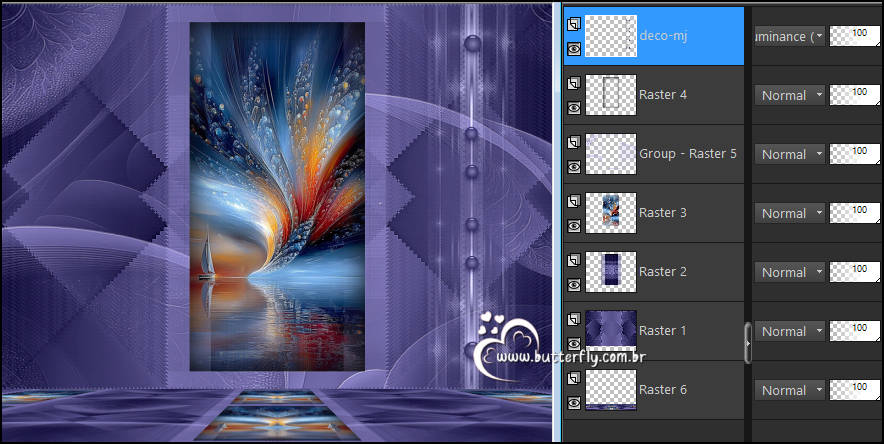
25.- Edit - Copiar/Colar como nova layer - deco-mj
26.- Ferramenta PICK -tecle K para ativar a Ferramenta - Position X 775,00 - Position Y 0,00 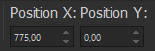
* Tecle M para desativar a Ferramenta
* Blend Mode - Luminance (L)
27.- Ativar a Layer Superior - Edit - Copy Special - COPY MERGED
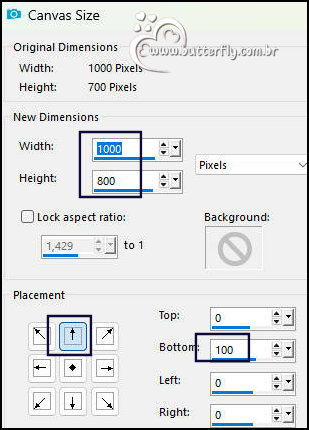
28.- Image - Canvas Size - Top 0 - Bottom 100 - Left 0 - Right 0
29.- Selections - Load Selection - From Disk - ingelore-2-MJ
30.- Layers - Add New Layer - colar dentro da seleção a imagem copiada item 27
31.- Effects - Reflection Effects - Rotating Mirror - Rotate Angle 180 - Reflect clicado
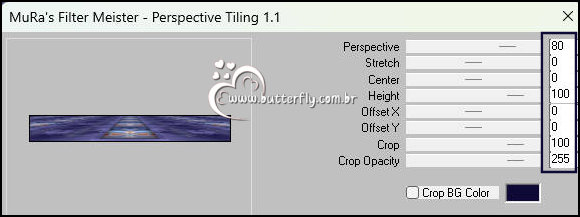
32.- Plugin - MuRa's Meister - Perspecitive Tiling - DEFAULT
* SELECT NONE
33.- Layers - Arrange - Send To Bottom
_____________________________________________________________________________________________
TAG LAYERS - ORGANIZAR - Blend Mode e Opacidade de acordo com seu trabalho
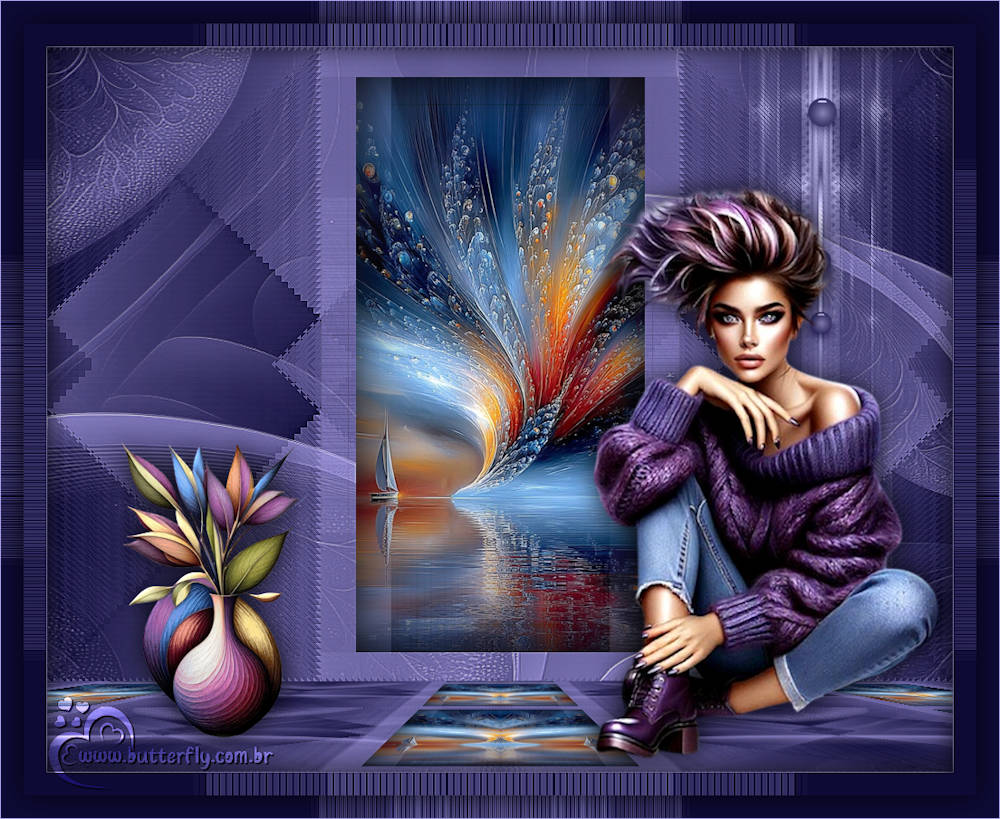
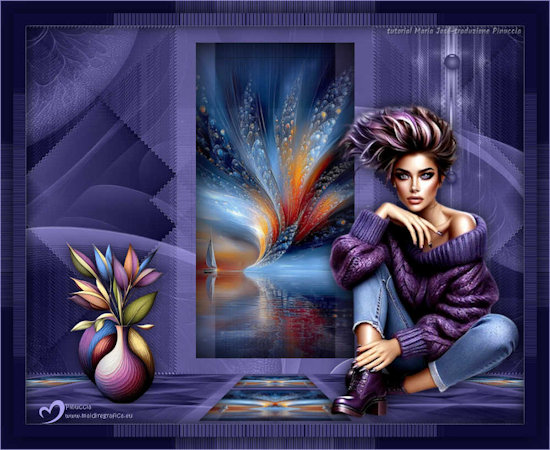
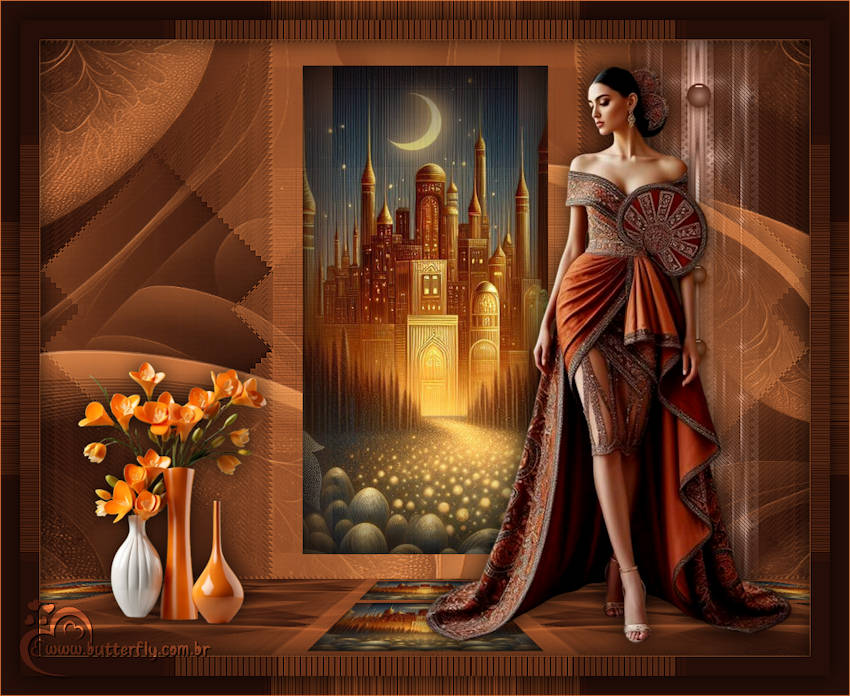
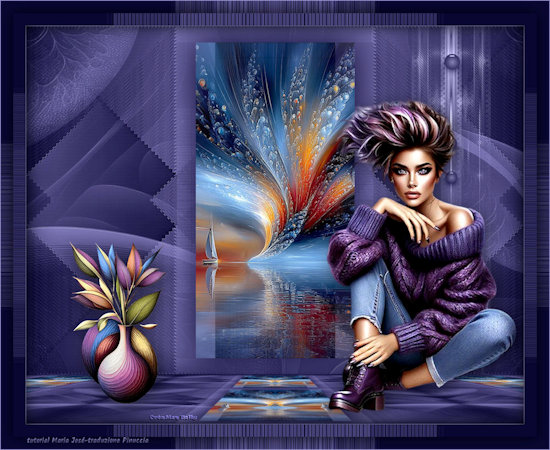
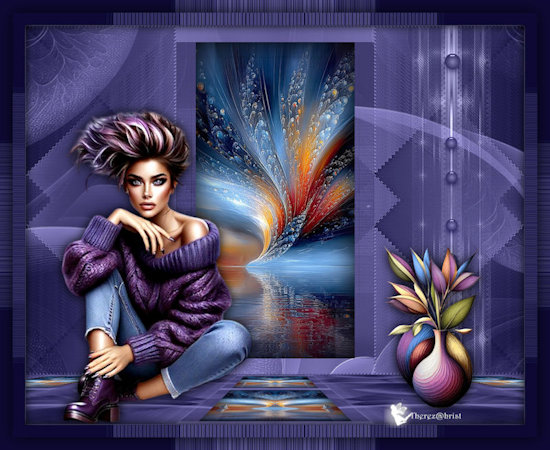
34.- Edit - Copiar/Colar o tube personagem - SBWebdesignsCreation-steffibuscher
* Posicionar - Drop Shadow critério pessoal
35.- Edit - Copiar/Colar o tube decorativo - Resize 50% - posicionar
* Drop Shadow como gostar
_____________________________________________________________________________________________
BORDERS
36.- Image - Add Borders - 1px - cor clara (Foreground)
37.- Selections - Select All - Image Add Borders 50px - Branco
38.- Selections - Invert - Preencher com a Gradiente inicial
39.- Plugin - L en K's - Jouri - 100, 100, 128
40.- Effects - Texture Effects - Weave - 3, 3, 100
41.- Effects - Reflection Effects - Kaleidoscope (mesma configuração)
42.- Adjust - Sharpness - Sharpen
* Drop Shadow 0, 0, 80, 40, preto
43.- Selections - Select All - Selections - Modify - Contract 25
44.- Selections - Invert - Repetir Kaleidoscope (Item41)
45.- Adjust - Sharpness - Sharpen
46.- Selections - Invert - Drop Shadow 0, 0, 80, 40, preto
* SELECT NONE
_____________________________________________________________________________________________
47.- Assinar seu trabalho - Image - Add Borders - 1px - cor clara (Foreground)
48.- As layers estão mergidas - Image Resize - Width 1000px - All Layers Clicado
* Salvar em .jpg
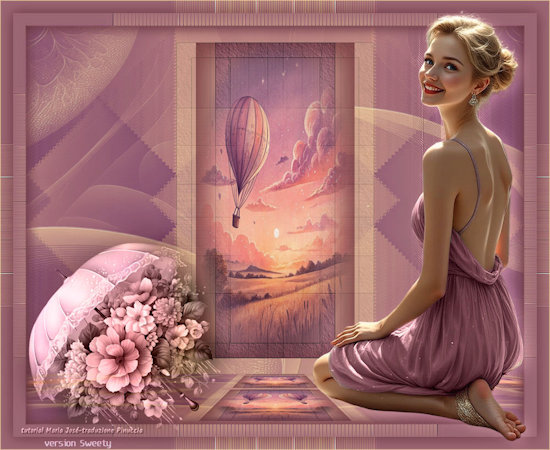
Espero que apreciem, obrigada.
_____________________________________________________________________________________________
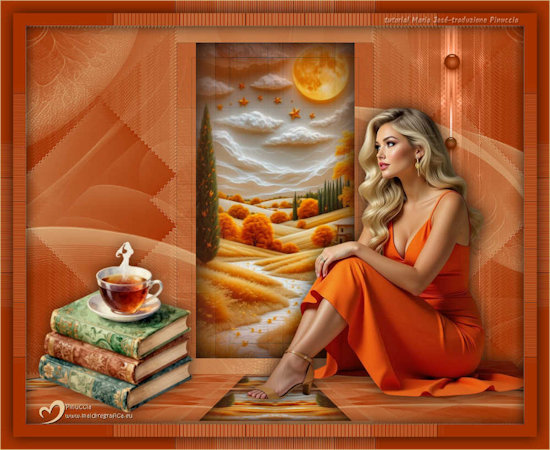
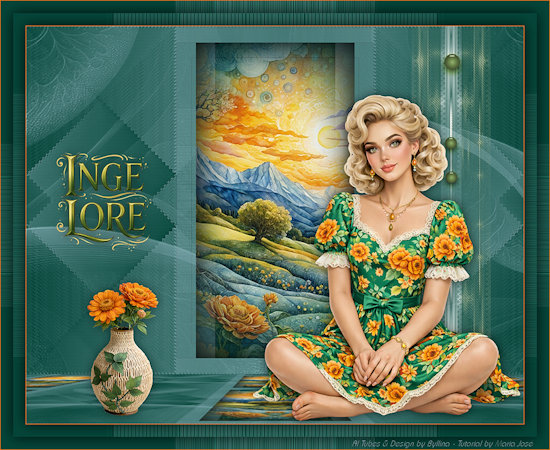
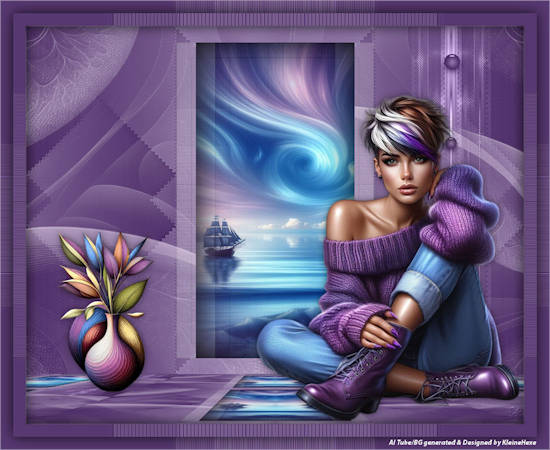
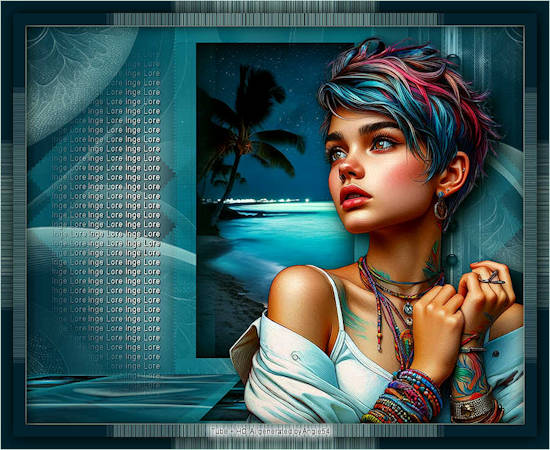
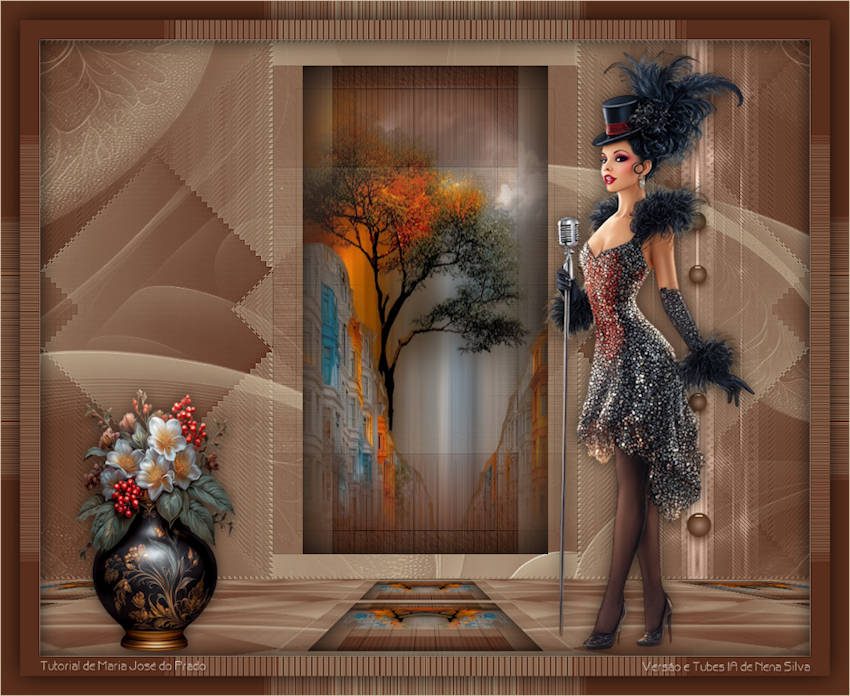
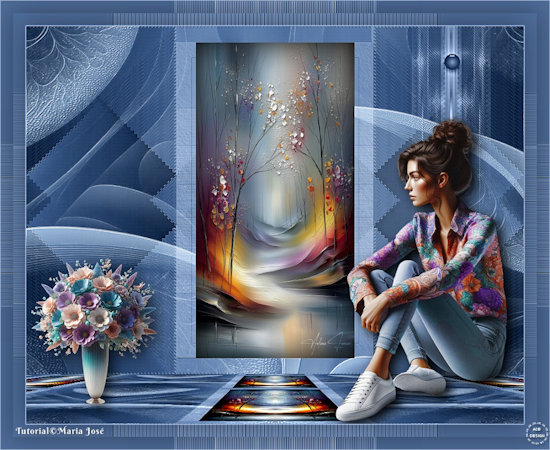
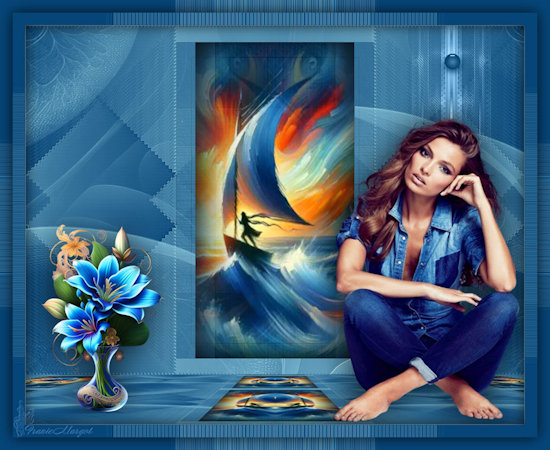
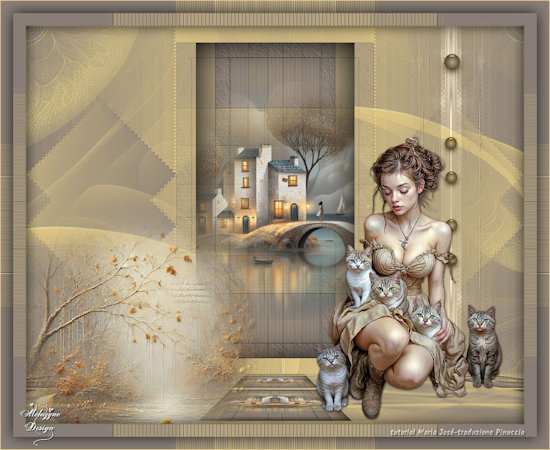
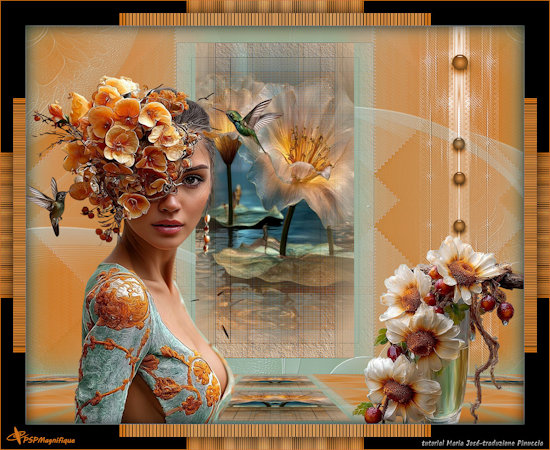
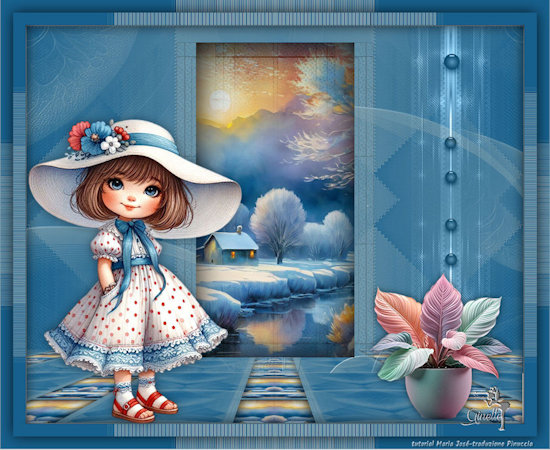
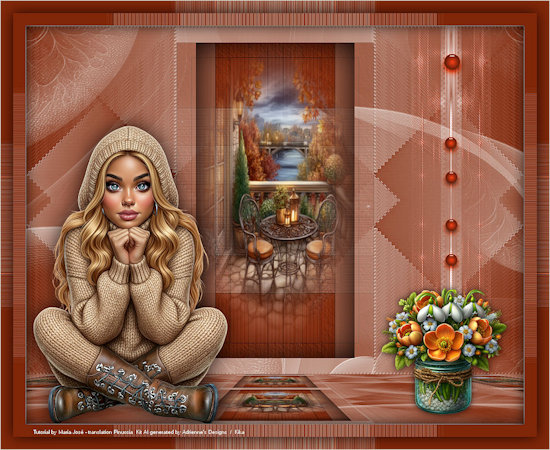
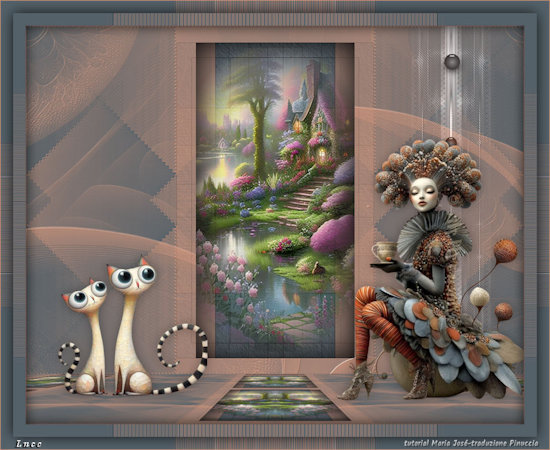
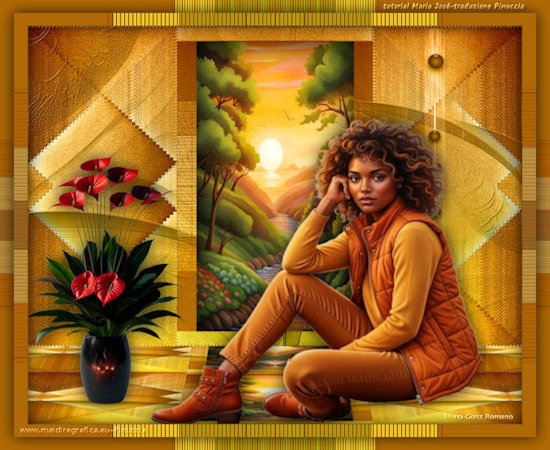
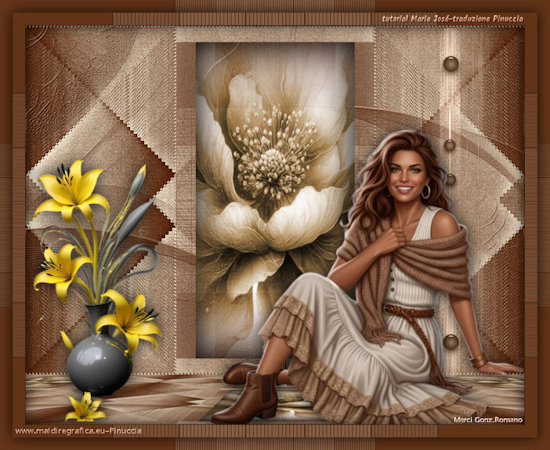
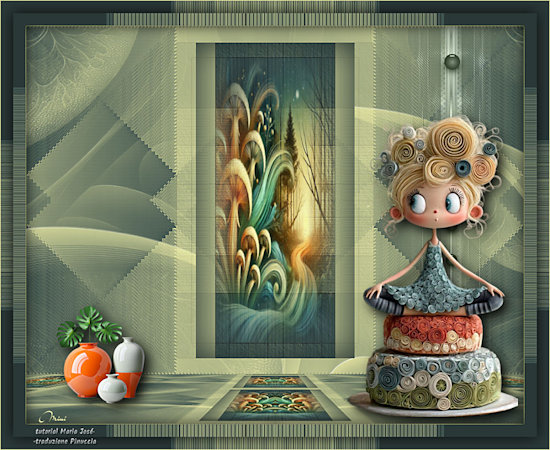
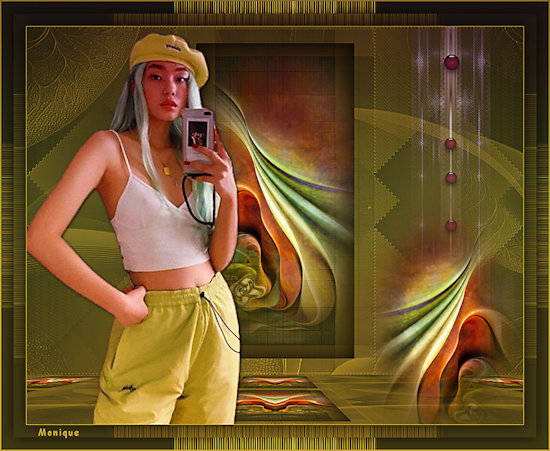
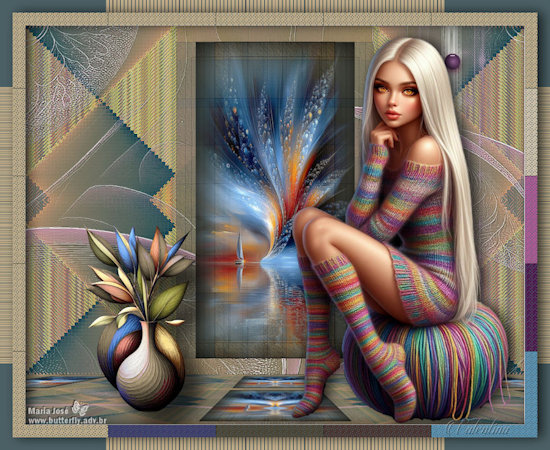
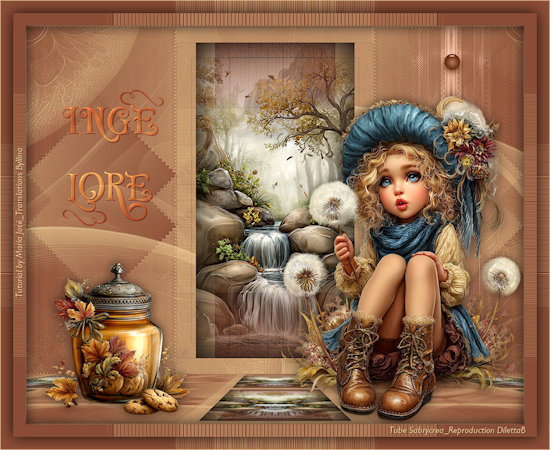
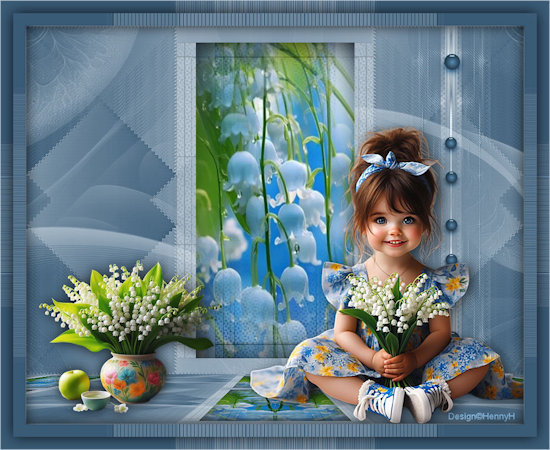
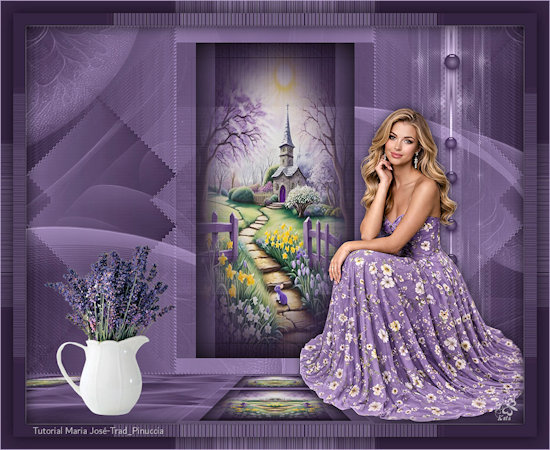
Outro Modelo - tube-MJ - Misted MarikaFantasy - Vaso Kamil
Agradeço a amiga NENA SILVA que gentilmente revisou e testou para mim.

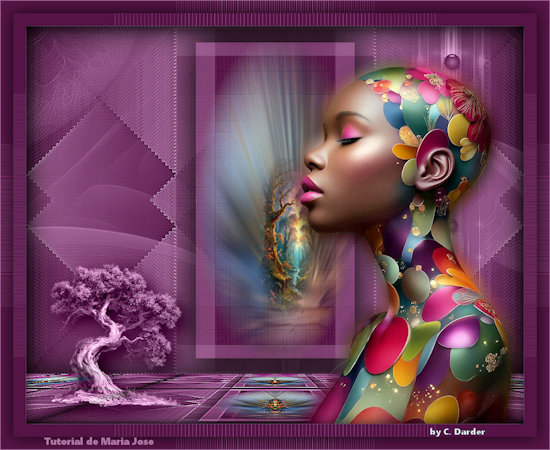
Tutorial foi criado em Fevereiro 2026 por Maria José do Prado, protegido pela lei de Copyright, não poderá ser copiado, retirado,
traduzido ou utilizado em listas de discussão sem o consentimento prévio e escrito de sua autora.
| ANDREA PERRIN |
ANITA DANIELS |
 |
 |
| CARINE |
CAT'S GRAFFITIS |
 |
 |
| CHRIS BURKETT |
CLAIRE |
 |
 |
| EMI |
FRANIE MARGOT |
 |
 |
| GARANCES |
GERRIE |
 |
 |
| INGE LORE |
INGE LORE |
 |
 |
| GINETTE |
IRENE |
 |
 |
| KATHY KATBALOU |
KIKA |
 |
 |
| LILIANA |
LUCE |
 |
 |
| LYNNETTE |
MARTINE |
 |
 |
| MERCI GON ROMANO |
MERCI GON ROMANO |
 |
 |
| MIMI |
MONIQUE |
 |
 |
| NELLY BILLAY |
NELLY BILLAY |
 |
 |
| OMAR LICIA POLI |
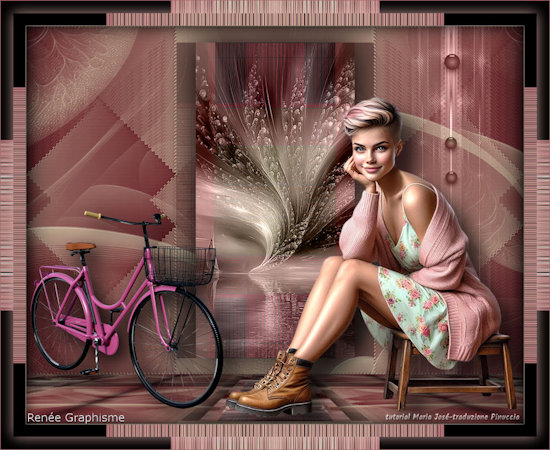
RENÉE |
 |
 |
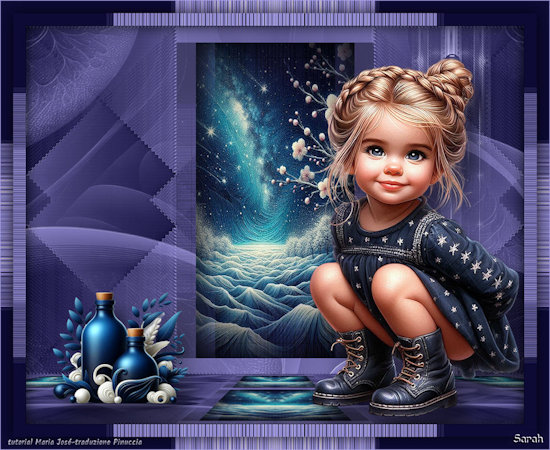
| SARAH |
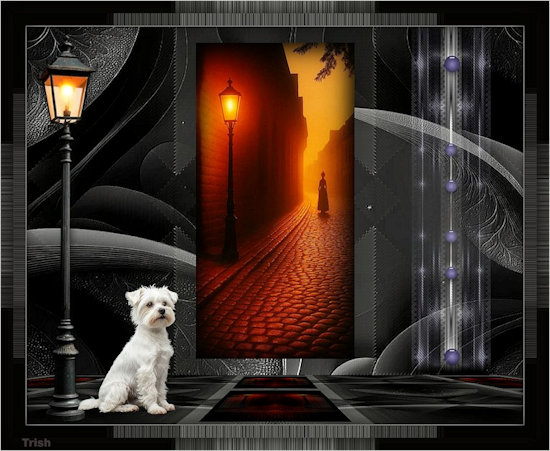
TRISH LEWIS |
 |
 |
| VALENTINA |
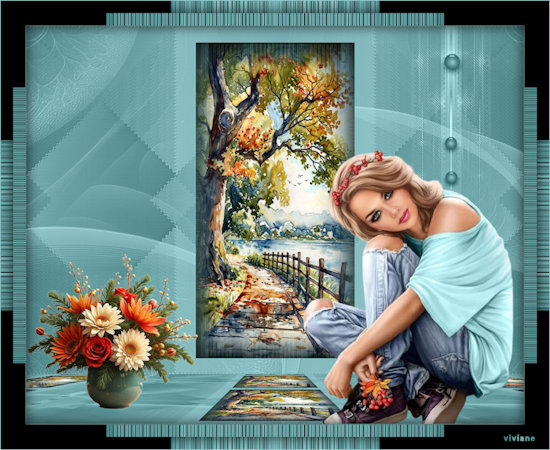
VIVIANE |
 |
 |
| DANY DOREY |
CARMEN DARDER |
 |
 |
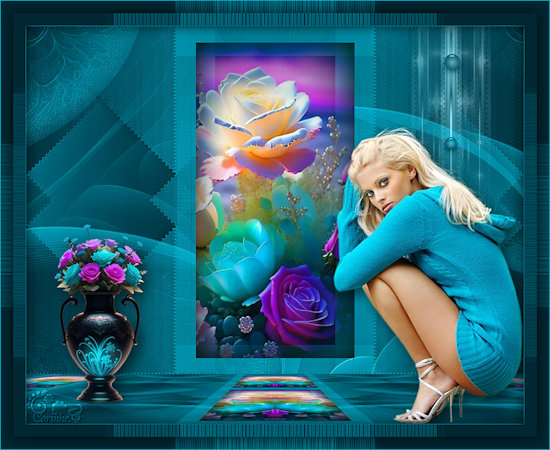
| CORINNE GALIANA |
DILETTA BURGOS |
 |
 |
| HEENY HILLEN |
JOAQUINAS |
 |
 |
| KARIN VDSANDE |
LADY BIRD |
 |
 |
| LADY TESS |
KATALIN KISS |
 |
 |
| MICHELE |
ROSA |
 |
 |
| SWEETY |
THEREZA CHRIST |
 |
 |
| |
|