MATERIAL 
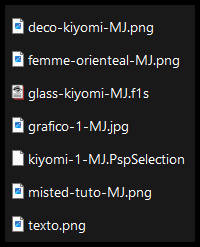
Imagens Pinterest - tube e misted - MJ
*** Seleção - Copiar/Colar dentro da pasta Selections do PSP
***
Preset Glass - dois cliks sobre o mesmo ele se instalará
PLUGINS
Greg's Factory Output Vol II
MuRa's Meister
Simple
Eye Candy 5 - Impact
AAA Frames - Foto Frame
_______________________________________________________________________________________________
Escolher do seu gráfico duas cores -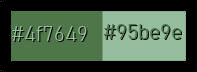 - Cores Foregroud- #4f7649 - Backgroud #95be9e
Abrir o gráfico-1-MJ ou outro de sua escolha - EDIT COPY - minimizar
_______________________________________________________________________________________________
1.- Abrir nova imagem - 1000x700px - Selections - Select All - Colar dentro da seleção o gráfico copiado
SELECT NONE
2.- Effects - Image Effects - Seamless Tiling - DEFAULT - Transition 100
3.- Adjust - Blur - Gaussian Blur - Radius 20,00
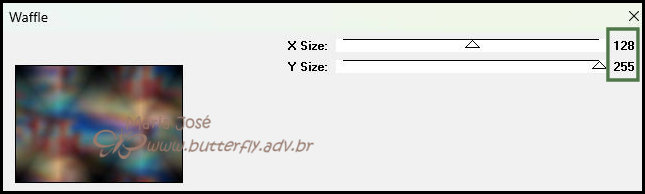
4.- Plugin - Greg's Factory Output Vol II - Waffle (128, 255)
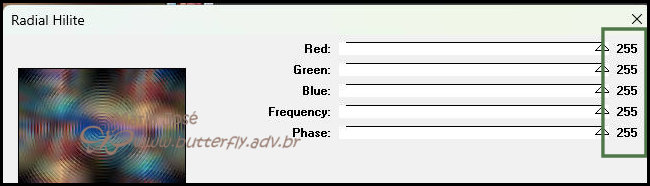
5.- Plugin - Greg's Factory Output Vol II - Radial Hilite (255 todos)
6.- Effects - Edge Effects - Enhance More
Layers - DUPLICATE
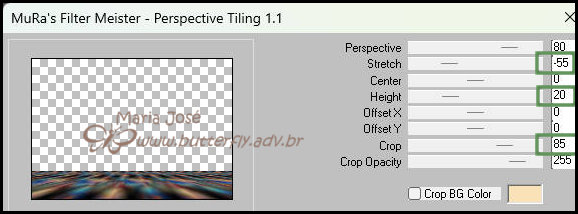
7.- Plugin - MuRa's Meister - Perspecitve Tiling
8.- Ferramenta - Magic Wand - Feather 60 - Selecionar a Tansparência
DELETAR +/- 10 VEZES - SELECT NONE
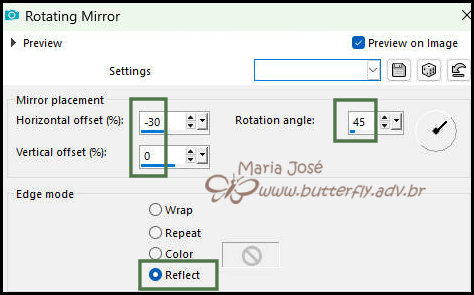
9.-Effects - Reflection Effects - Rotating Mirror - DEFAULT
DUPLICAR ESTA LAYER
10.- Effects - Reflection Effects - Rotating Mirror - como abaixo
11.- Effects - Distortion Effects - Polar Coordinates - Transparent

12.- Effects - Reflection Effects - Rotating Mirror - DEFAULT
13.- Image - Resize 70% - All Layers - DESCLICADO
_______________________________________________________________________________________________
Layers - DUPLICATE
14.- Effects - Texture Efects - Mosaic Glass

15.- Objects - Align - Center in Canvas - Blend Mode - Screen
16.- Plugin - Simple - Top Left Mirror
* Layers - Move Down - Objects - Align - TOP
_______________________________________________________________________________________________
* Ativar a Copy (2) of Raster 1
17.- Selections - Load Selection From Disk - kiyomi-1-MJ
18.- Layers - Add New Layer - Arrange - Move Down
19.- Edit - Copiar/Colar dentro da seleção o misted-tuto-MJ
20.- Ativar a Copy (2) of Raster 1 - Layers - Merge - Merge Down
SELECT NONE
* Drop Shadow - 0, 0, 80, 40, preto
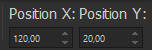
21.- Ferramenta PICK -Tecle K para ativar a Ferramenta - Position X 120,00 - Position Y 20,00
* Tecle M para desativar a Ferramenta
_______________________________________________________________________________________________
LAYERS DUPLICATE
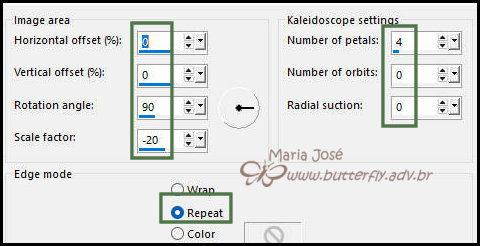
22.- Effects - Reflection Effects - Kaleidoscope
23.- Eye Candy 5 - Impact - Glass - preset-glass-kiyomi-MJ
24.- Image - Resize - 25% - All Layers - DESCLICADO
* Ferramenta PICK - Position X 88 - Position Y 16 - 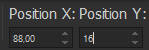
25.- Layers - Duplicate - Ferramenta PICK - Position X 56 - Position Y 106 - 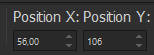
26.- Layers - Duplicate - Ferramenta PICK - Position X 24 - Position Y 191- 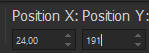
* Layers - Merge - Merge Down - 2 vezes
27.- Layers - Duplicate - Image Mirror - Horizontal - Layers - Merge - Merge Down
28.- Adjust - Sharpness - Sharpen More
* Drop Shadow 0, 0, 60, 30 preto
_______________________________________________________________________________________________
29.- Edit - Copiar/Colar como nova layer - deco-kiyomi-MJ
* Layers Arrange - Move Down 3 vezes - Blend Mode - Overlay
Ativar a Raster 1 - EDIT COPY - EDIT paste a NEW IMAGE - minimizar - por segurança
* Se posicionar na layer top - Copy of Raster 2
30.- Edit - Copiar/Colar como nova layer o tube personagem - resize 65%
* Drop Shadow - critério pessoal
21.- Edit - Copiar/Colar como nova layer o texto - Posicionar como no modelo ou a seu gosto
_______________________________________________________________________________________________
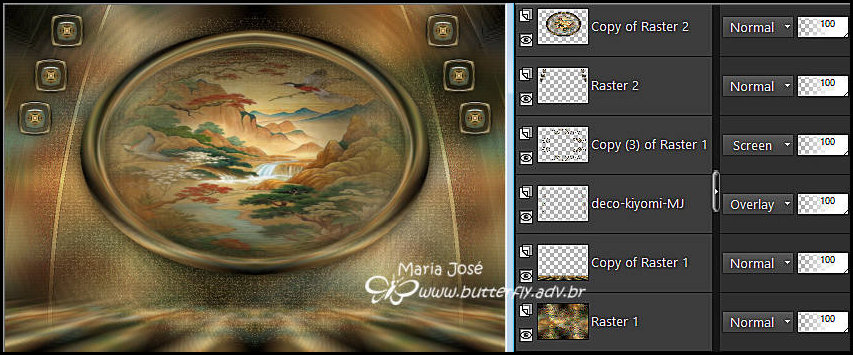
TAG LAYERS - ORGANIZAR - Blend Mode e Opacidade de acordo com seu trabalho
_______________________________________________________________________________________________
BORDAS
22.- Image - Add Borders - 1px cor clara (Background)
* Image - Add Borders - 1px cor escura (Foreground)
23.- Selections - Select All - Image Add Borders 40px - branco
24.- Selections - Invert - Colar dentro da seleção a imagem acima copiada
25.- Adjust - Blur - Gaussian Blur - Radius 20,00
26.- Plugin - Simple - Top Left Mirror
27.- Adjust - Add Noise - Uniform - 10 - Mono Clicado
28.- Selections - Invert - Drop Shadow 0, 0, 80, 40, preto
SELECT NONE
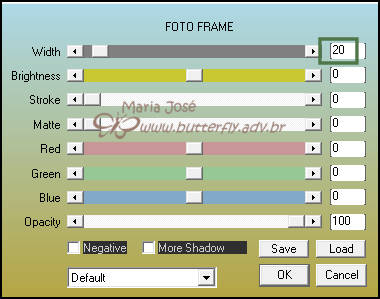
29.- Plugin - AAA Frames - Foto Frame
30.- Assinar o trabalho - Layers - Merge - Merge All Flatten
31.- As layers estão mergidas - Image Resize - Width - 1000px - All Layers - CLICADO
* Salvar em .jpg
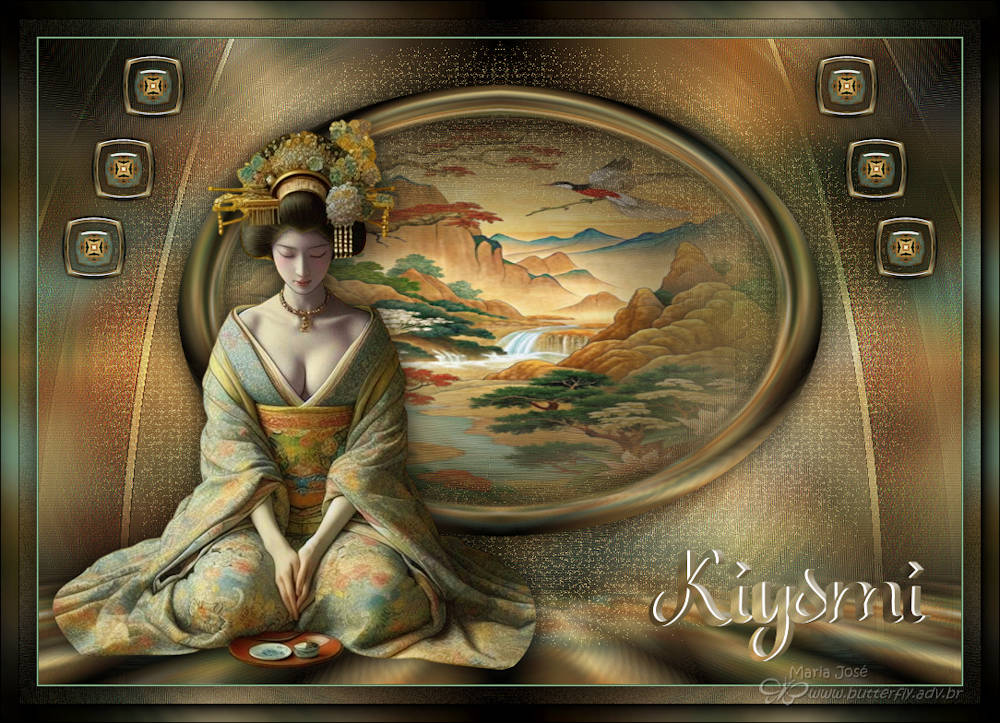
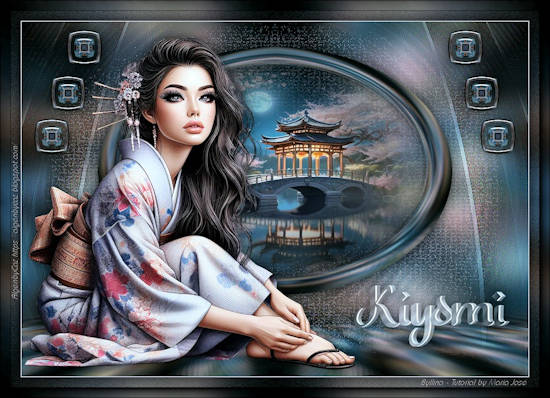
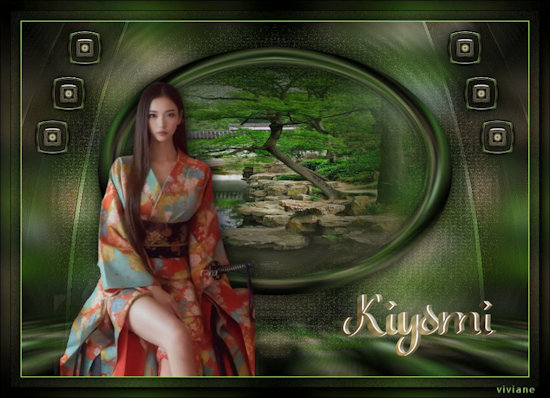
Espero que apreciem, obrigada.
_______________________________________________________________________________________________
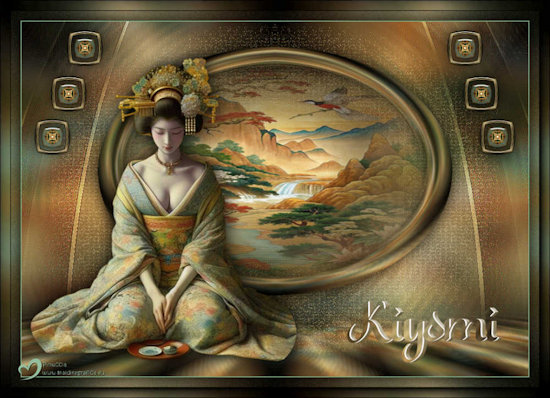
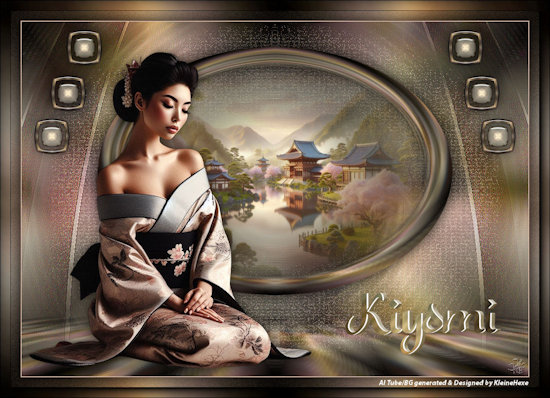
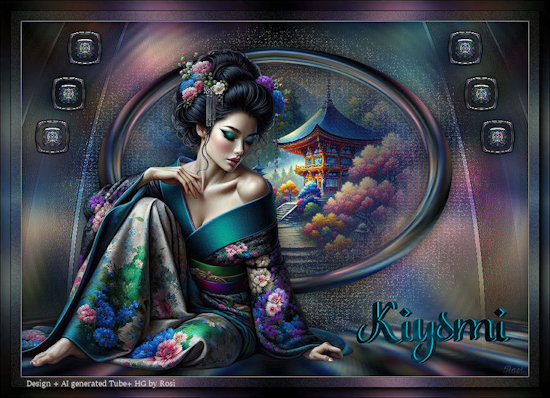
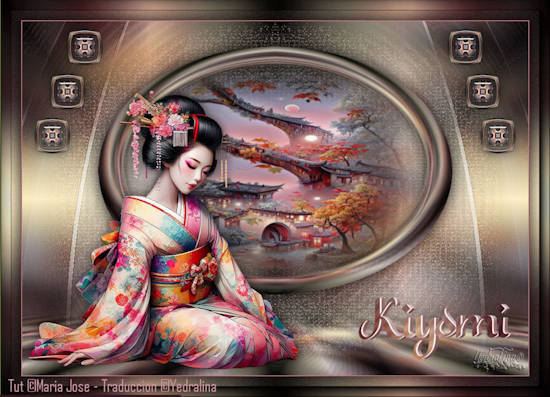
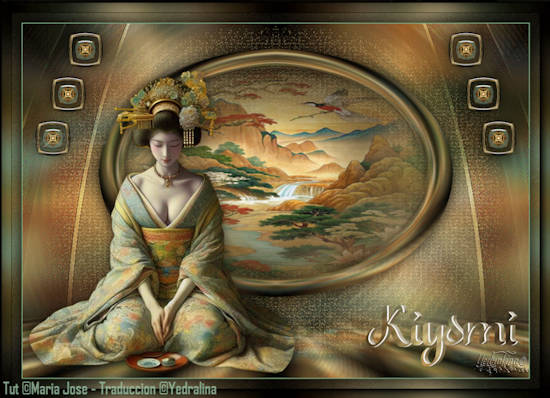
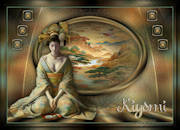
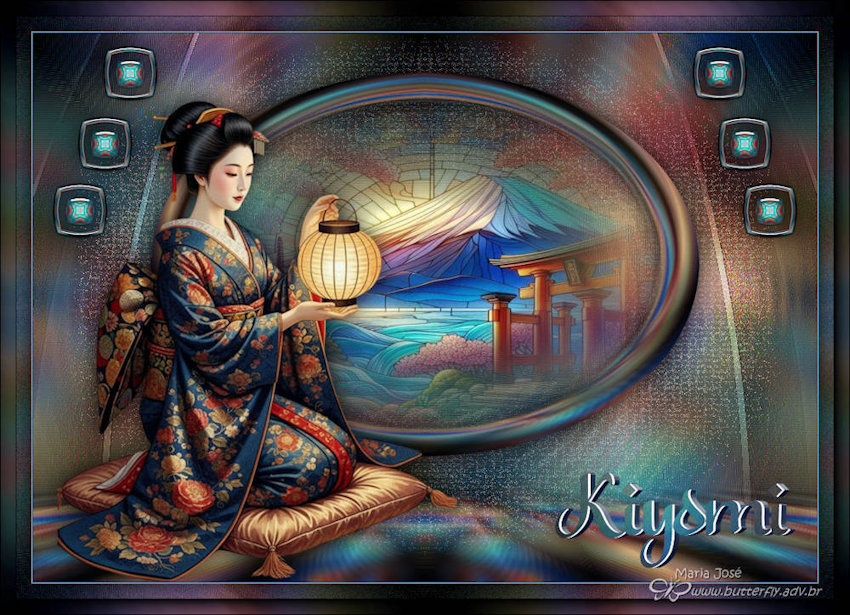
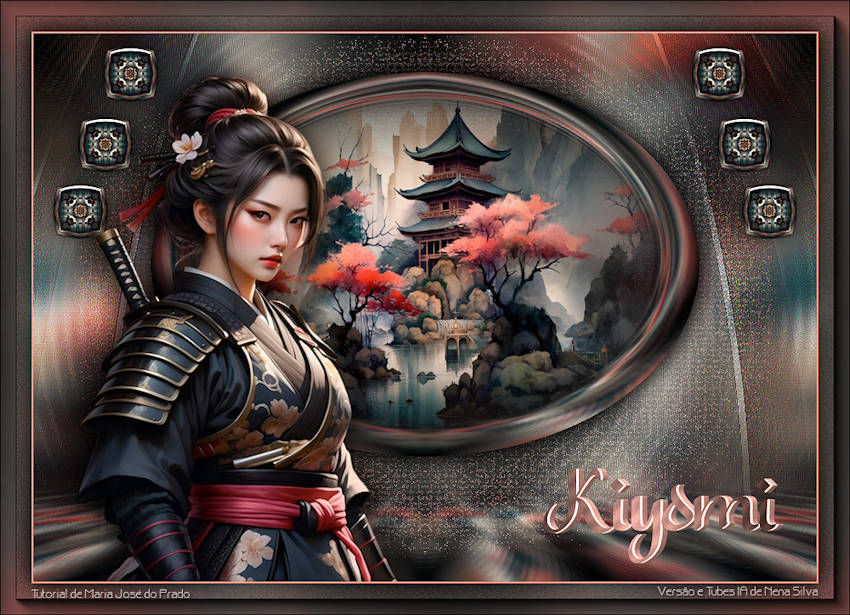
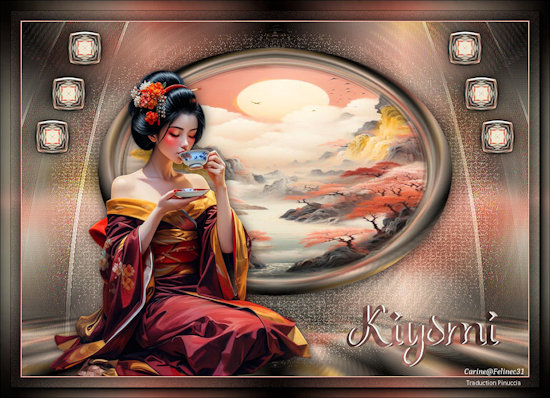
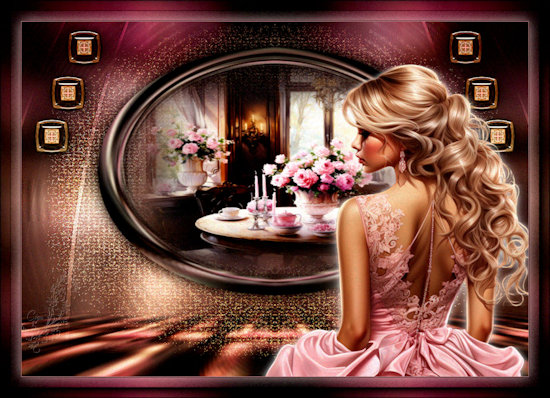
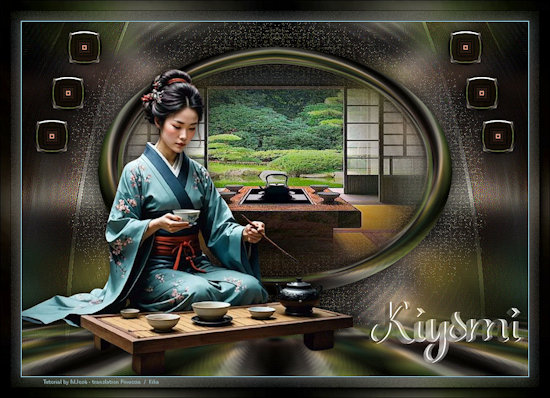
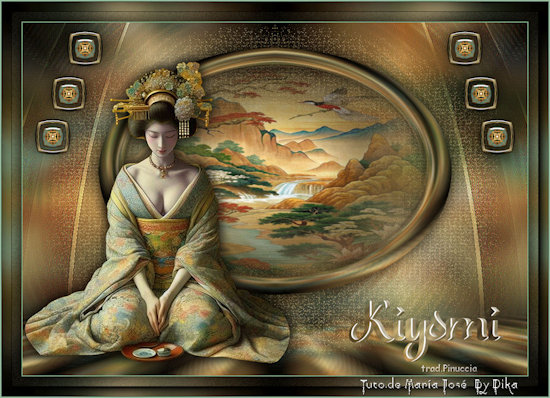
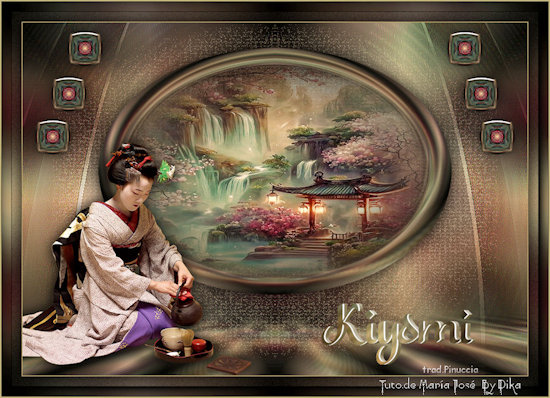
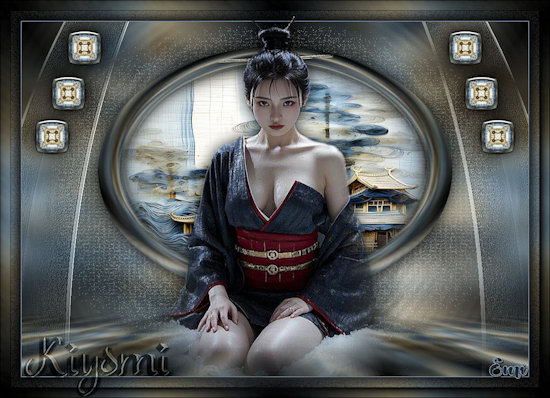
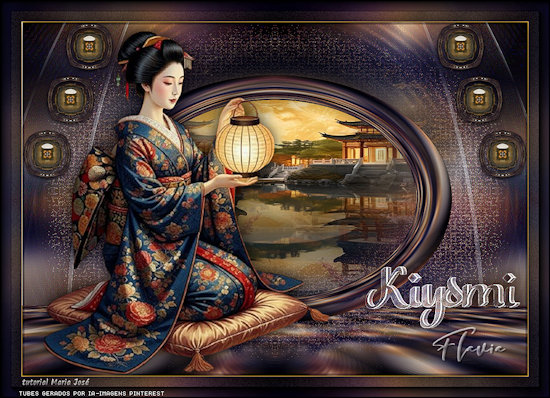
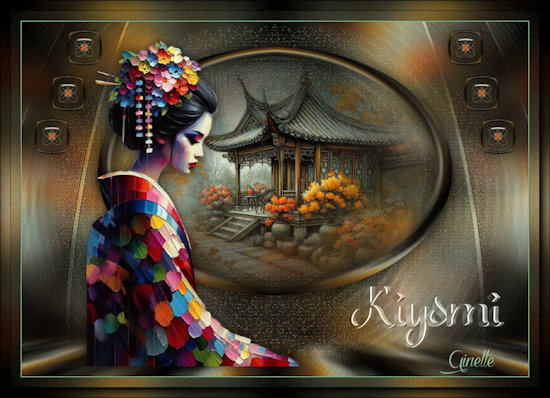
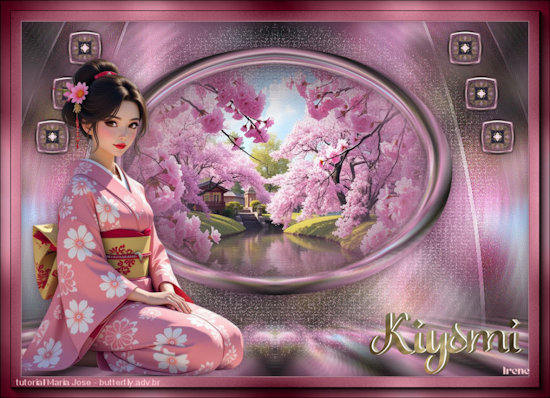
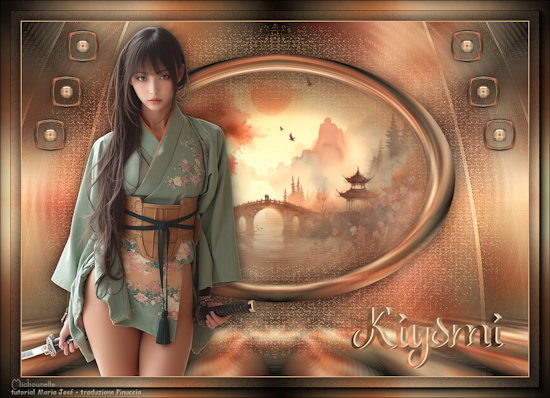
Outro Modelo
Agradeço a amiga NENA SILVA que gentilmente revisou e testou para mim.

Tutorial foi criado em outubro 2025 por Maria José do Prado, protegido pela lei de Copyright, não poderá ser copiado, retirado,
traduzido ou utilizado em listas de discussão sem o consentimento prévio e escrito de sua autora.
| CARINE |
CATS GRAFFITIS |
 |
 |
| CIÇA |
CRISTINA OLIVA |
 |
 |
| DIKA |
DIKA |
 |
 |
| EMI |
FLÁVIA |
 |
 |
| GINETTE |
IRENE |
 |
 |
| LILIANA |
LYNETTE |
 |
 |
| MARION |
MELUZINE |
 |
 |
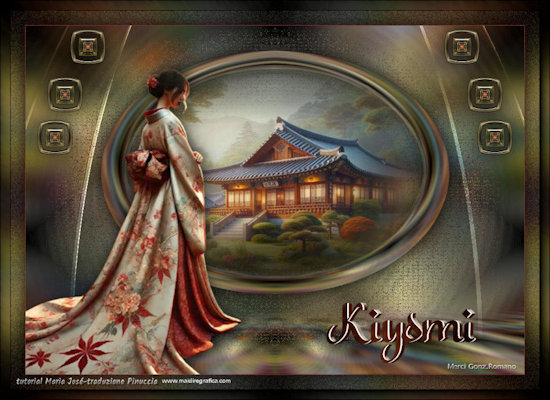
| MERCI GON ROMANO |
MERCI GON ROMANO |
 |
 |
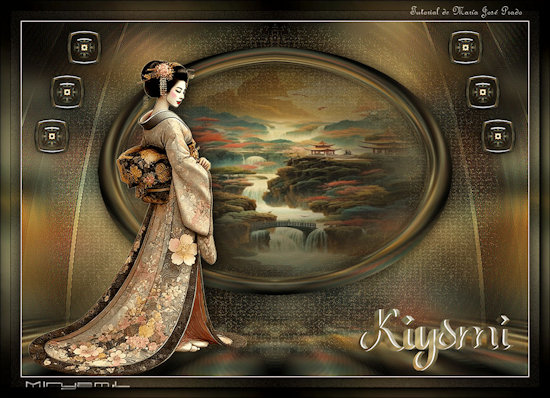
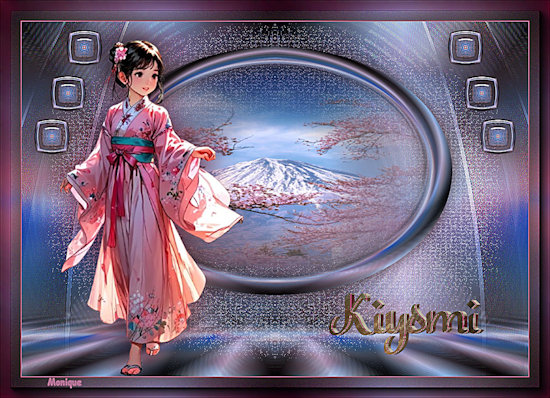
| MIRYAM |
MONIQUE |
 |
 |
| RENÉE QC |
ROSA |
 |
 |
| SARAH |
VANDA GIGO |
 |
 |
| VIOLINE |
VIOLINE |
 |
 |
| VIVIANE |
MICHOUNETTE |
 |
 |
| FELIXS |
|
 |
|