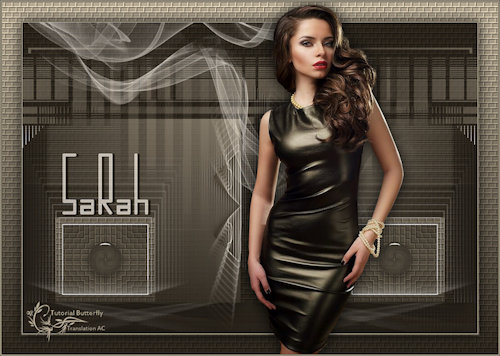
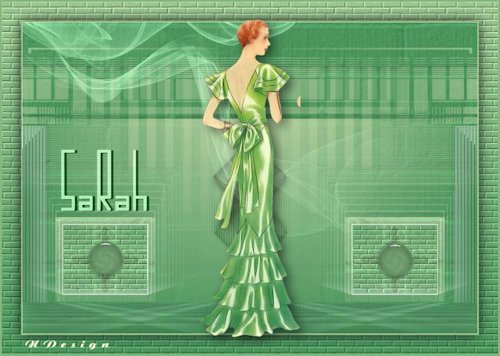
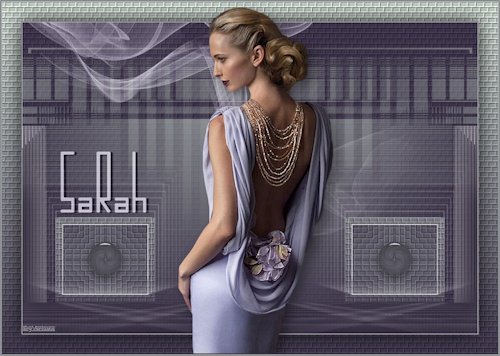
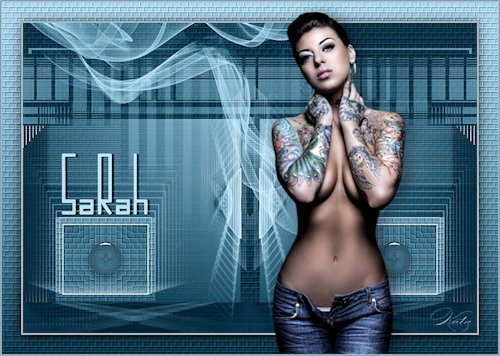
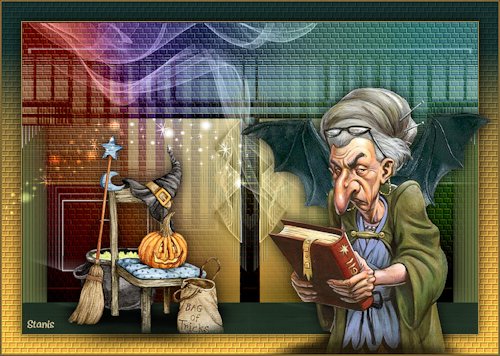
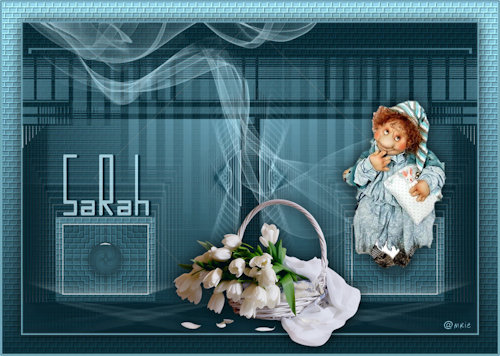
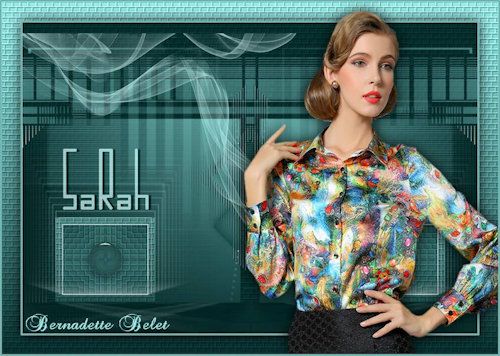
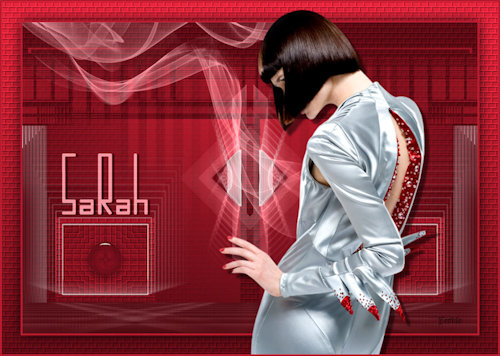
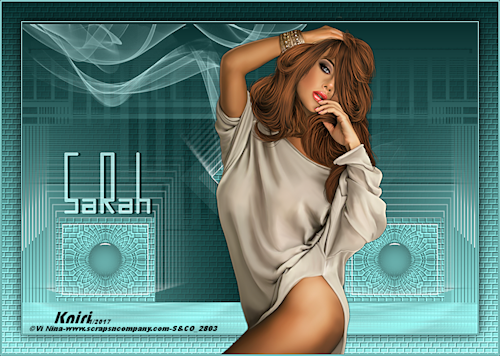
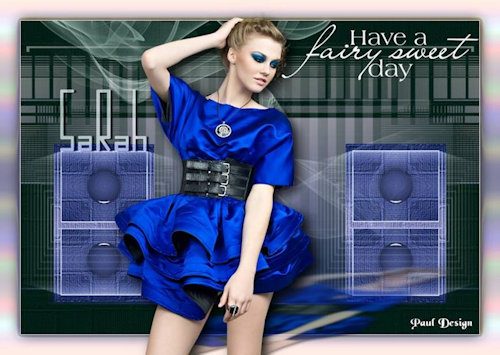
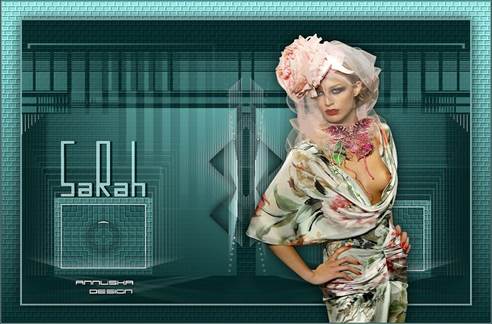
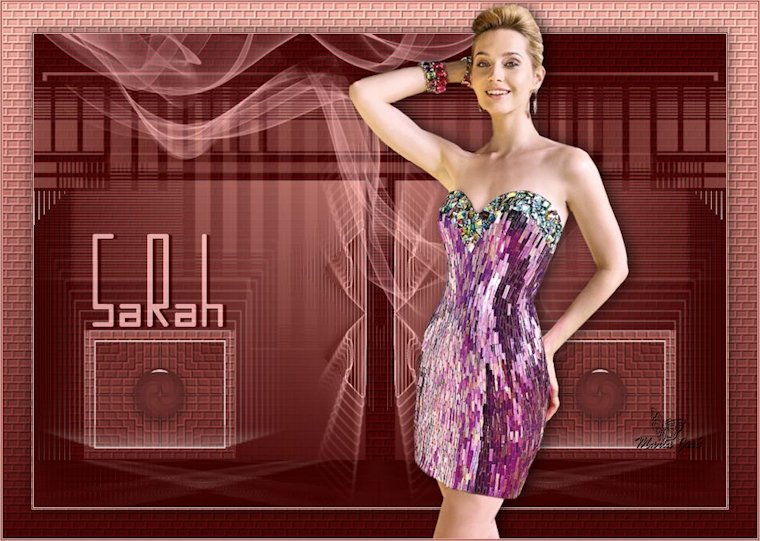
Outro modelo (tube Ana Ridzi)

Para este tutorial vamos precisar
Um tube (Devil, agradeço)
Cores - Foreground #97ede9 - Background #082e2d
Demais materiais click abaixo

PLUGINS
Toadies
Filter Factory Gallery "J"
Simple
AP[Innovation]Lines
Eye Candy 5 - Impact
Tramages
MuRa's Meister
1.- Preparar gradiente com 2 cores a seu gosto - LINEAR - ANGLE 0 - REPEATS 0

2.- Abrir transparência - 950x650px - preencher com a cor escura (background)
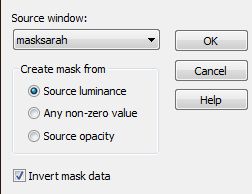
3.- Layers - New Mask Layer - from image - masksarah
Layers - Merge Group
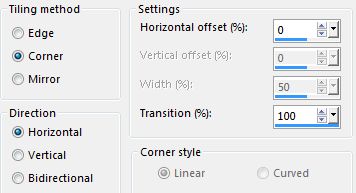
4.- Effects - Image Effects - Seamless Tiling - Corner HORIZONTAL - transition=100
5.- Effects - Reflection Effects - Rotating Mirror
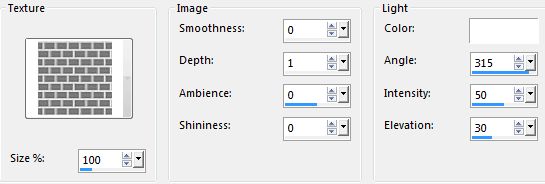
6.- Effects - Texture Effects - preset bricks_mj
7.- Selection - Load selection from disk sarah
Promote Selection to Layer
8.- Plugin Toadies - Weaver
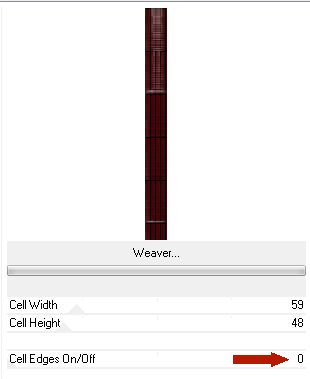
DESELECIONAR
9.- Plugin - Filter Factory Gallery "J" - Drink to Me =15

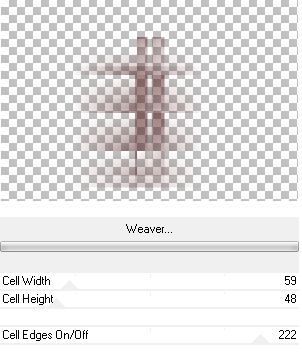
10.- Plugin Toadies - Weaver - DEFAULT
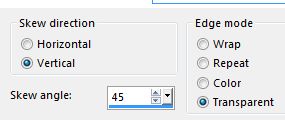
11.- Effects - Geometric Effects - Skew
12.- Plugin Simple - Top Left Mirror
13.- Plugin AP[Innovation]Lines- SilverLining
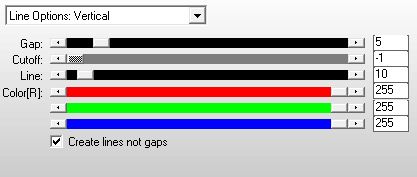
Baixar a opacidade para 50
14.- Layers - Add New Layer - Arrange - Send to Bottom - Preencher com a gradiente
15.- Selections - Load Selection from Disck sarah_2_mj
Promote selection to layer - Layers - Arrange - Bring to Top
16.- Effects - Texture Effects - preset bricks_mj (mesma configuração)
17.- Selections - Modify - Contract 15
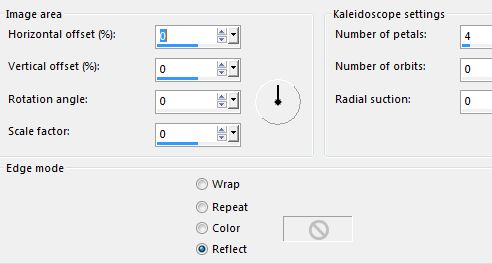
18.- Effects - Reflection Effects - Kaleidoscope
19.- Plugin Eye Candy 5 - Impact - Backlight - preset sarah - DESELECIONAR
20.- Selections - Load Selection from Disck sarah_3_mj
Promote selection to layer
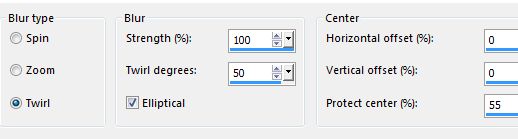
21.- Adjust - Blur - Radial Blur
22.- Plugin Eye Candy 5 - Impact - Glass - preset margot_mj - DESELECIONAR
Layers - Merge Down - Layers - Duplicate - Image Mirror
Layers - Merge Down
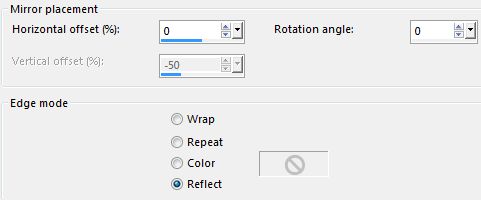
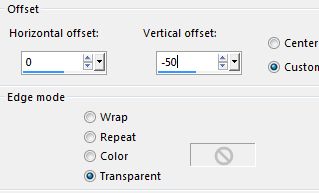
23.- Effects - Image Effects - Offset - 0, (-50) - Layers - Move Down
24.- Ativar a Group Raster 1 (segunda de baixo para cima)
25.- Selections - Load Selection from Disck sarah_4_mj
Promote Selection to Layer
26.- Adjust - Blur - Gaussian Blur - Radius 30 - DESELECIONAR
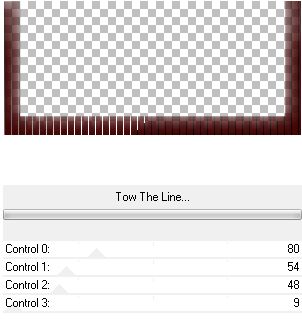
27.- Plugin Tramages - Tow The Line - DEFAULT
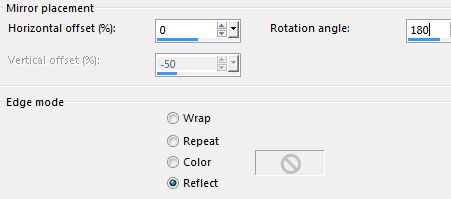
28.- Effects - Reflection Effects - Rotating Mirror
Layers - Duplicate
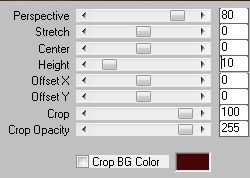
29.- Plugin MuRa's Meister - Perspective Tiling
30.- Effects - Image Effects - Seamless Tiling - Corner HORIZONTAL - transition=100
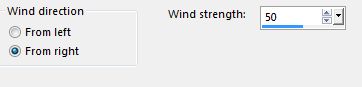
31.- Effects - Distortion Effects - Wind - From Right
32.- Ativar a Layer - Promoted Selection (segunda de cima para baixo)
33.- Selections - Load Selection from Disck sarah_1_mj
Promote Selection to Layer
34.- Plugin Eye Candy 5 - Impact - preset margot_mj - DESELECIONAR
Effects - Reflection Effects - Rotating Mirror
35.- Plugin Eye Candy 5 - Impact - Backlight - preset sarah
Layers - Duplicate - Image Flip Vertical
Ajustar como no modelo - Layers Merge Down
Layers - Move Down - Mudar a Blend Mode para Luminance (L)
36.- Edit - Copiar e colar como nova layer decosarah - Ajustar como no modelo
37.- Edit - Copiar e colar - texto sarah - como no modelo
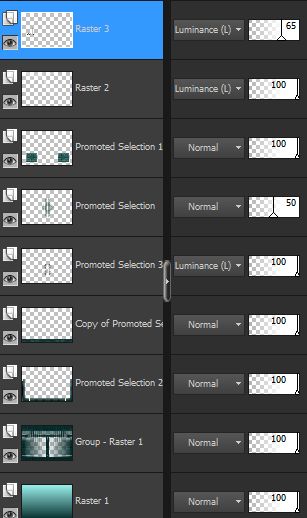
AS LAYERS DEVEM ESTAR ASSIM
38.- Image - Add Borders - 1px - cor clara
Image - Add Borders - 1px - cor escura
Image - Add Borders - 1px - cor clara
39.- Image - Add Borders - 40px - cor branco
Ferramenta Magic Wand selecionar as bordas
Preencher com a gradiente
40.- Effects - Texture Effects - bricks_mj - mesma configuração
Selections - Invert - Drop Shadow 0, 0, 80, 40, preto - DESELECIONAR
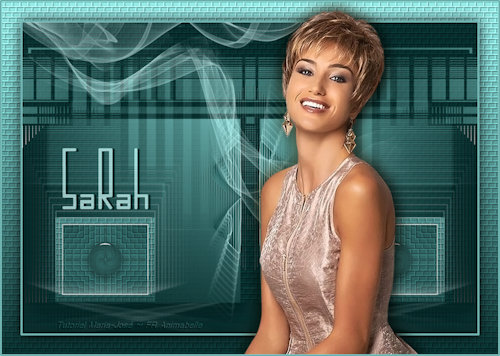
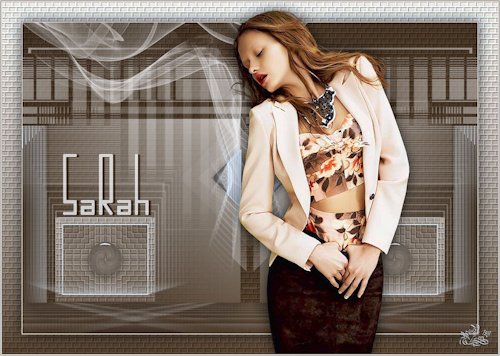
41.- Copiar e colar o tube principal como no modelo
Drop Shadow critério pessoal
42.- Image - Add Borders - 1px - cor clara
Image - Add Borders - 1px - cor escura
Image - Add Borders - 1px - cor clara
43.- Image - Resize - 950px Width - Assinar - Salvar em .jpg
Espero que apreciem, obrigada
Este tutorial foi criado e publicado em 22 de outubro de 2015 por Maria José Prado. É protegido por lei de Copyright e não poderá ser copiado, retirado de seu lugar, traduzido ou utilizado em listas de discussão sem o consentimento prévio e escrito de sua autora acima declinada.
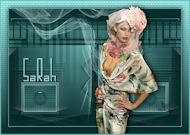
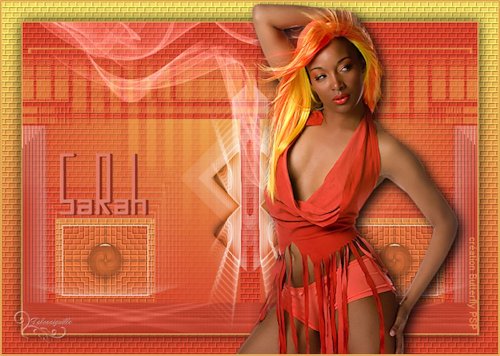
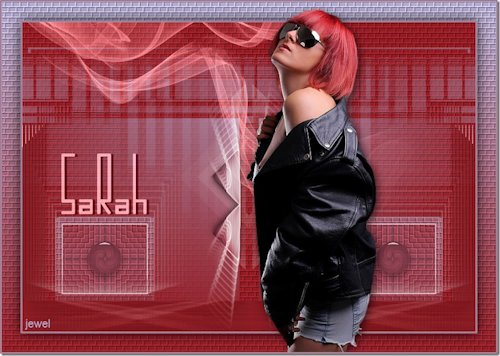
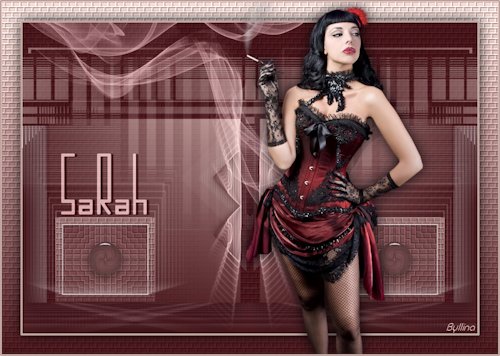
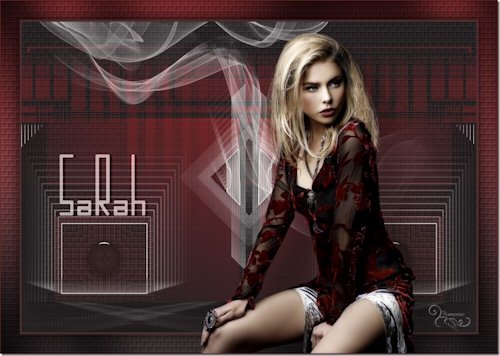
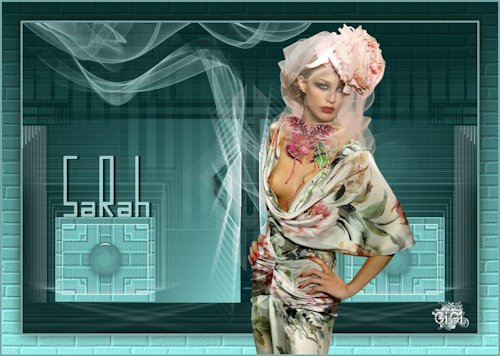
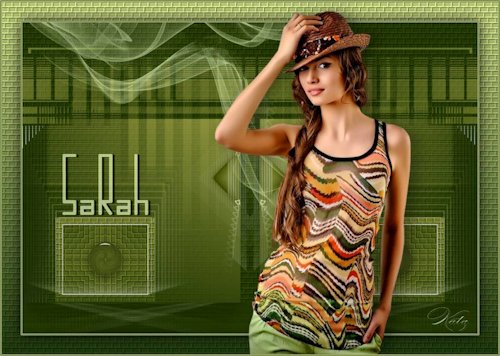
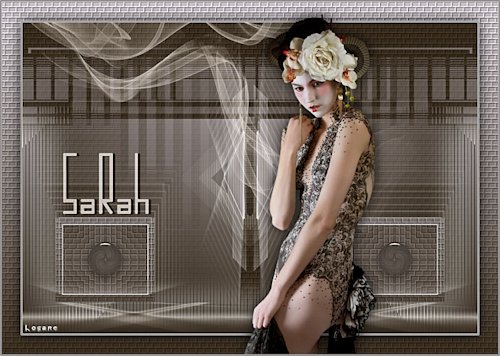
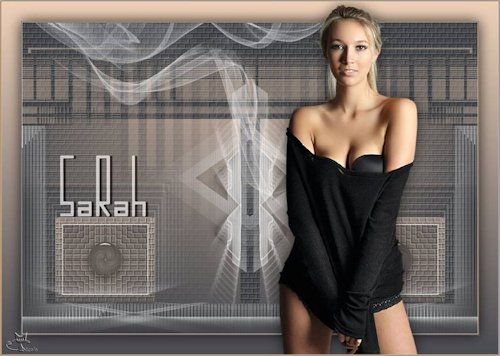
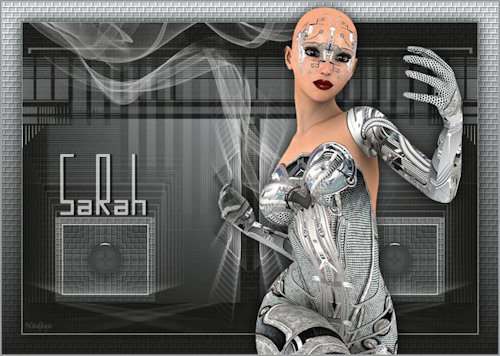
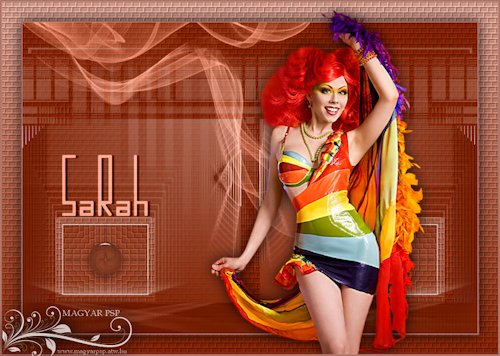
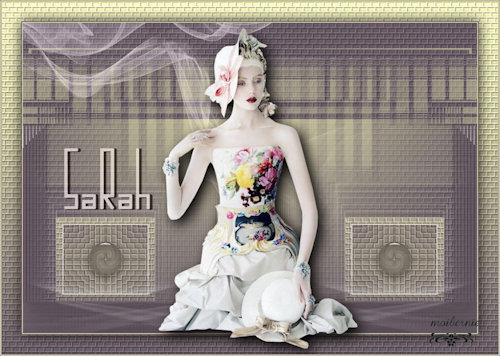
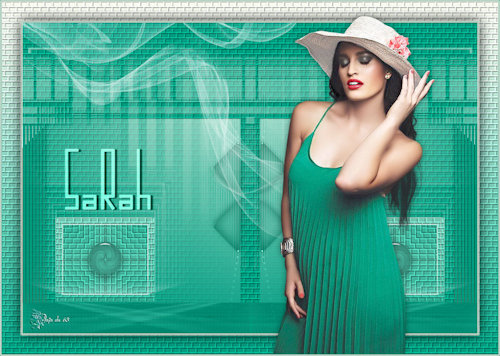
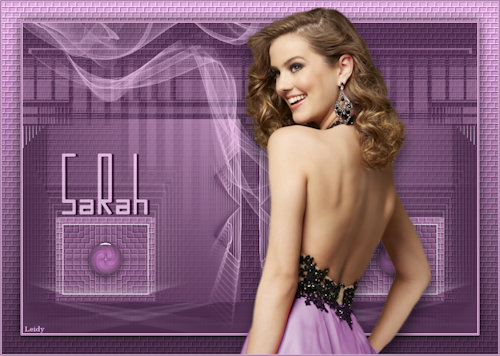
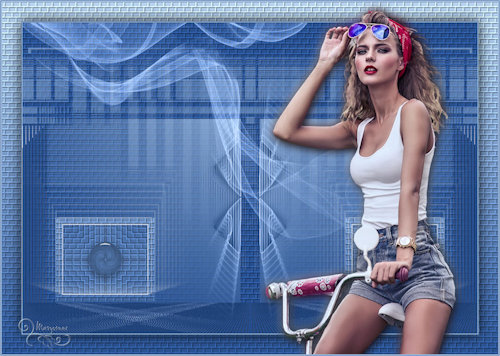
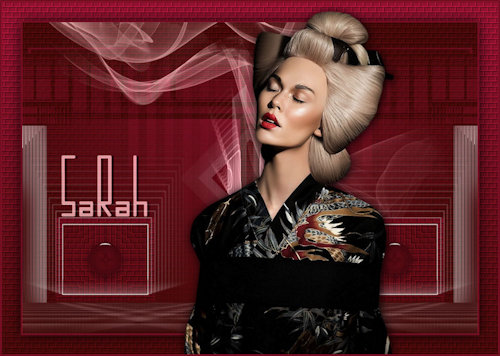
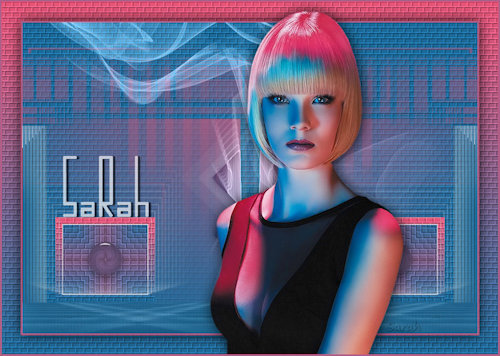
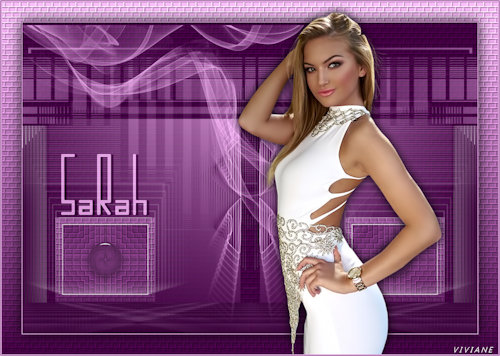
VARIANTES
|