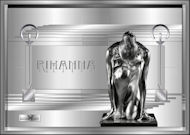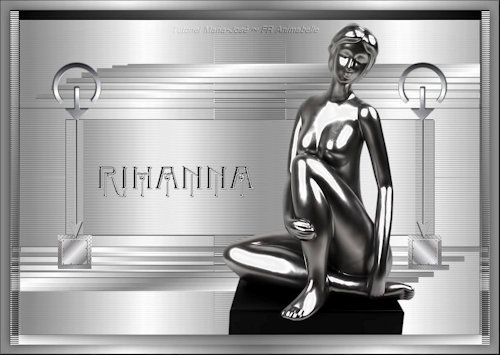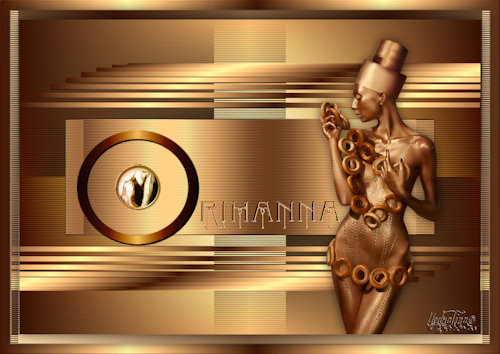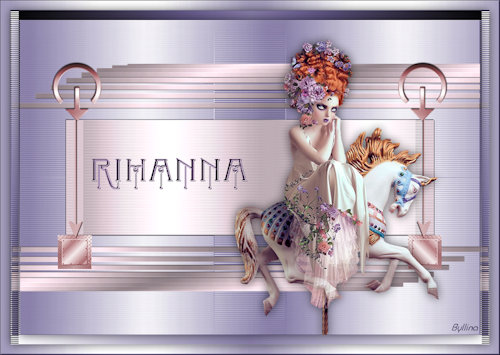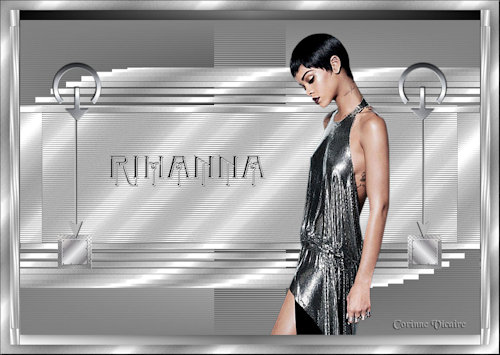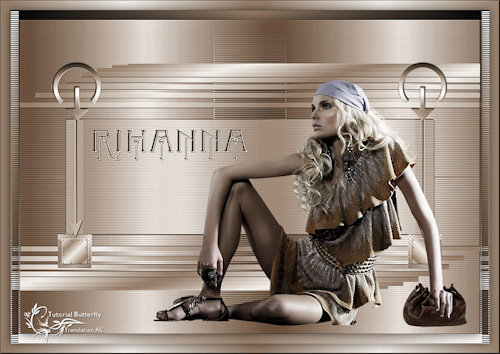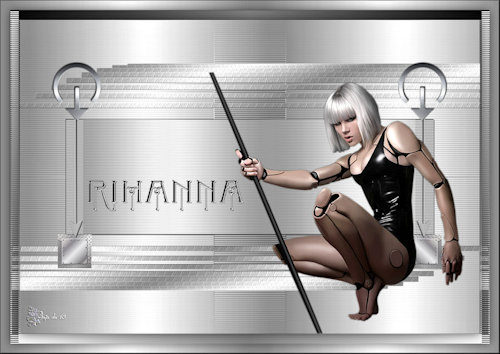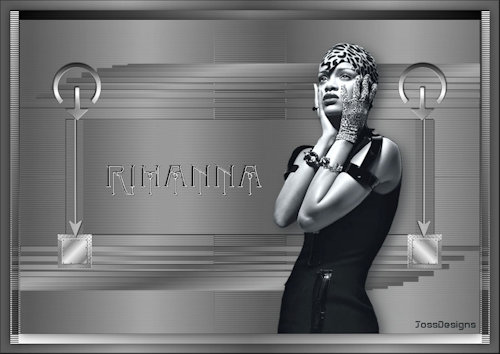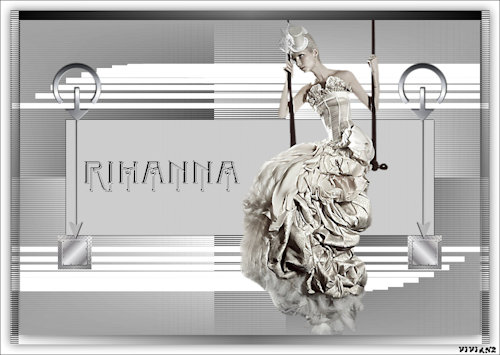
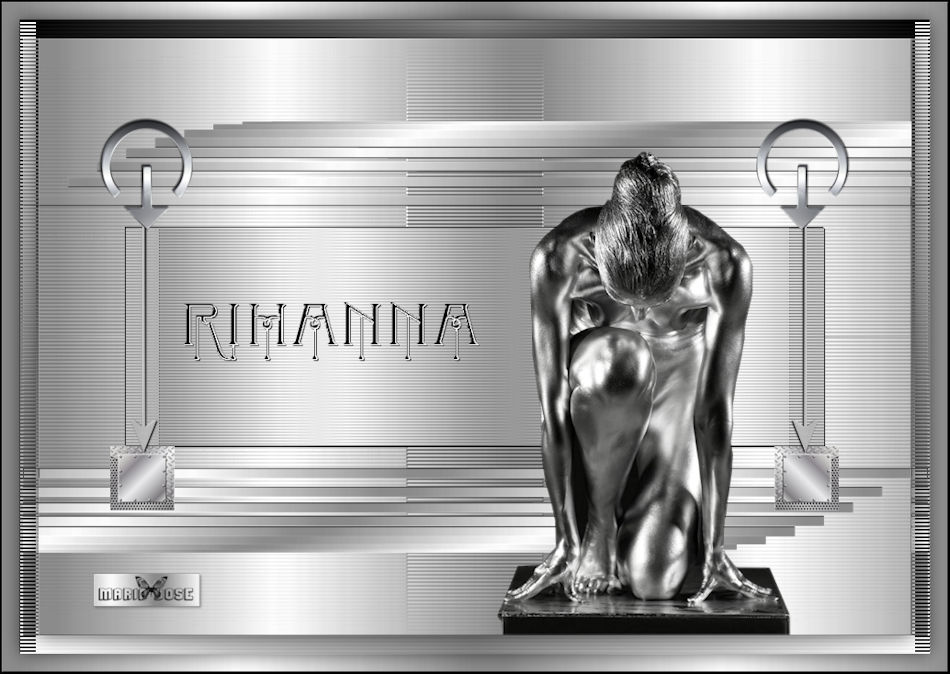
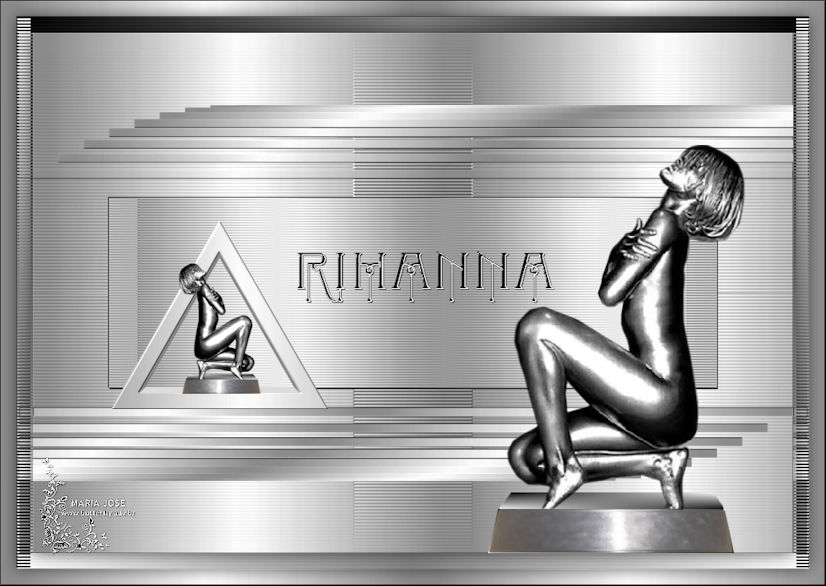
Outro modelo

MATERIAL
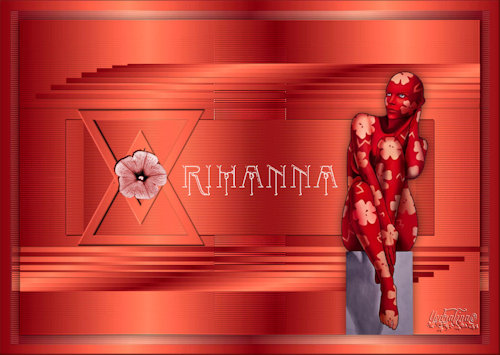
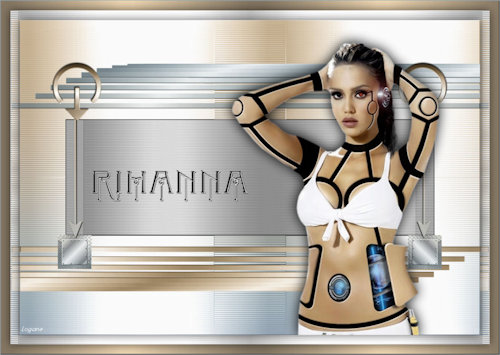
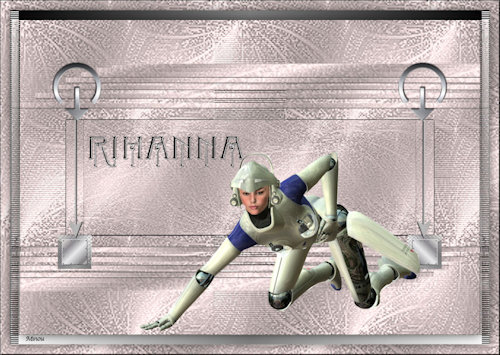
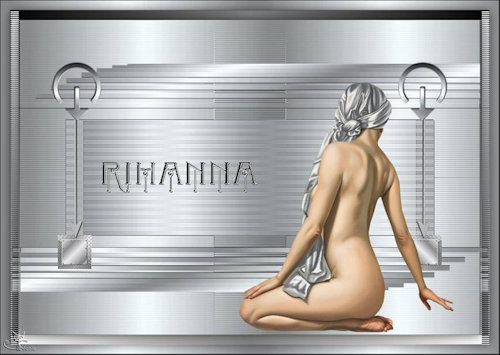
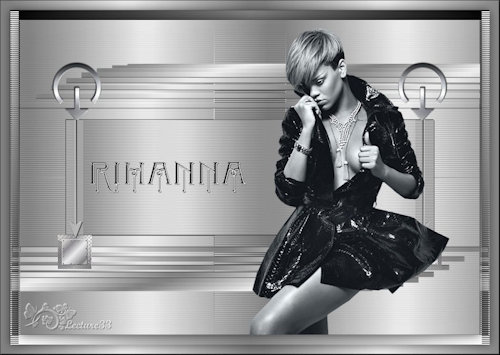
Um tube pessoal - imagem NET
decos pessoal
Demais materiais click abaixo

PLUGINS
Harry's Power Grads
Filters Unlimited2
MuRa's Meister
Distortion Filters - Scanlines Shifter
1.- Na Palette Materials - configurar - Foreground #000000 - Background #ffffff
2.- Abrir transparência - 950x650px - preencher com a cor do Background
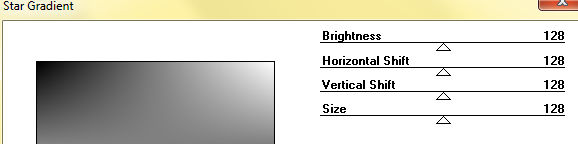
3.- Plugin - Harry's Power Grads - Star Gradient - DEFAULT (tudo 128)
(Layer com o material, já aplicado o plugin, caso alguém não o tenha - faça uma cópia e reserve
para o final da tag)
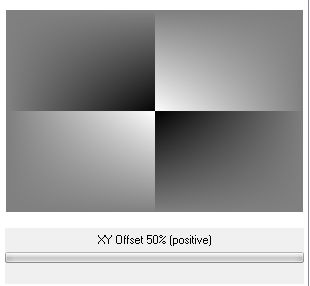
4.- Filters Unlimited2 - Tile & Mirror - XY Offset 50% (positive)
5.- Selections - Load Selection from Disk - rihanna_1
6.- Layers - Add New Layer
Preencher com a cor do foreground (#ffffff)
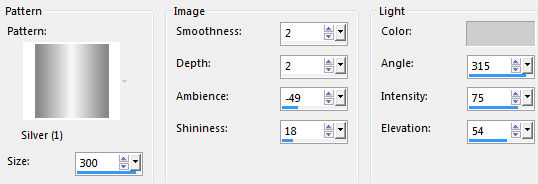
7.- Effects - Texture Effects - Sculpture (pattern com o material)
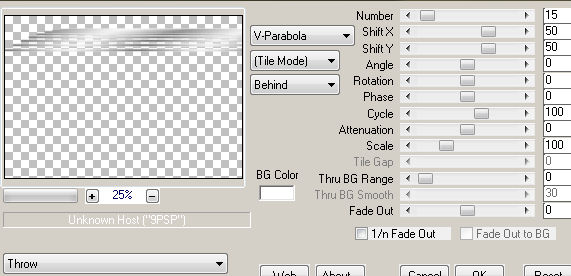
8.- Plugin - MuRa's Meister - preset Throw
9.- Layers - Duplicate - Image Flip Vertical - Image Mirror Horizontal
Layers - Merge Down
10.- Ativar a Raster 1
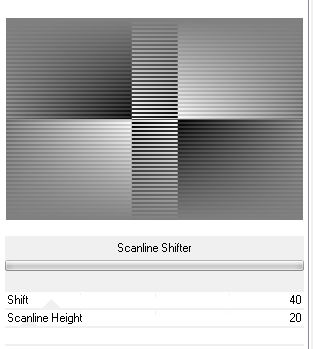
Plugin Distortion Filters - Scanlines Shifter (com o material)
11.- Effects - Texture Effects - Sculpture (mesma configuração)
12.- Selections - Load Selection from Disk - rihanna
Layers - Add New Layer - preencher com a cor do background
DESELECIONAR
13.- Effects - Texture Effects - Sculpture (mesma configuração)
14.- Plugin Distortion Filters - Scanlines Shifter
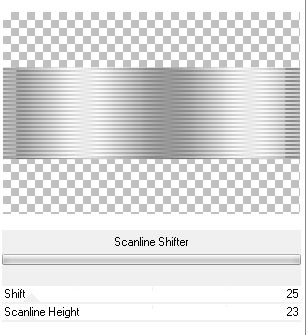
Image - Resize 80% - all layer DESCLICADO
Drop Shadow 1, 1, 100, 1, preto - Repetir (-1), (-1)
15.- Edit - copiar - colar como nova layer decoprata
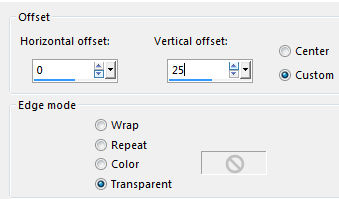
Effects - Image Effects - Offset - H 0, V 25
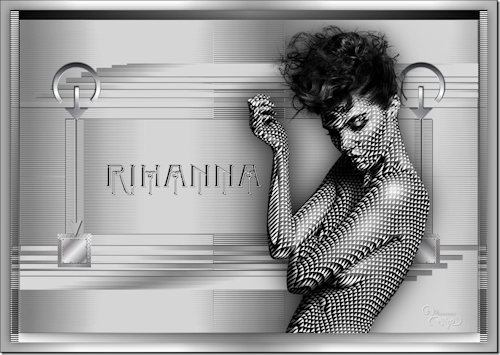
16.- Edit - Copiar e colar o tube principal, ajustar como no modelo
17.- Edit - copiar e colar o texto, ajustar como no modelo
LAYERS
18.- Layers - Merge Visible - Selections All
Image - Add Borders - 20px - branco - Selections - Invert
19.- Plugin - Harry's Power Grads - Star Gradient - DEFAULT (tudo 128)
(edit copy a layer reservada no início e cole dentro da seleçao)
20.- Plugin Distortion Filters - Scanlines Shifter - DEFAULT
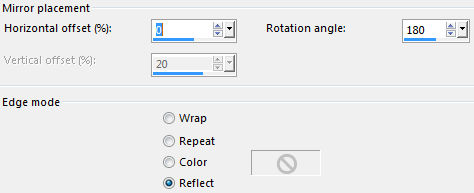
21.- Effects - Reflection Effects - Rotating Mirror
22.- Selections - Invert - Drop Shadow 0, 0, 60, 30, preto
DESELECIONAR
23.- Image - Add Borders - 20px - branco
Ferramenta Magic Wand - Selecionar as bordas
Effects - Texture Effects - Sculpture (mesma configuração)
24.- Selections - Invert - Drop Shadow 0, 0, 60, 30, preto
DESELECIONAR
25.- Image Add Borders - 1px - preto
26.- Assinar - Layers - Merge All Flatten
27.- Image - Resize - 950px Width - Salvar em .jpg
Espero que apreciem, obrigada.
Este tutorial foi criado e publicado em 15 de abril de 2016 por Maria José Prado. É protegido por lei de Copyright e não poderá ser copiado, retirado de seu lugar, traduzido ou utilizado em listas de discussão sem o consentimento prévio e escrito de sua autora acima declinada.
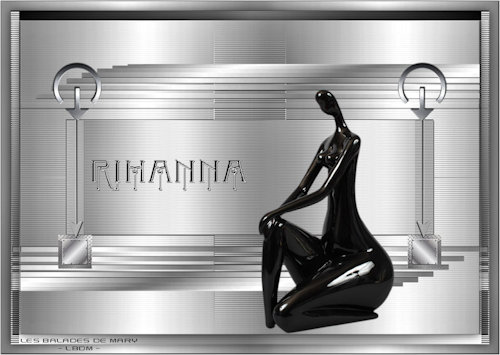
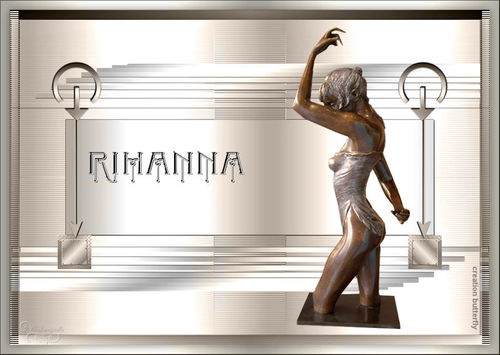
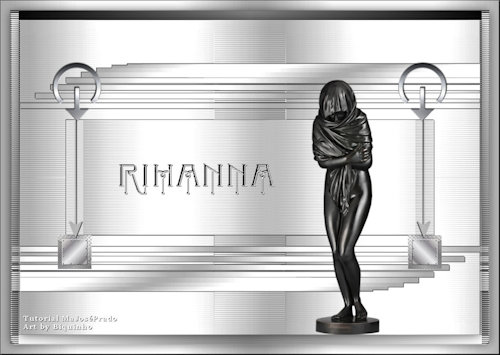
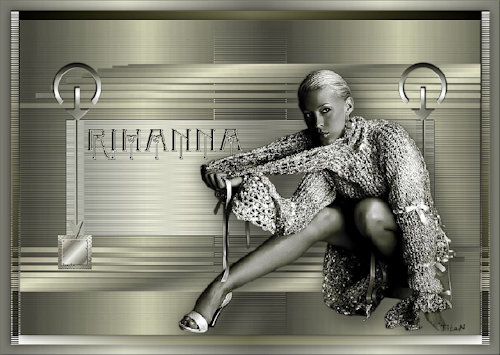
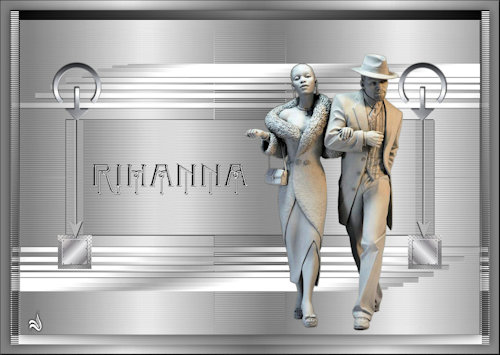
VARIANTES
|