MATERIAIS
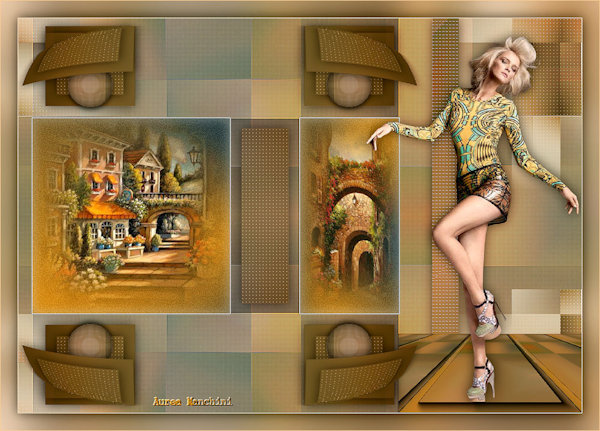
Dois Misteds (casario) - Nicole, eu agradeço
Um Tube - Csilla, eu agradeço
Alphachannel_casario_mj
***Abrir a layer Alphachannel_casario_mj no PSP
_____________________________________________________________________________________________
PLUGINS
Mehdi
Photoshopfun II
Simple
Graphics Plus
Carolaine and Sensibility
AP[Lines] Lines Satin
AAAFrame
MuR'as Meister
Toadies
Eye Candy 5 - Impact
Penta
OPCIONAL - Plugin AAA Filters
_____________________________________________________________________________________________
Preparar Gradiente - RADIAL - cores a gosto
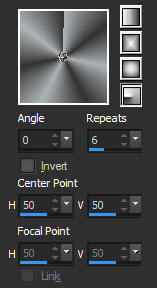
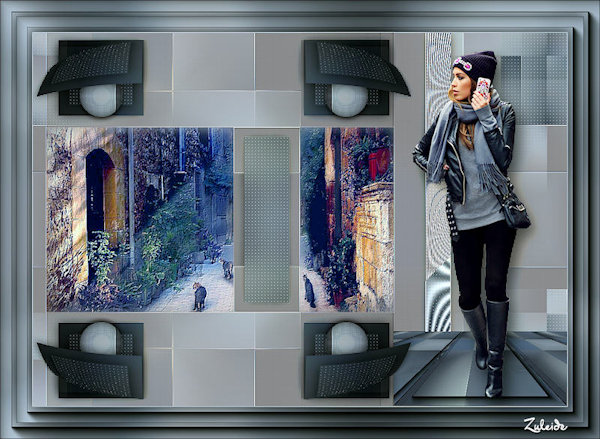
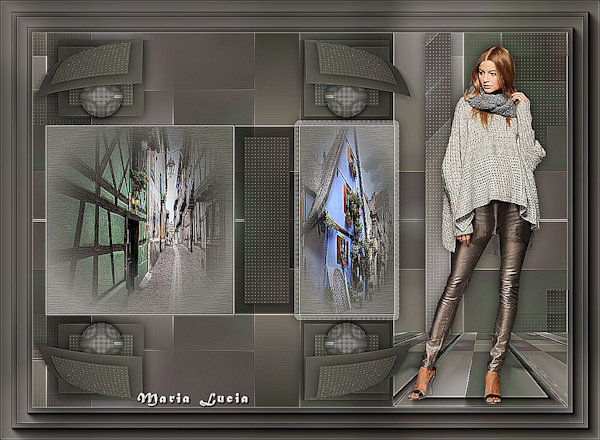
Cores deste tutorial -  #acb3b6 -
  #333131
_____________________________________________________________________________________________
1.- Abrir Alphachannel casario_mj - Fazer uma cópia fechar o Original
Vamos trabalhar na cópia - Preencher com a gradiente
2.- Selections - Select All - Edit - Copiar/Colar o misted dentro da seleção
DESELECIONAR
_____________________________________________________________________________________________
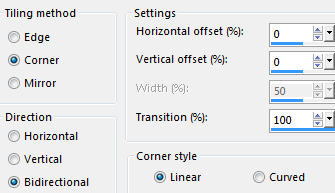
3.- Effects - Image Effects - Seamless Tiling - Corner - Bidirectional - Transition 100
4.- Adjust - Blur - Gaussian Blur - Radius 30,00

_____________________________________________________________________________________________
5.- Plugin - Mehdi - Sorting Tiles - PLUS

6.- Plugin - Photoshopfun II - KYLIE
7.- Plugin Simple - Half Wrap
8.- Plugin - Graphics Plus - Vertical Mirror
9.- Effects - Edge Effects - DILATE e ENHANCE
_____________________________________________________________________________________________
10.- Selections - Load Selection From Alpha Channel - Selection # 1
Promote Selection to Layer
11.- Plugin - Carolaine and Sensibility - CS-LDots
12.- Plugin - AP[Lines] Lines Satin

DESELECIONAR
_____________________________________________________________________________________________
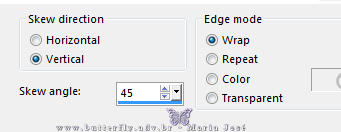
13.- Effects - Geometric Effects - Skew - 45 - Wrap - Vertical
14.- Effects - 3DEffects - Drop Shadow 0, 0, 60, 30, preto
_____________________________________________________________________________________________
Ativar a Raster 1
15.- Selections - Load Selection From Alpha Channel - Selection # 2
Promote Selection to Layer - MANTER A SELEÇÃO
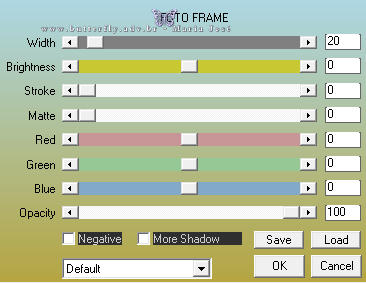
16.- Plugin - AAAFrame - Foto Frame
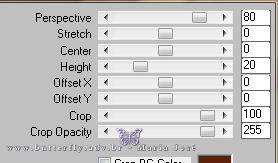
17.- Plugin - MuR'as Meister - Perspective Tiling
DESELECIONAR
Layers - Arrange - Move Up
_____________________________________________________________________________________________
Novamente na Raster 1
18.- Selections - Load Selection From Alpha Channel - Selection # 3
Promote Selection to Layer - DESELECIONAR
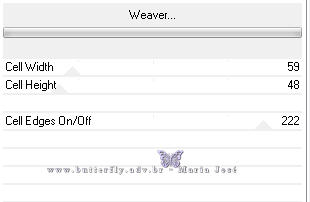
19.- Plugin - Toadies - Weaver - DEFAULT
20.- Plugin Simple - Half Wrap
21.- Plugin - Carolaine and Sensibility - CS-LDots - mesma configuração
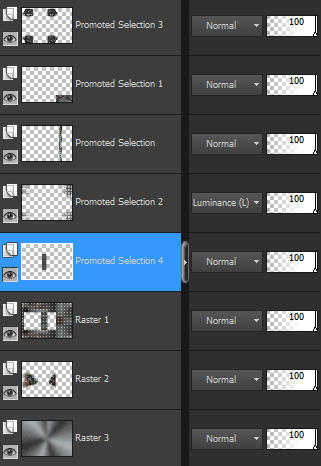
Blend Mode - Luminance (L) ou outro
_____________________________________________________________________________________________
Ativar a Raster 1
22.- Selections - Load Selection From Alpha Channel - Selection # 4
Promote Selection to Layer
23.- Effects - 3DEffects - Drop Shadow 0, 0, 60, 30, preto
Selections - Modify - Contract 20
24.- Plugin - Carolaine and Sensibility - CS-LDots - mesma configuração
Repetir o Drop Shadow
DESELECIONAR - Layers - Arrage - Bring to Top
_____________________________________________________________________________________________
Layers - Duplicate
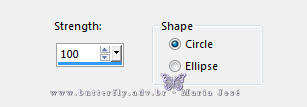
25.- Effects - Geometric Effects - Spherize 100 - Circle
26.- Effects - Image Effects - Offset
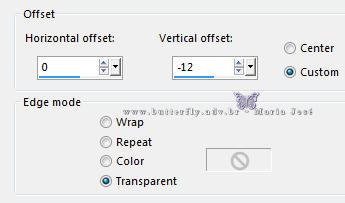
_____________________________________________________________________________________________
Ativar Raster 1
27.- Selections - Load Selection From Alpha Channel - Selection # 5
Promote Selection to Layer
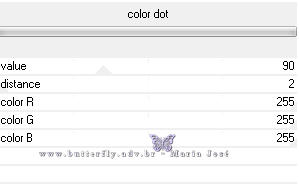
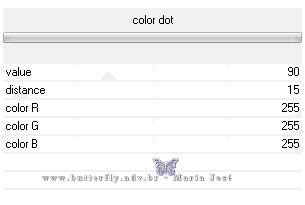
28.- Plugin - Penta - Color Dot - DEFAULT
29.- Eye Candy 5 - Impact - Glass - preset Clear
DESELECIONAR
Layers - Arrange - Move Up 4 vezes
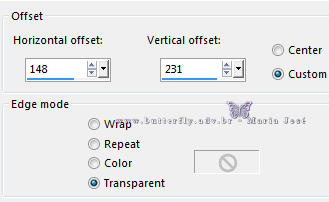
30.- Effects - Image Effects - Offset
_____________________________________________________________________________________________
Ativar a Layers Superior - Copy of Promoted Selection 3
Layers - Merge Down 2 vezes
_____________________________________________________________________________________________
31.- Layers - Duplicate - Image Flip Vertical
Layers - Merge Down
Layers - Duplicate - Image Mirror - Horizontal
32.- Effects - Image Effects - Offset

Layers - Merge Down
_____________________________________________________________________________________________
Novamente Ativar a Raster1
33.- Selections - Load Selection From Alpha Channel - Selection # 6
Layers - Add New Layer - Layers Arrange - Send to Bottom
34.- Edit - Copiar/Colar o misted - dentro da seleção
DESELECIONAR
_____________________________________________________________________________________________
35.- Selections - Load Selection From Alpha Channel - Selection # 7
36.- Edit - Copiar/Colar o outro misted dentro da seleção
DESELECIONAR
_____________________________________________________________________________________________
37.- Ativar a Raster 1 - Drop Shadow 0, 0, 60, 30, preto
38.- Plugin - Penta - color dot
_____________________________________________________________________________________________
39.- Layers - Add New Layer - Layers - Arrange - Send to Bottom
Preencher com a Gradiente
_____________________________________________________________________________________________
40.- Adjust - Blur - Gaussian Blur - Radius 30
41.- Adjust - Add Noise - 7 - Uniform - Mono clicado

42.- Effects - Distortion Effects - Wind - From Right - 100

Adjust - Sharpness - Sharpen More
_____________________________________________________________________________________________
Ativar a Raster 1
43.- Selections - Load Selection From Alpha Channel - Selection # 8
Selections - Modify - Contract 20
Promote Selection to Layer
44.- Adjust - Blur - Gaussian Blur - Radius 30
45.- Plugin - Carolaine and Sensibility - CS-LDots - mesma configuração
Repetir o Drop Shadow
DESELECIONAR
_____________________________________________________________________________________________
LAYERS
Layers - Merge Visible
_____________________________________________________________________________________________
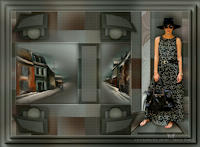
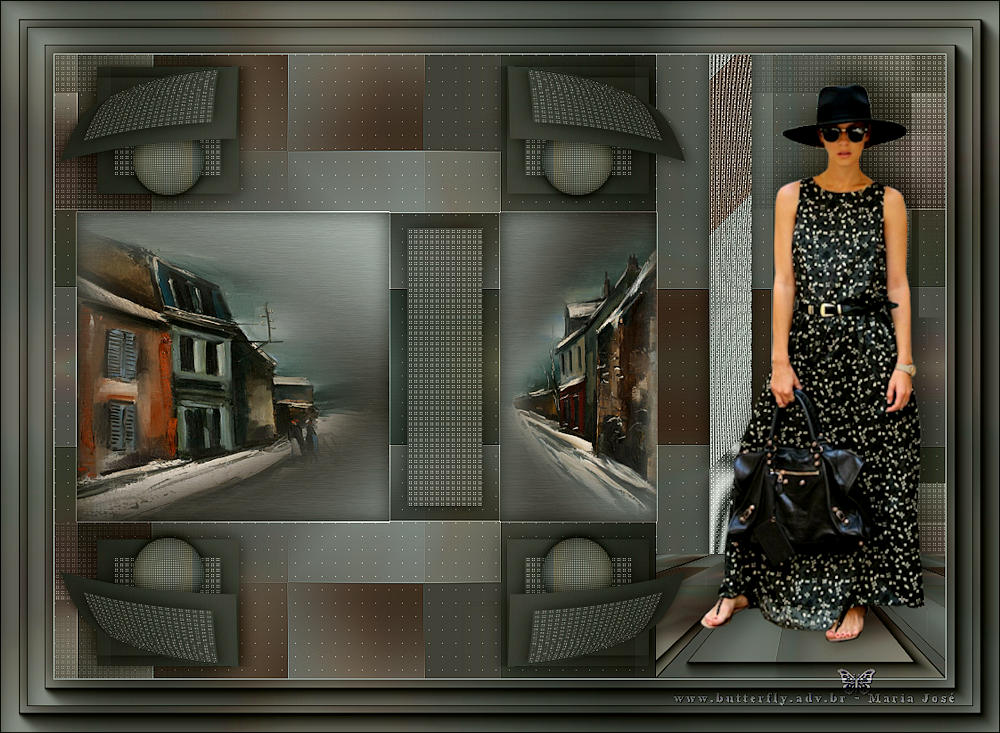
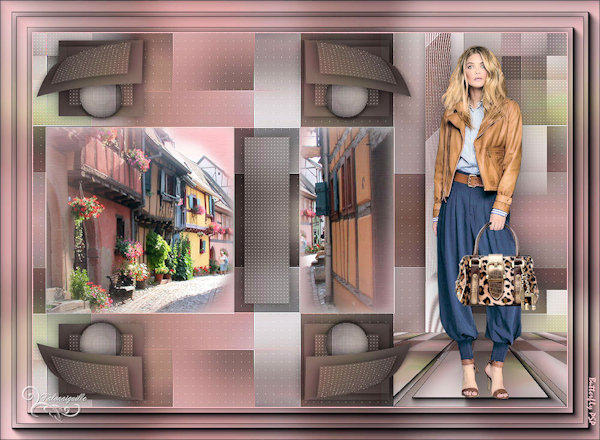
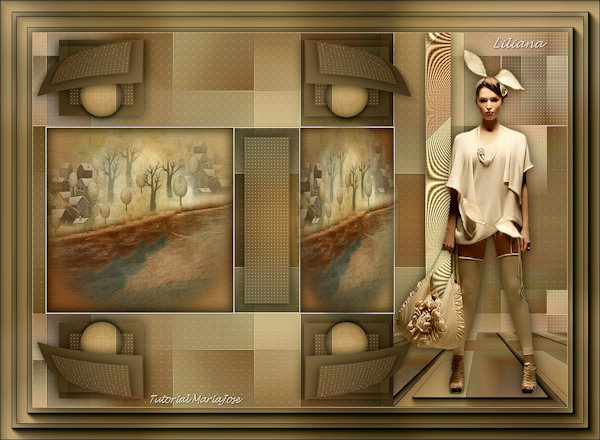
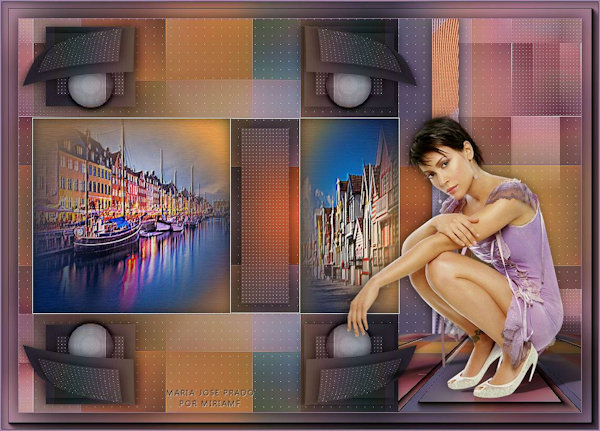
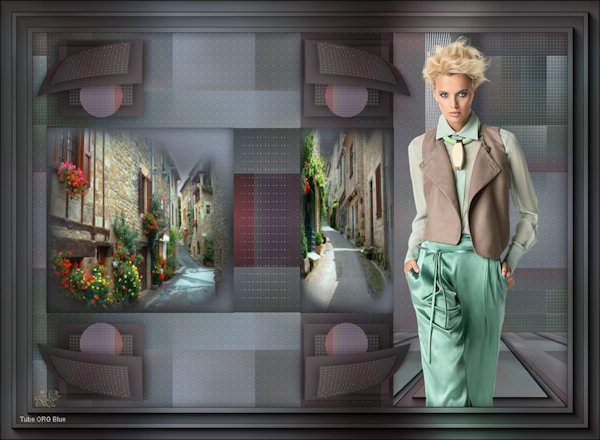
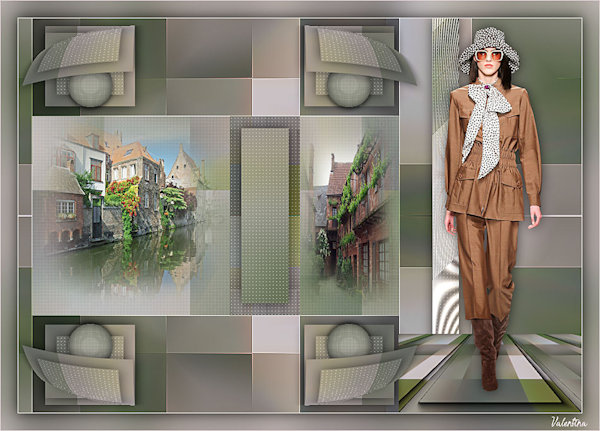
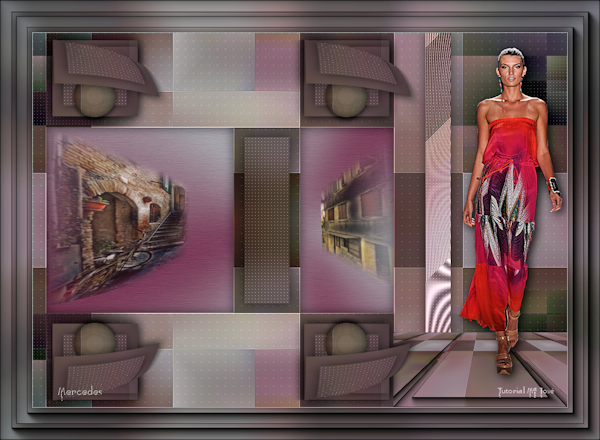
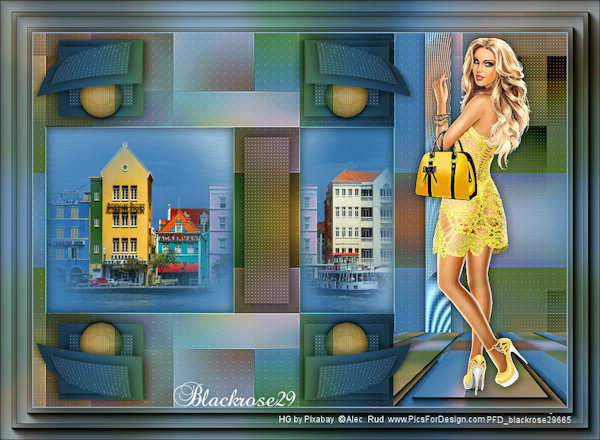
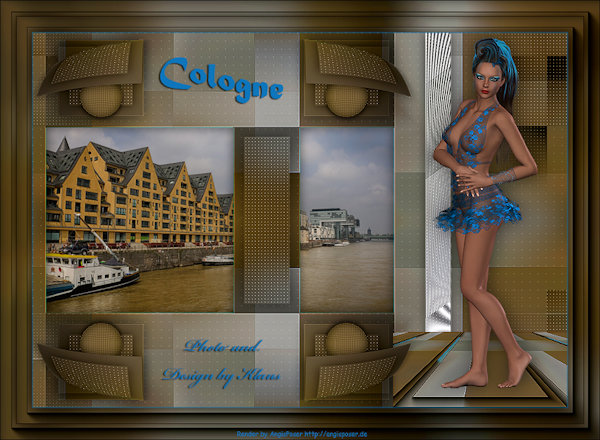
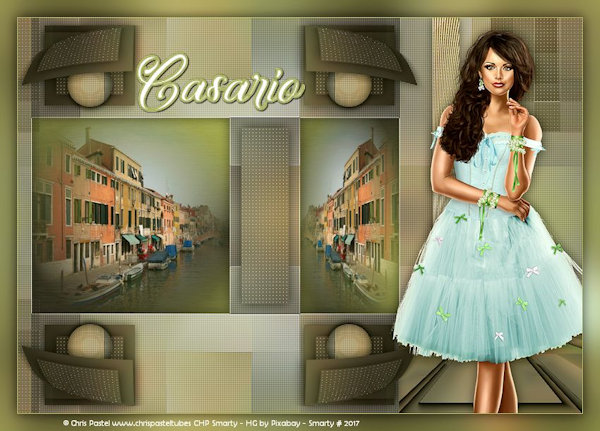
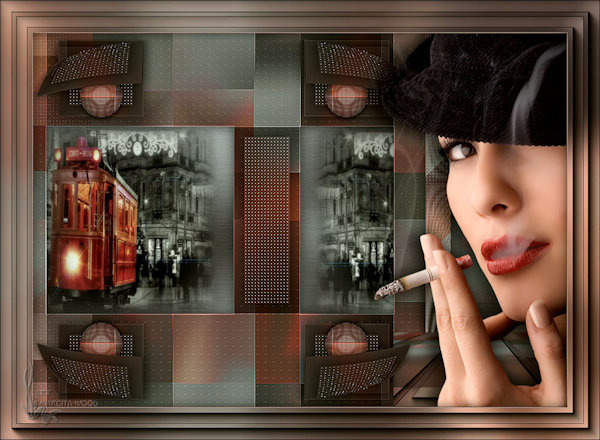
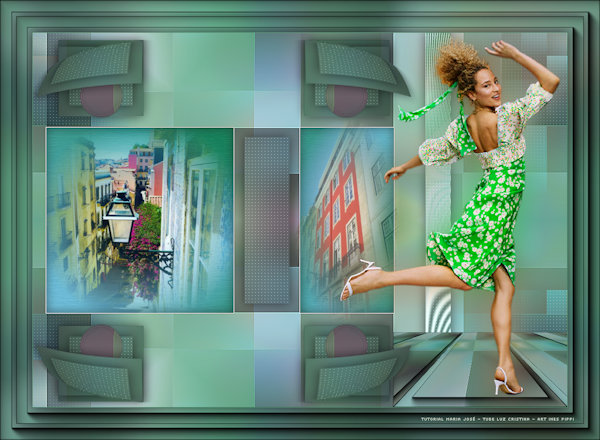
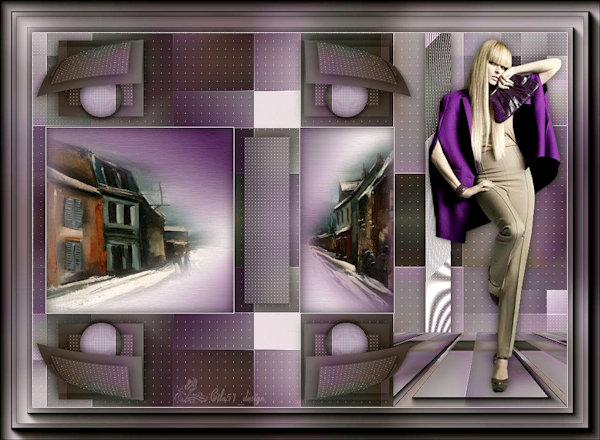
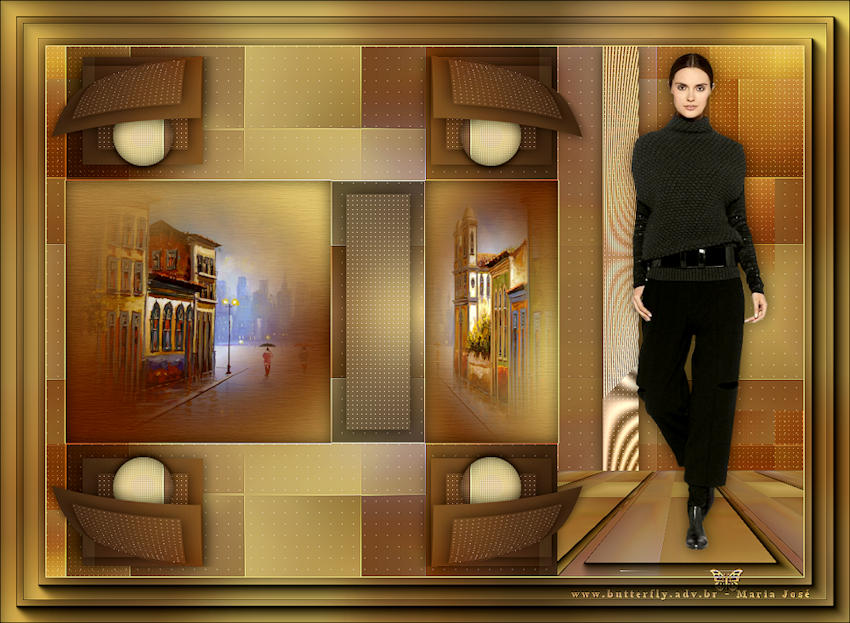
46.- Edit - Copiar/Colar o tube principal - ver modelo
Drop Shadow - como gostar
_____________________________________________________________________________________________
BORDERS
47.- Image - Add Borders - 1px - cor clara
48.- Selections - Select All - EDIT COPY
49.- Image - Add Borders - 30px - branco
Select - Invert - Colar dentro da seleção a imagem copiada
50.- Adjust - Blur - Gaussian Blur - Radius 30,00
Selections - Invert - Drop Shadow 0, 0, 60, 30, preto
DESELECIONAR
_____________________________________________________________________________________________
51.- Plugin - AAAFrame - Foto Frame - mesma configuração
52.- Selections - Select All - EDIT COPY
53.- Image - Add Borders - 30px - branco
Select - Invert - Colar dentro da seleção a imagem copiada
DESELECIONAR
_____________________________________________________________________________________________
54.- Assinar o trabalho - Layers - Merge All Flatten
OPCIONAL - Plugin AAA Filters - Custom - Landscape
55.- Image - Resize - 1000px Width - Salvar em .jpg
Espero que apreciem, obrigada
_____________________________________________________________________________________________
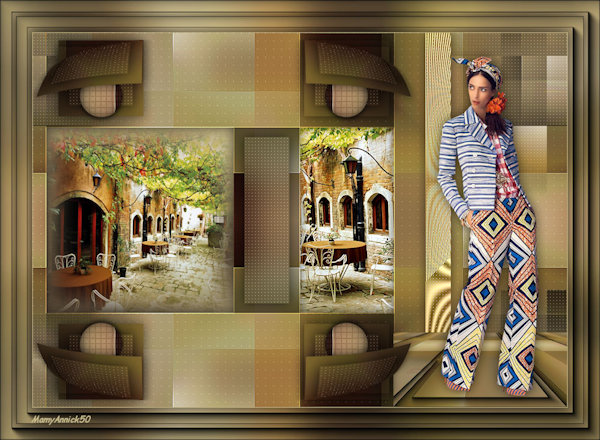
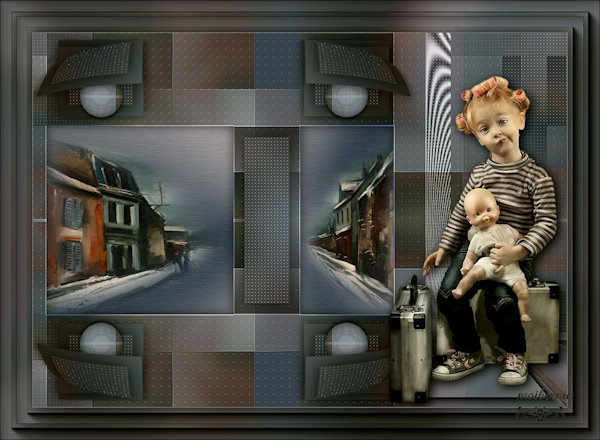
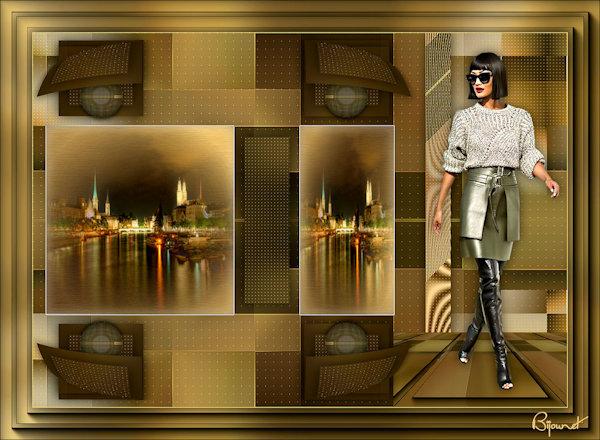
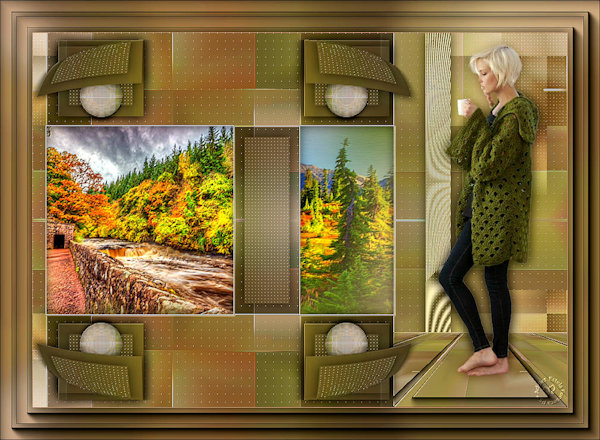
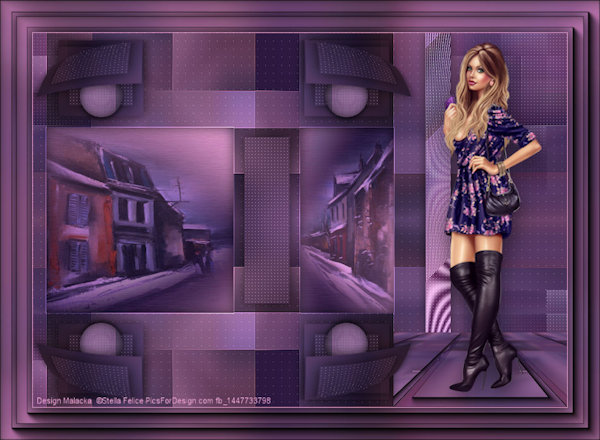
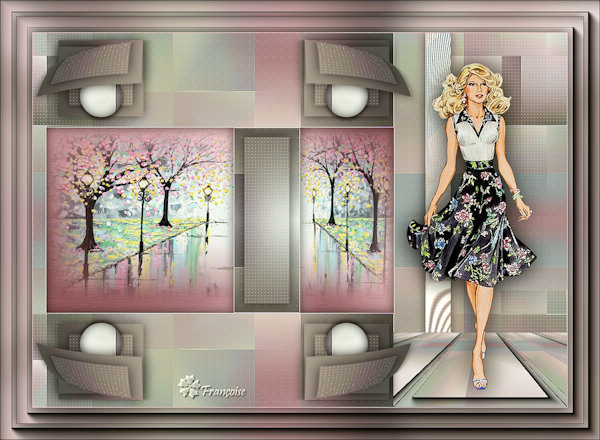
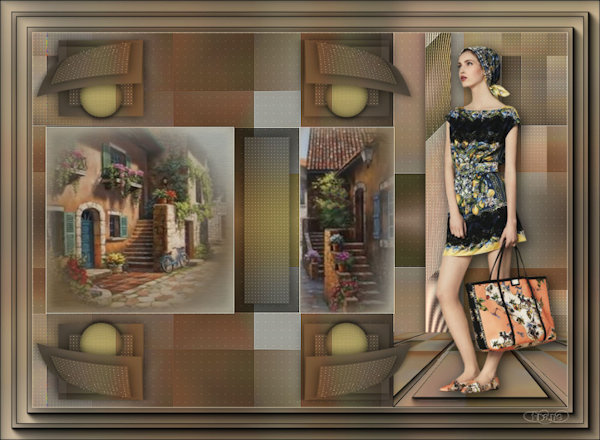
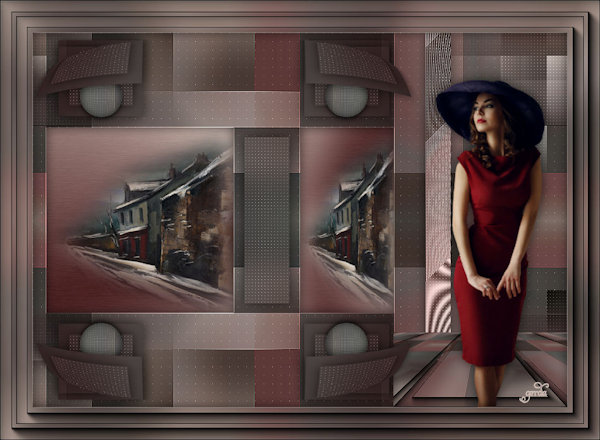
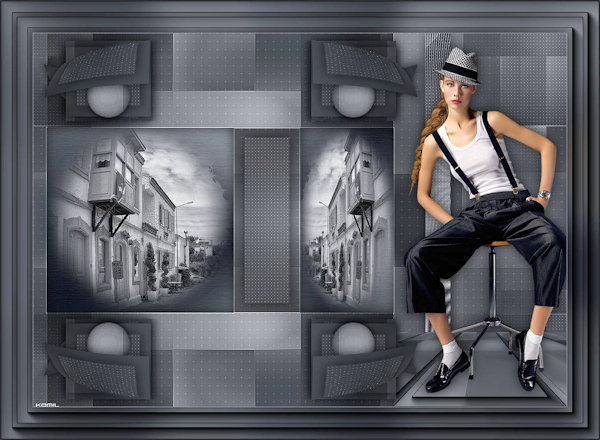
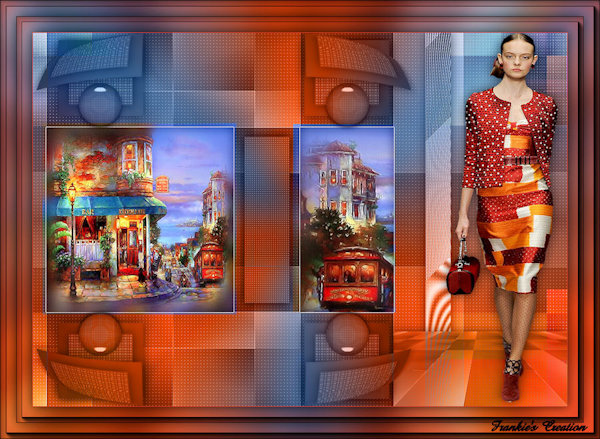
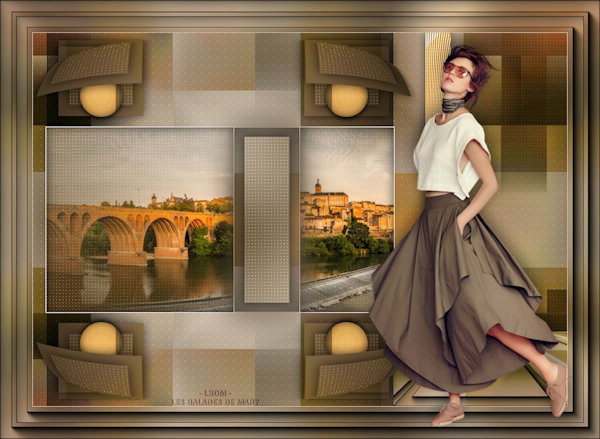
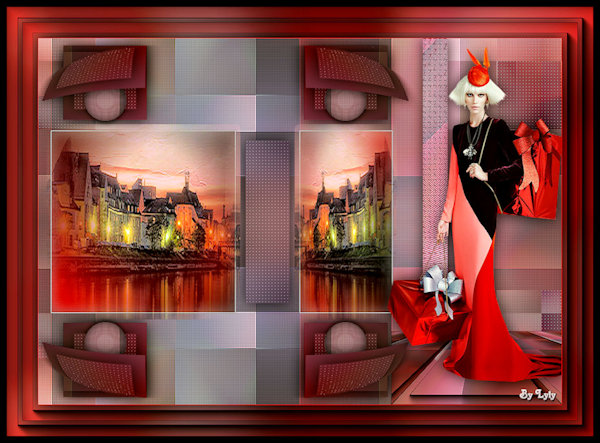
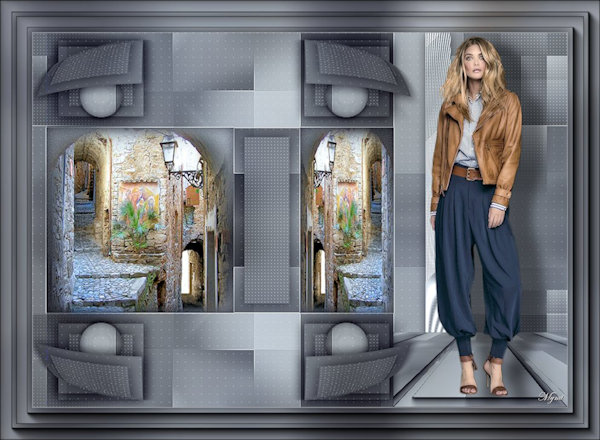
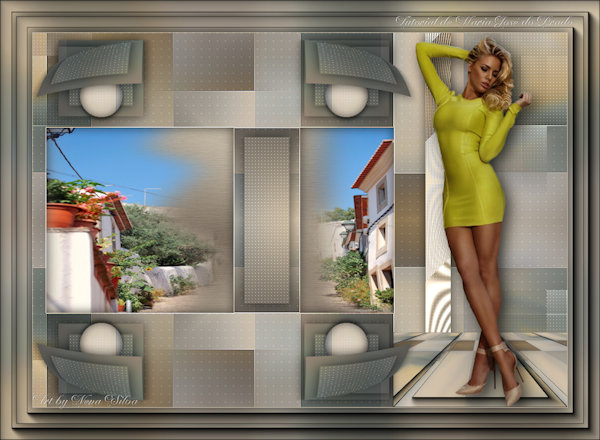
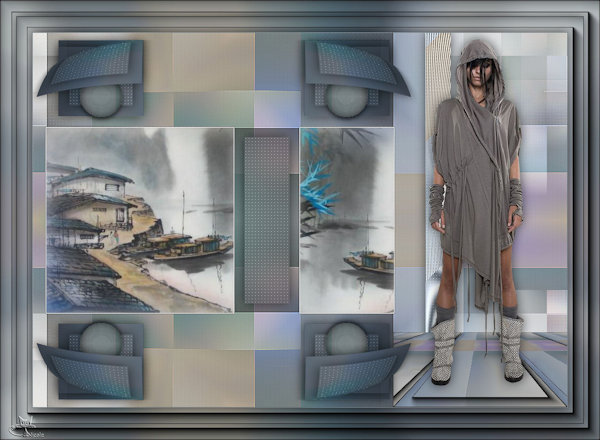
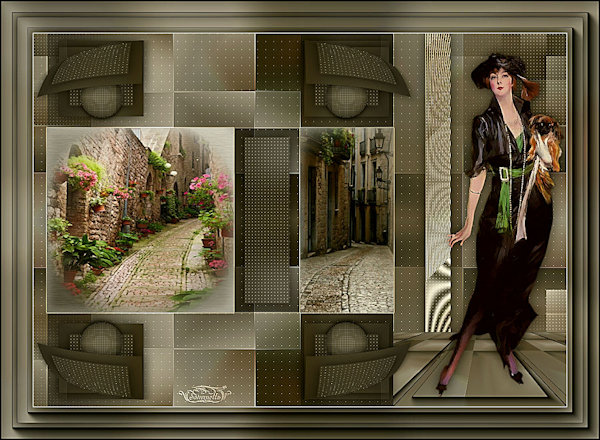
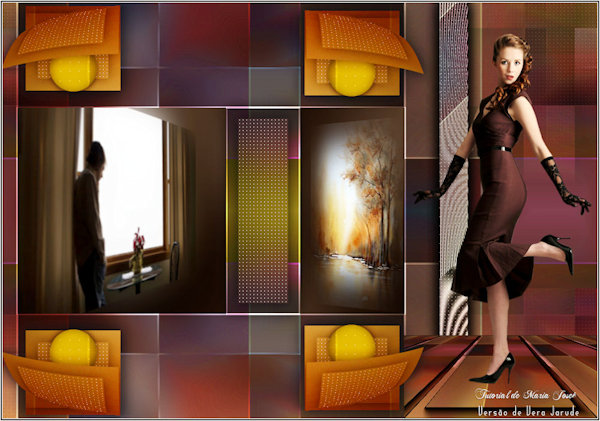
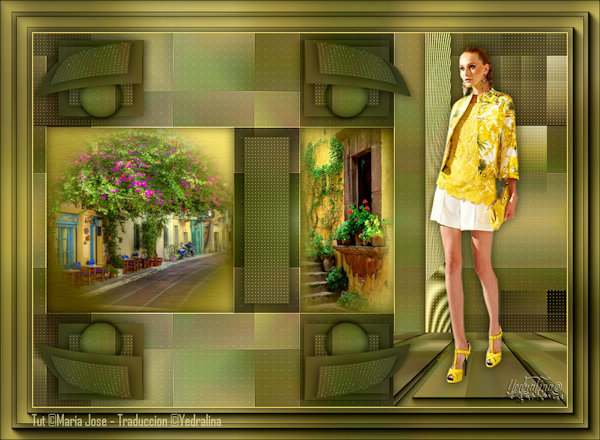
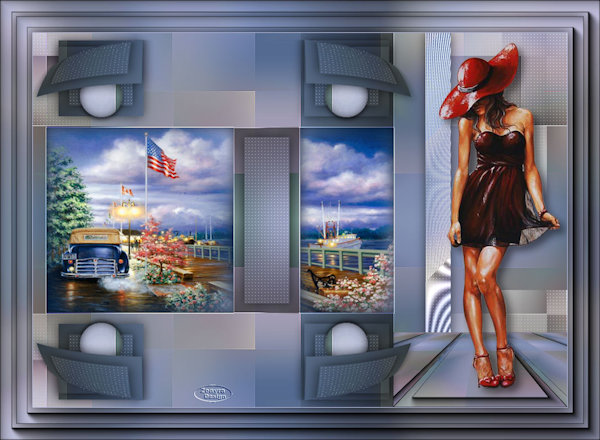
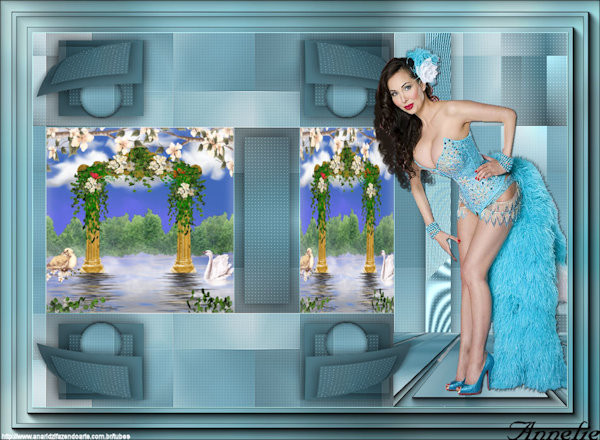
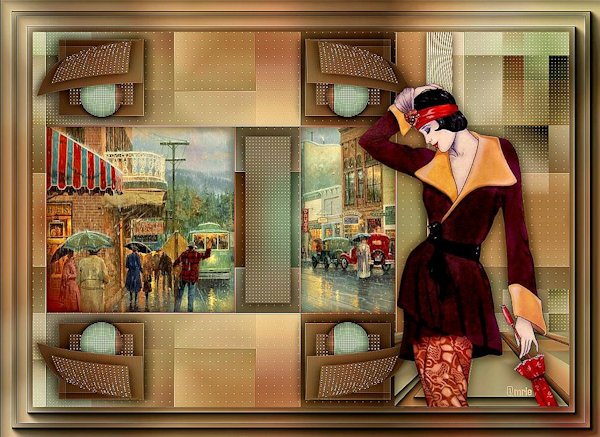
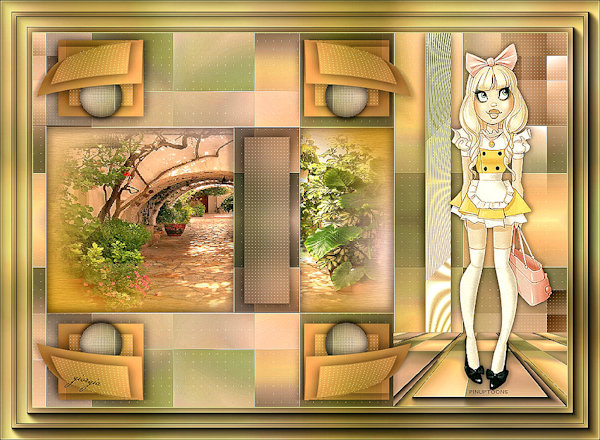
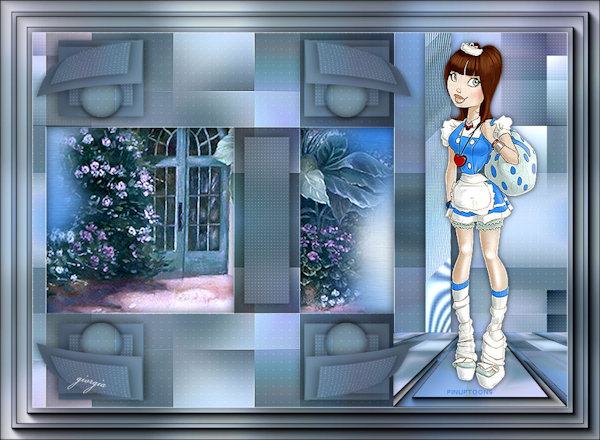
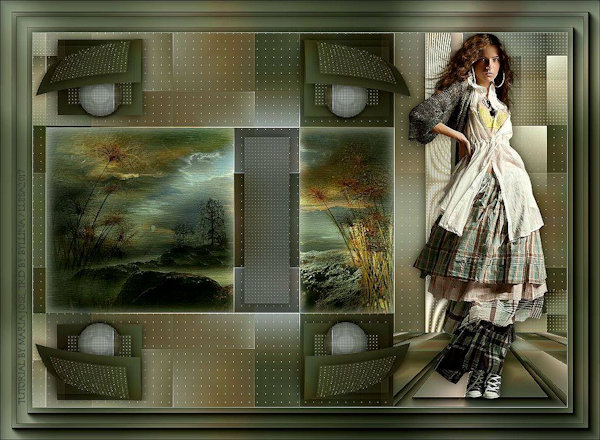
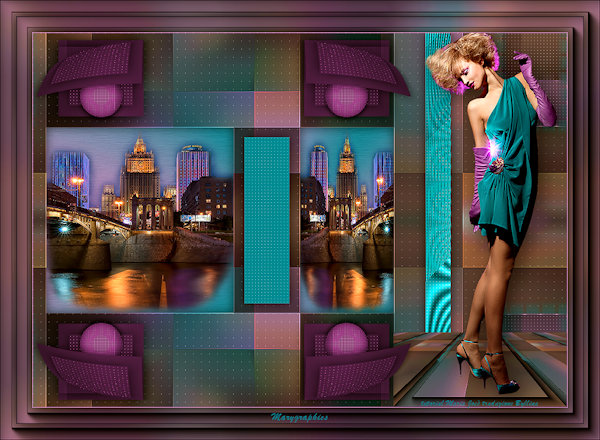
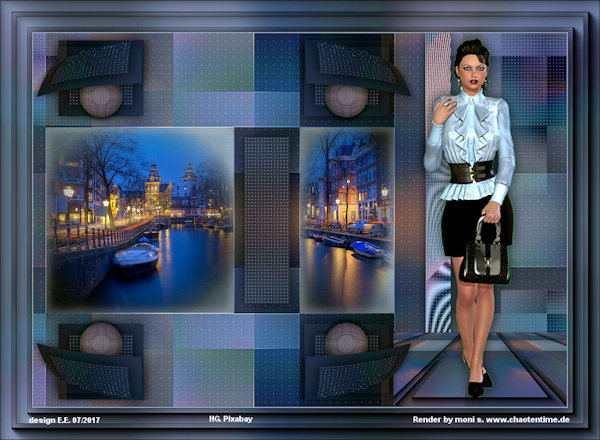
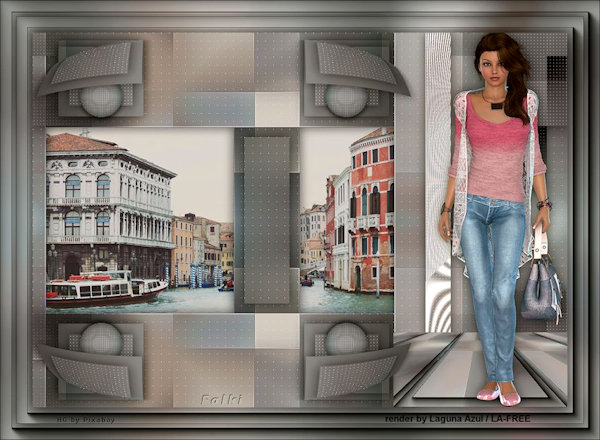
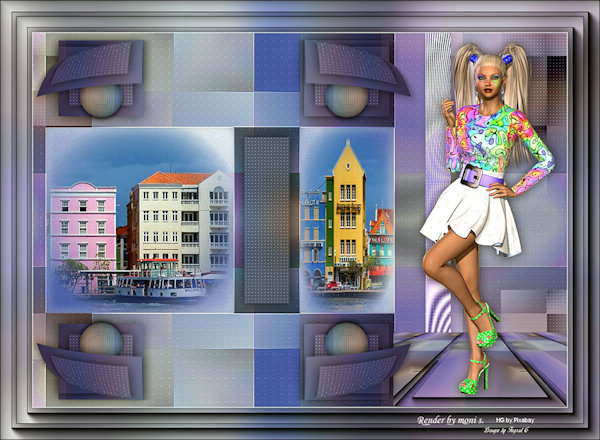
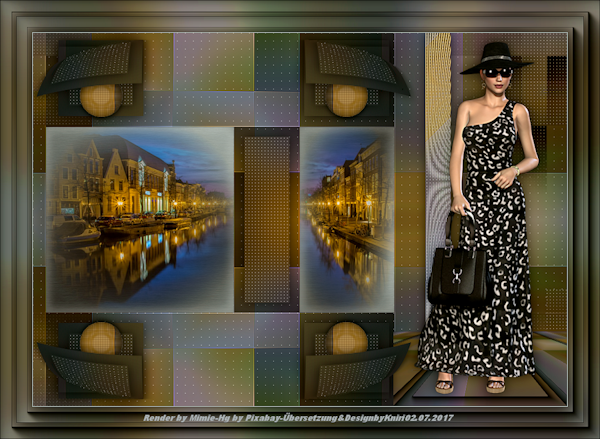
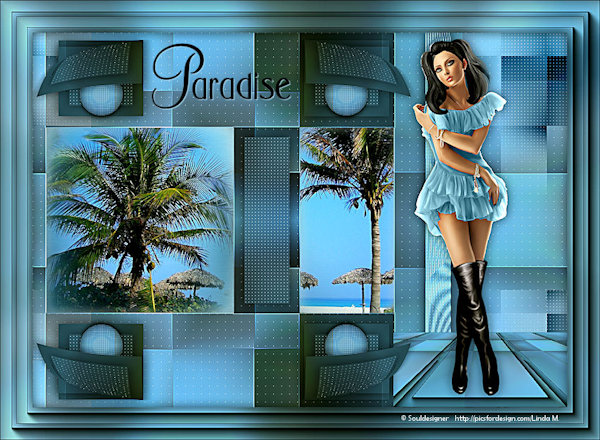
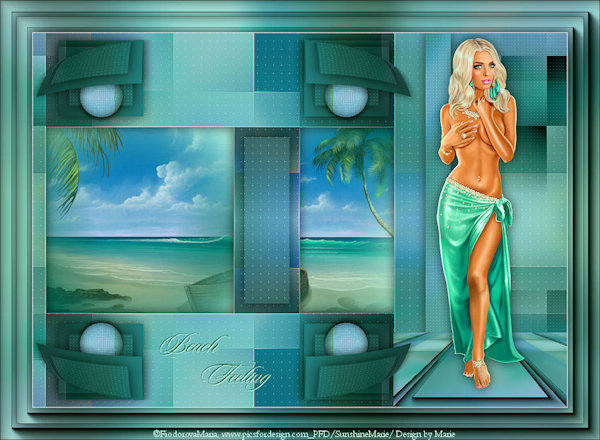
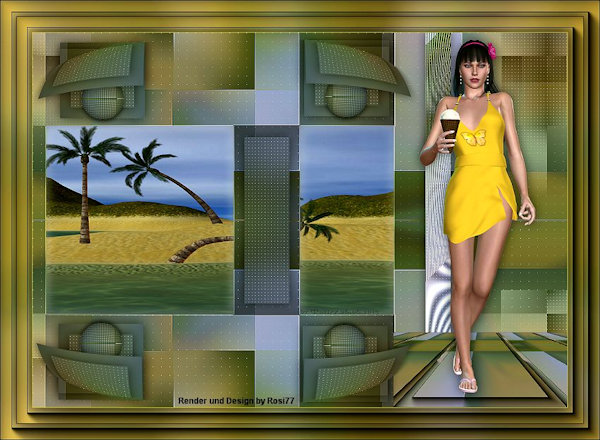
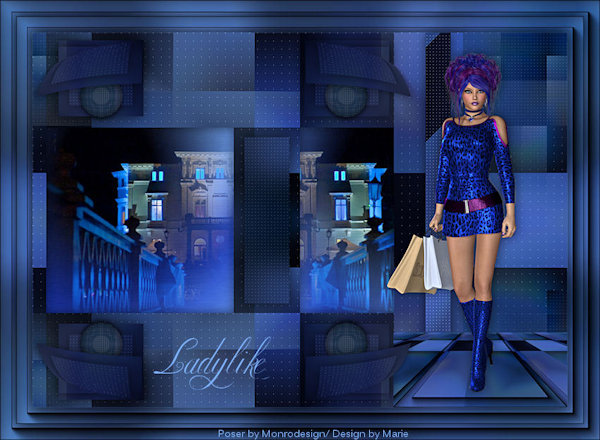
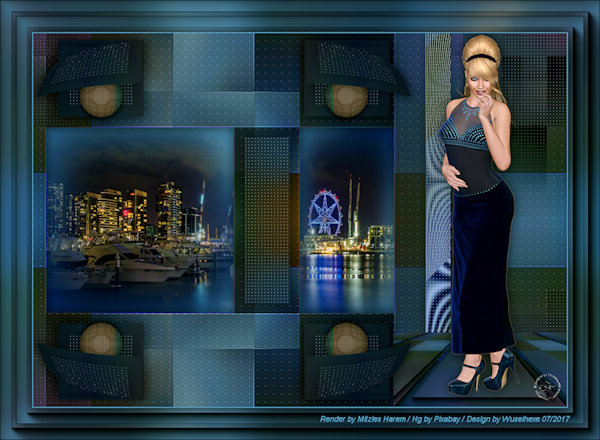
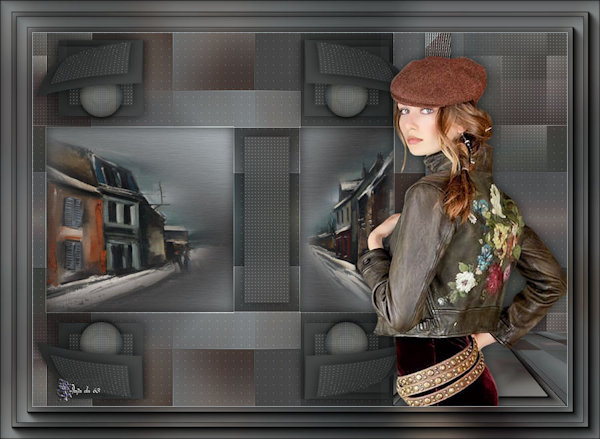
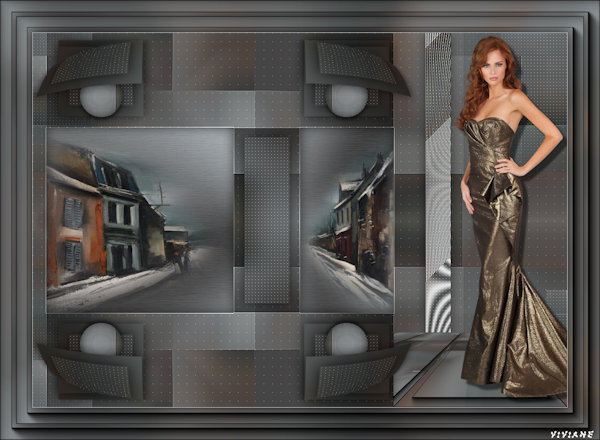
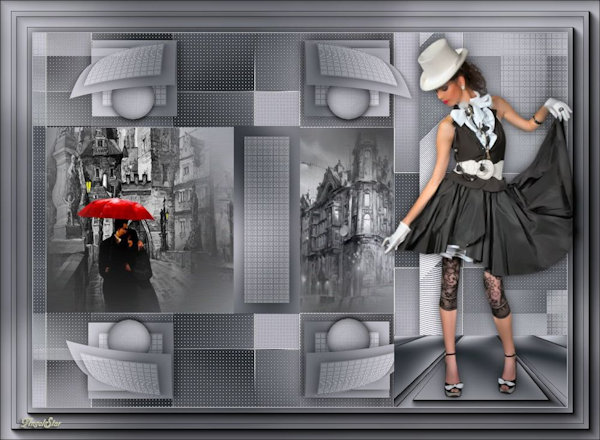
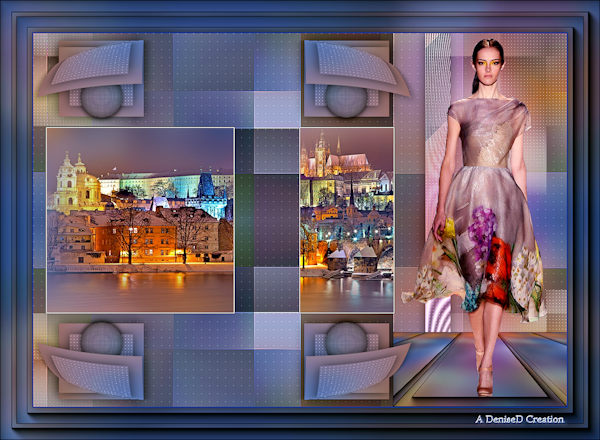
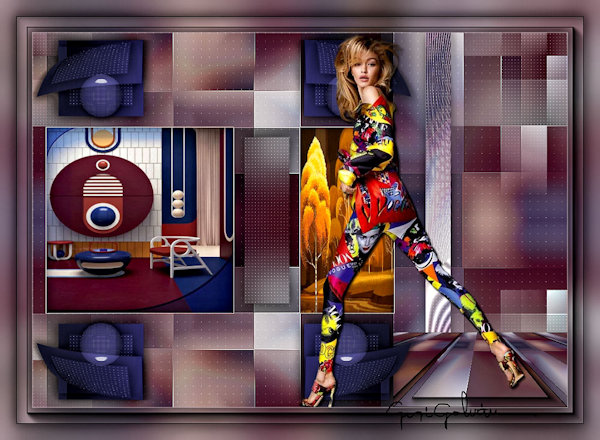
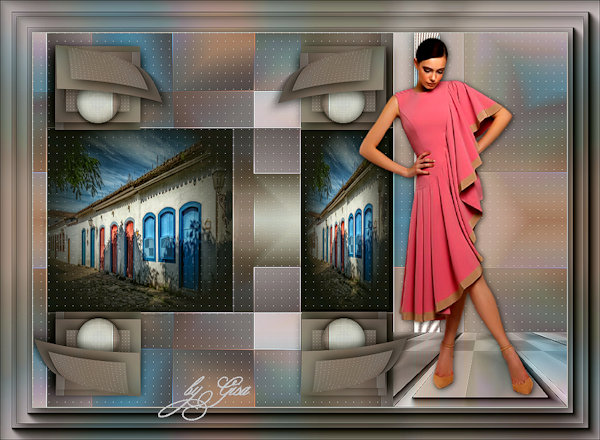
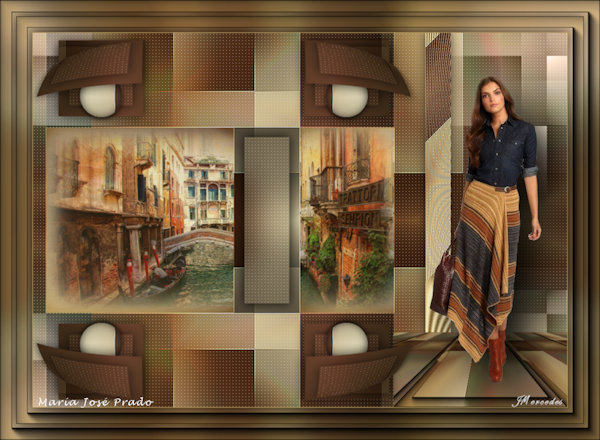
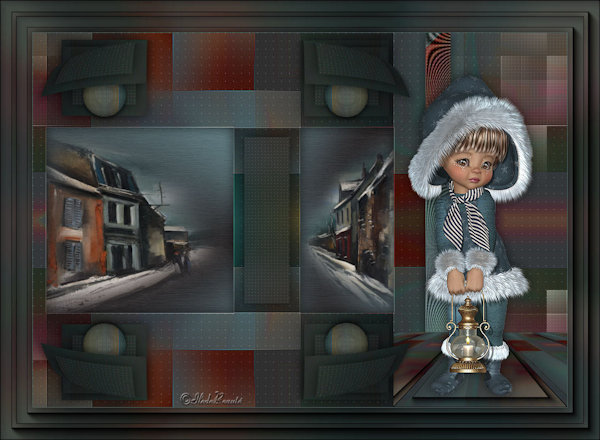
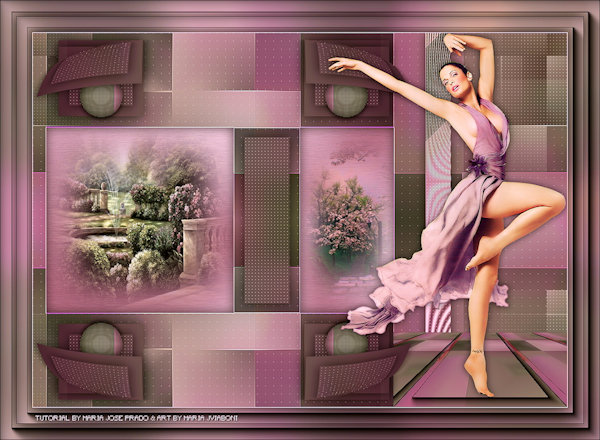
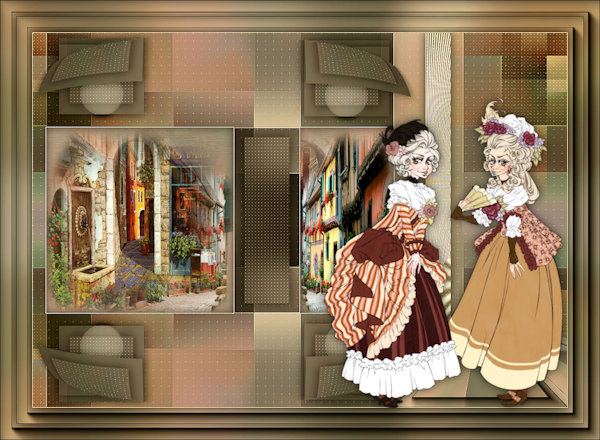
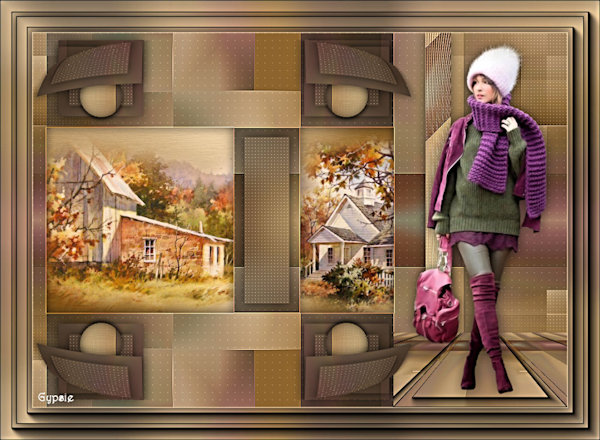
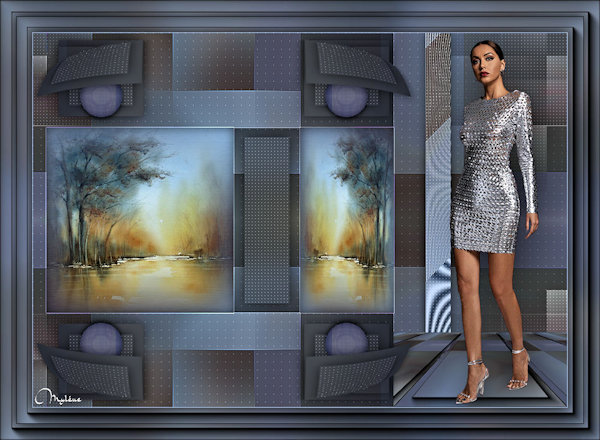
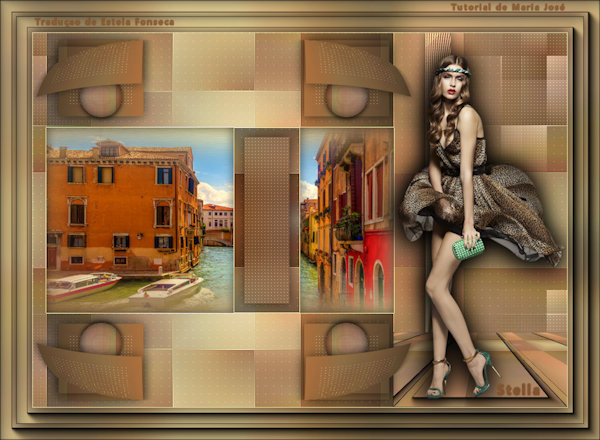
Outro Exemplo

Este tutorial foi criado em 15 de maio de 2017 por Maria José Prado. É protegido por lei de Copyright e não poderá ser copiado, retirado de seu lugar, traduzido ou utilizado em listas de discussão sem o consentimento prévio e escrito de sua autora acima declinada.
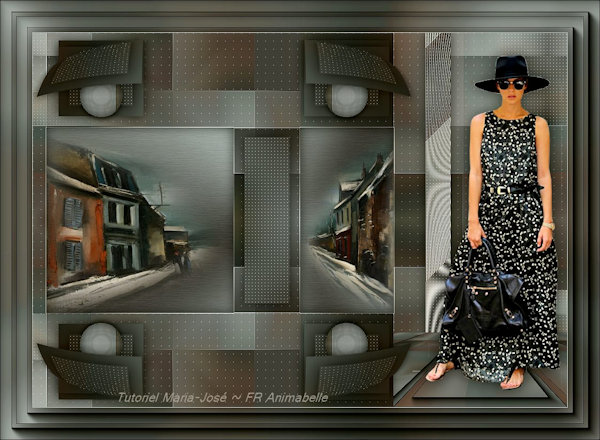
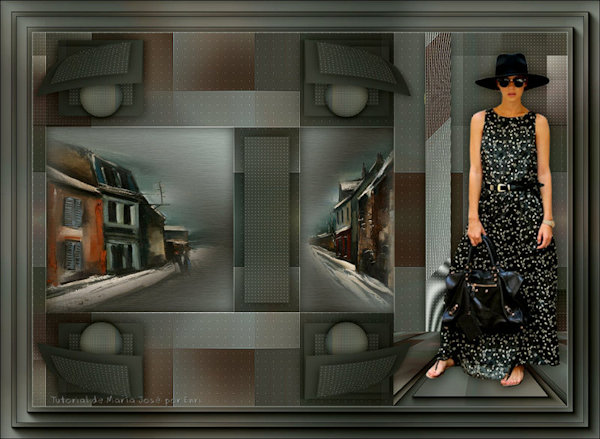
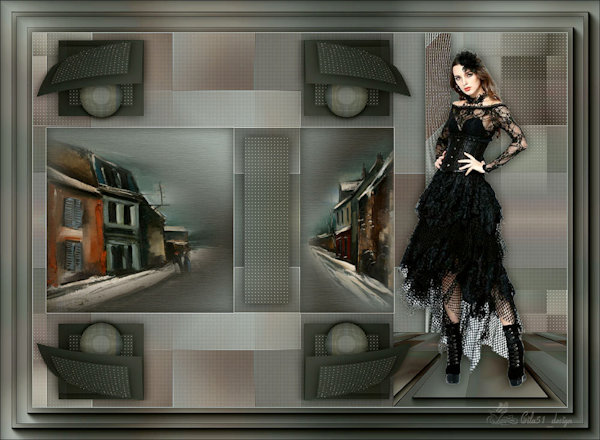
VARIANTES